Are you considering raising the floor in your basement but don’t know where to start? Raising the floor in a basement is an excellent way to add extra living space and storage options while also protecting against potential water damage. If you’re wondering how to build a raised floor in basement, read on!

Building a raised subfloor is an achievable DIY project whether you have a concrete or dirt floor. You can create a level surface that adequately supports your finished flooring with the right tools and materials.
This guide will walk you through each step of this project, from assessing your existing concrete slab, purchasing materials, and completing installation. With careful planning and reliable construction techniques, building a raised floor in your basement can be an easy DIY project for anyone with basic woodworking skills. So grab that toolbelt and get ready – let’s begin!
What Will You Need?
Before you start, ensure you have all the necessary materials and tools. You will need:
- Concrete sealer
- Leveling compound
- Moisture barrier (plastic sheeting)
- Waterproof tape
- Plywood sheets
- Treated lumber (2x4s or 2x6s)
- Drill
- Saw (circular or table)
- Nails/screws
- Hammer/nail gun
Once you have gathered all your materials and tools, it’s time to assess your basement floor.
8 Easy Steps on How to Build a Raised Floor in Basement
Step 1: Assess Your Basement Floor
The first step in building a raised basement floor is to thoroughly assess your existing floor’s condition. If your basement has a concrete floor, check for any cracks or unevenness. These issues can lead to instability in your raised floor if not properly addressed.
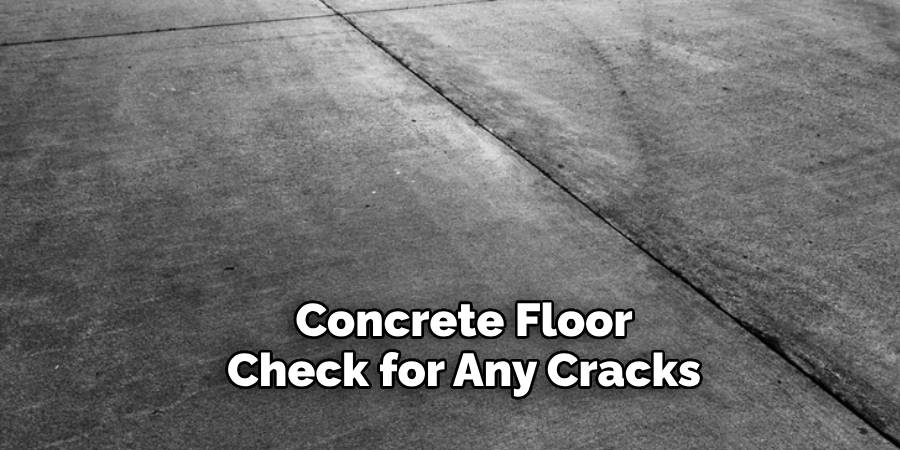
Use a level to determine if there are any significant slopes or bumps. Consider pouring a concrete slab before starting your raised floor project if you have a dirt floor. This will provide a solid and level foundation for your new floor.
Step 2: Seal and Level the Concrete Floor
After assessing the condition of your basement floor, the next step is to seal it. The concrete sealer helps to protect your newly raised floor from moisture that may seep through the concrete. Apply the sealer according to the manufacturer’s instructions and allow it to dry thoroughly.
Next, apply the leveling compound to create a smooth, flat surface if you notice any uneven surfaces during your assessment. The compound will fill in any cracks, dips, or bumps.
Allow the compound to dry fully per the product guidelines—usually 24 hours. Once dried, double-check the floor with your level to ensure it’s smooth and even. This step is crucial in building a raised floor in your basement as it ensures a stable base for the subsequent layers.
Step 3: Install the Moisture Barrier
Before you build the raised floor, installing a moisture barrier is essential. This step is critical as it prevents any potential dampness from the concrete from reaching your wooden subfloor, which can lead to mold or rot. Roll out your plastic sheeting across the entire floor, covering all areas.
Allowing some excess around the edges is advisable, which can be trimmed later. Use waterproof tape to secure the sheeting and seal any overlaps between sheets. Make sure there are no tears or holes in the sheeting.
Once your moisture barrier is securely in place, you can construct your raised floor. Ensure the work area is clean and free from sharp objects to avoid damaging the moisture barrier.
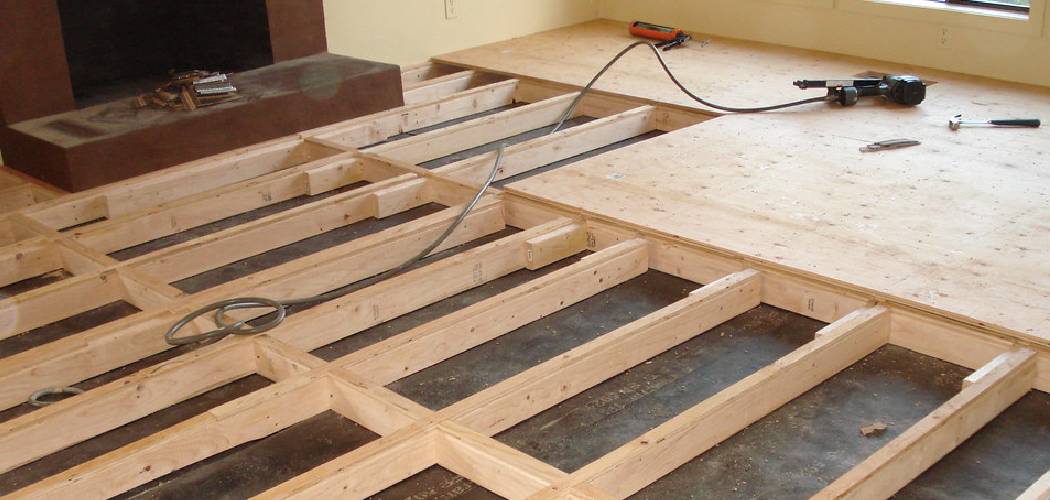
Step 4: Layout and Cut the Lumber
The next step is to lay out and cut the lumber that will form the framework for your raised floor. These pieces of lumber, often referred to as sleepers, will provide support for your plywood flooring.
Start by measuring the length and width of your basement. These measurements will dictate the size of your sleepers. Cut your treated lumber into lengths that match your measurements. Be sure to cut additional pieces for extra support in the middle of the floor.
Step 5: Install the Sleepers
With the wooden sleepers cut to the correct lengths, it’s time to position them on the moisture barrier. Lay out the sleepers along the length of the basement, keeping them parallel to each other. The sleepers should be placed at regular intervals – usually 16 inches apart.
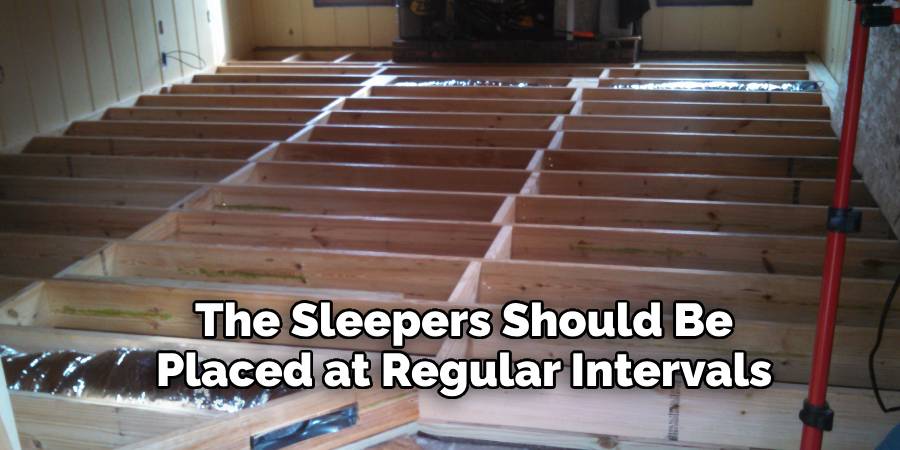
This forms a grid-like pattern, providing a structure strong enough to support the plywood sheets and any finished flooring. Use your level to ensure the sleepers are level. You can use shims to raise any low spots if any adjustments are needed. Once satisfied with the positioning and leveling, secure the sleepers to the concrete floor using nails or screws.
Step 6: Cut the Plywood Sheets
Once the sleepers are securely in place, you can start cutting the plywood sheets that will form your subfloor. Measure and cut each sheet to fit into the grid formed by the sleepers.
It’s essential to leave a small gap between each sheet for expansion and contraction with changes in humidity. You can use a circular or table saw to cut the plywood sheets accurately.
Step 7: Lay the Plywood Sheets

Lay each plywood sheet on top of the sleepers and ensure they are snugly fitted against each other. Use nails or screws to secure them in place, ensuring they are flush with the edges of the sleepers. It’s vital to stagger the seams of each sheet to create a uniform and rigid subfloor.
Step 8: Finish Your Raised Floor
Once all your plywood sheets are in place, you can add additional layers or finishing touches depending on your desired finish look. You can add carpeting, hardwood flooring, or any other type of flooring that suits your needs and style.
Your new raised floor is complete, providing a sturdy and level surface for your basement. Remember to keep the area clean and dry to maintain the integrity of your new floor.
By following these eight easy steps, you can successfully build a raised floor in your basement. This project may seem daunting initially, but it can be completed efficiently and effectively with the right materials and tools.
5 Additional Tips and Tricks
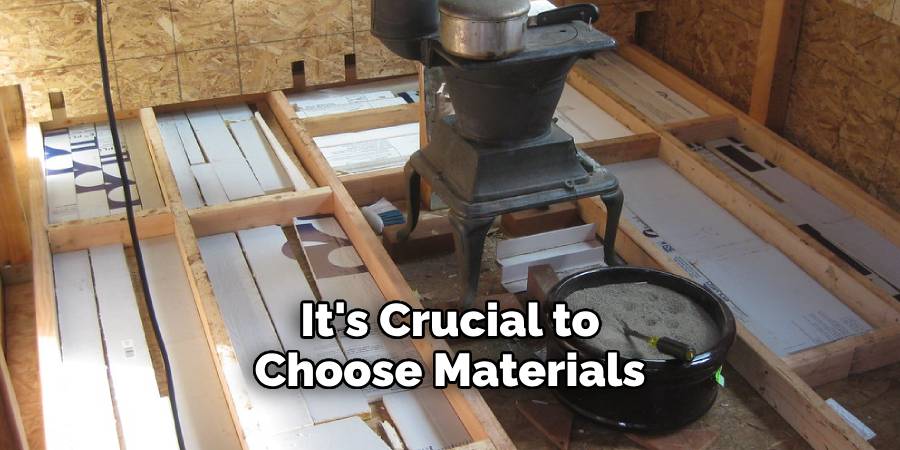
- Consider Your Materials Carefully: When building a raised floor in your basement, it’s crucial to choose materials that can withstand humidity and temperature fluctuations, such as pressure-treated lumber or composite decking.
- Ensure Proper Insulation: A well-insulated subfloor keeps your basement warm and dry, preventing moisture build-up or mold growth.
- Plan for Accessibility: Make sure to include access panels in your design to easily reach pipes or wiring that may run under your raised floor.
- A Level Start is Key: Thoroughly level the basement floor before starting your build. This will ensure that your raised floor is stable and safe.
- Safety First: Always wear appropriate safety gear—such as goggles, gloves, and a dust mask—when cutting and installing your materials. Keeping your workspace clean and clutter-free is also essential to prevent accidents.
With these additional tips and tricks, you’ll be on your way to building a sturdy and functional raised floor in your basement.
6 Things You Should Avoid
- Avoid Using Non-Resistant Materials: Avoid materials that can’t withstand moisture or are prone to rot, such as regular wood. These won’t last long in the basement environment.
- Never Ignore Uneven Surfaces: An unlevelled base could lead to instability and potential damage. Ensure any uneven surfaces are addressed before you start laying your raised floor.
- Don’t Skimp on Insulation: Please properly insulate your raised floor to avoid a cold and damp basement. Invest in quality insulation to avoid these issues.
- Avoid Inaccessibility: Consider the need for access to underlying systems to build your floor. Neglecting this can result in significant challenges if you need to access plumbing or electrics in the future.
- Remember Safety: Remember to underestimate the importance of using safety equipment. Avoid taking shortcuts that put you at risk of injury when building your raised floor in the basement.
- Avoid Rushing: Building a raised floor takes time, effort, and attention to detail. Refrain from rushing through the process or cutting corners, as this can lead to poor construction and potential problems down the line.
Avoiding these mistakes will save you time, money, and potential hazards. Remember them to ensure a successful and safe raised floor build in your basement.
What Are the Disadvantages of Raised Floor Systems?
While a raised floor system can offer many benefits, it’s important to also consider the potential disadvantages before embarking on your basement project. Here are some things to keep in mind:
- Cost: Building a raised floor can be more expensive than traditional flooring options, requiring additional materials and construction.
- Height Restrictions: Depending on your ceiling height, a raised floor may not be feasible as it can take up several inches of space.
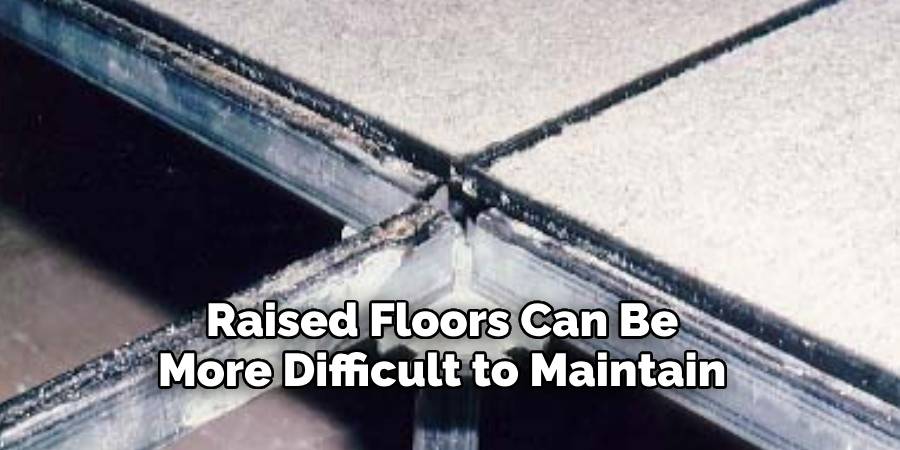
- Maintenance: Raised floors can be more difficult to maintain, especially if you have any underlying systems that require frequent access.
- Installation Time: Building a raised floor can take longer than traditional flooring options, which could delay the completion of your basement renovation project.
- Limited Design Options: Raised floors may limit your design choices, as they can be more difficult to incorporate into certain styles or themes.
While these disadvantages may not be significant for some homeowners, it’s important to consider them when deciding if a raised floor is the right choice for your basement. Weighing the pros and cons can help you make an informed decision that meets your needs and budget.
Conclusion
From researching different options and pricing to selecting the best material for your needs, how to build a raised floor in basement can be an excellent way to add value to your home. With the tips outlined in this blog post, you should be on your way to a successful project. Remember any codes or regulations that could apply to your area, footing depths, vapor barriers, and insulation.
To get maximum value from this project, consider doing it correctly by hiring an experienced builder if you don’t feel comfortable proceeding independently. Also, bear in mind that the selection of proper flooring is important for a good finished product.
Once all of these elements are considered, you can count on many years of satisfaction with the result of building a raised floor in your basement. So what are you waiting for? It’s time to start building!