
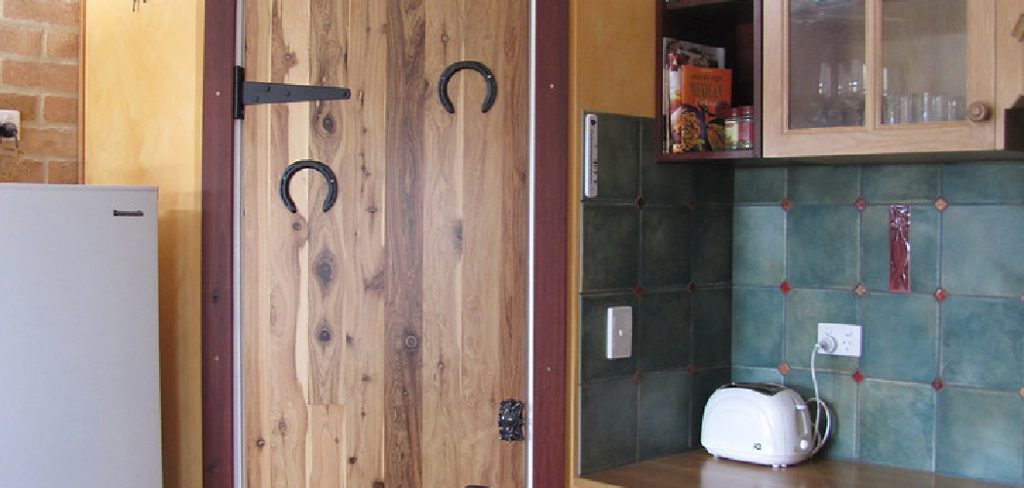
Are you tired of your pantry door looking plain and boring? Do you want to add some character and style to your kitchen?
How to build a pantry door can be a rewarding and cost-effective project that enhances the functionality and aesthetic appeal of your kitchen. Whether you’re aiming to replace an existing door or create a new one from scratch, this guide will walk you through the essential steps involved in the process. With some basic carpentry skills and the right tools, you can design a door that not only suits your style but also maximizes the storage space of your pantry.
From selecting materials to applying the finishing touches, crafting your pantry door is an opportunity to personalize your home while developing your DIY skills.
What Will You Need?
Before starting the project, gather all the necessary tools and materials to avoid interruptions during the building process. Here’s a list of items you’ll need:
- Wood (your choice of species)
- Plywood
- Table saw or circular saw
- Measuring tape
- Drill and drill bits
- Screws
- Hinges
- Sandpaper
- Wood glue
- Finishing nails
Once you have all the materials on hand, it’s time to start building your pantry door.
10 Easy Steps on How to Build a Pantry Door
Step 1. Measure the Door Frame:
Taking accurate measurements is a crucial first step in building your pantry door, ensuring the finished product fits perfectly within the designated space. Begin by measuring the height and width of your door frame using a measuring tape. It is important to measure at multiple points across the frame — both top, middle, and bottom for width and both left and right sides for height — to account for any irregularities or deviations in the frame’s structure.
Note down the smallest measurements and subtract about 1/8 inch from both width and height to allow a small clearance, making it easier to open and close the door without difficulty. This clearance will accommodate slight wood expansion due to humidity and temperature variations. Accurate measurements will form the foundation for all subsequent steps in creating a door that fits snugly and functions smoothly.
Step 2. Cut the Wood to Size:
Begin by cutting the wood to match the measurements of your door frame. Use a table or circular saw for precise cuts, ensuring all pieces align correctly with the frame dimensions. It’s crucial to double-check the measurements before cutting, as accurate sizing is essential for a well-fitting door. Each cut piece will act as the components of your door, including the stiles, rails, and panels, depending on your design choice. For added support, consider cutting plywood or similar material for the interior of the door if you’re constructing a paneled design.
Step 3. Assemble the Door Frame:
Once all the wood pieces are cut to size, it’s time to assemble the door frame. Begin by laying out the stiles (vertical pieces) and rails (horizontal pieces) on a flat surface, arranging them in the shape of your door. Apply wood glue to the ends of the rails where they connect with the stiles, ensuring a solid bond. Finishing nails secures the joints, reinforces the connections, and enhances stability.
If you’re using plywood for a paneled door design, fit it within the assembled frame before the glue dries. Ensure everything is appropriately aligned and square by checking the corners with a carpenter’s square. This step creates a solid base for your pantry door, setting the stage for the subsequent phases of the construction process.
Step 4. Sand the Edges and Surfaces:
After assembling the door frame, it’s essential to smooth out the edges and surfaces to ensure a clean and professional finish. Use sandpaper to sand down rough spots, focusing on the joints where the stiles and rails connect. Sanding removes splinters and helps the door absorb paint or stains evenly. Start with a coarser grit sandpaper to eliminate larger imperfections, then progress to a finer grit for a smooth finish. Pay special attention to the edges and corners, as these areas are rougher.
Step 5. Install the Hinges:
With the door frame sanded and ready, the next step involves installing the hinges. First, determine the placement of the hinges on the door and the door frame, typically around 7 inches from the top and bottom edges. Mark the positions with a pencil, ensuring both placements on the door and frame align accurately. Use a chisel if necessary to create a shallow mortise where the hinge will sit; this allows for a flush fit. Attach the hinges to the door first using screws and a drill, making sure they are secure and aligned perfectly.

Once the hinges are mounted to the door, line up the door with the door frame and screw the hinges into the frame, ensuring the door opens and closes smoothly without obstruction. Properly installed hinges are key to a seamless door, providing functionality and longevity.
Step 6. Paint or Stain the Door:
With the hinges installed, it’s time to add color and protection to your pantry door through painting or staining. This step enhances the visual appeal and safeguards the wood against moisture and wear. Begin by applying a primer if you’re painting, which helps the paint adhere better and provides a uniform base. Choose a paint or stain that complements your kitchen’s decor, applying it with a brush or roller evenly across all surfaces.
For a stained finish, consider using multiple coats, allowing each to dry completely before adding the next to achieve a richer tone. Ensure the paint or stain fully dries according to the manufacturer’s instructions before rehanging the door, as this will prevent any smudging or damage during installation. This final touch personalizes your pantry door, aligning it with your style while increasing durability.
Step 7. Attach the Door Knob or Handle:
With the paint or stain dry, the next step is to attach a door knob or handle, adding both functionality and style to your pantry door. Begin by selecting a handle or knob that complements the overall design and finish of your door. Position it according to your preference, typically about 36 inches from the floor. Mark the spot where you’ll place the hardware using a pencil. Use a drill to create holes for the screws, making sure they are appropriately sized for the hardware you’ve chosen. Align the knob or handle with the drilled holes and fasten it securely in place.
Step 8. Enjoy Your New Pantry Door:
With your pantry door fully assembled, painted, or stained and equipped with hardware, it’s time to enjoy the fruits of your labor. Inspect the door to ensure everything is functioning smoothly—check the alignment, ensure it swings freely on its hinges, and confirm that the knob or handle is secure. Appreciate the custom touch it adds to your kitchen space, enhancing aesthetics and functionality. Maintaining your door by regularly checking its components will ensure it remains a long-lasting and attractive piece of your home for years.
Step 9. Maintain Your Pantry Door:
Regular maintenance ensures your pantry door functions well and looks great. Start by inspecting the hinges and tightening any screws that may have loosened over time to maintain smooth operation. Check the door alignment periodically, as changes in temperature or humidity can affect its fit. Adjust the hinges or sand down any problematic areas if you notice any sticking or misalignment. Routinely clean the door with a damp cloth to remove dust and dirt, and periodically reapply paint or stain if the finish begins to wear. These simple steps will help preserve your pantry door’s beauty and functionality, extending its lifespan significantly.

Step 10. Add Insulation or Soundproofing:
Consider adding insulation or soundproofing material to enhance your pantry door’s functionality. This step is beneficial if your pantry is located close to living areas where noise reduction is useful or if you aim to maintain a stable temperature inside. Begin by selecting an appropriate insulating material, such as foam strips or soundproof panels that can fit within the door frame or against its surface. Measure the dimensions of your door to cut the material accurately. Attach the insulation using adhesive or staples, ensuring a snug fit to maximize efficiency.
Following these steps, you can easily create a custom and functional pantry door that adds character to your kitchen while providing practical benefits.
Conclusion
How to build a pantry door can be a rewarding project that enhances the functionality and aesthetics of your kitchen space.
You ensure a high-quality final product by meticulously following each step—from precise measurements and selecting durable materials to careful installation and finishing touches. Taking the time to sand, paint, or stain elevates the door’s appearance and extends its longevity. Implementing regular maintenance safeguards the door’s performance over time, while optional insulation can add further practicality.
This process produces a customized door tailored to your needs and imparts the satisfaction of crafting something unique for your home. Through careful planning and execution, creating your pantry door becomes a gratifying journey of craftsmanship and design.