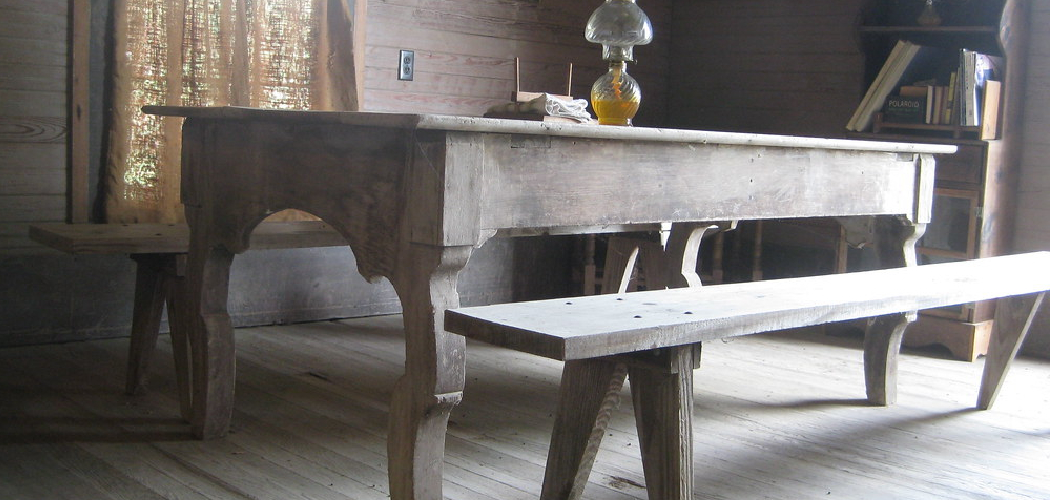
Dining benches are a versatile and space-saving addition to any dining area. Unlike traditional dining chairs, benches can accommodate more people and be easily tucked under the table when not in use, maximizing floor space. Additionally, learning how to build a dining bench allows for customization to fit your specific style and dimensions, ensuring it perfectly complements your home decor.

DIY furniture projects like this not only provide a sense of accomplishment but are also cost-effective, allowing you to create a high-quality piece without a high price tag. This guide will take you through the process of building a dining bench, from the initial planning and design stages to gathering the necessary materials and tools, constructing the frame and seat, and adding the finishing touches. By the end, you’ll have valuable insights into how to build a dining bench that is both functional and aesthetically pleasing.
Planning and Design
Determining Size and Style:
Considerations:
When planning your dining bench, start by assessing the available space in your dining area. Measure the length and height of your dining table to ensure the bench will fit comfortably underneath. Consider the desired seating capacity; typically, a bench should provide at least 18-20 inches of seating space per person. Take into account any other furniture or obstacles in the dining area that may affect the size of your bench.
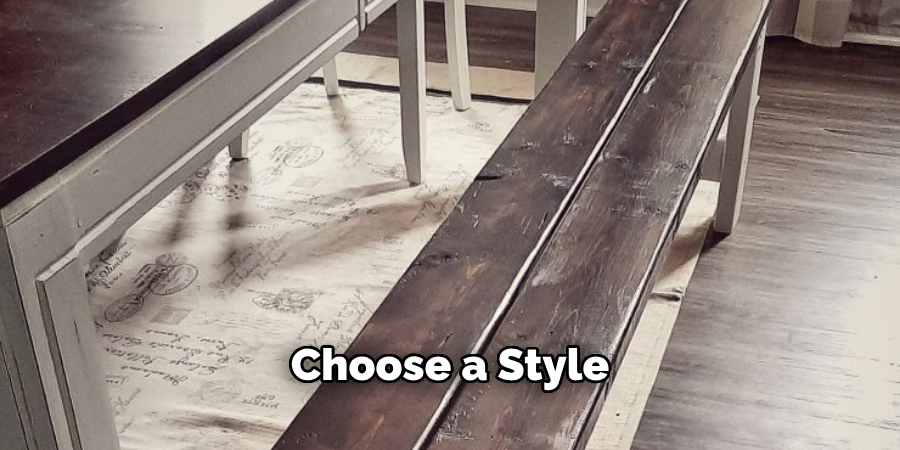
Style Options:
Choose a style that complements your dining table and existing decor. Traditional designs often feature elegant detailing and curved legs, while modern styles are characterized by clean lines and a minimalist aesthetic. Rustic designs incorporate natural elements and rough-hewn surfaces for a cozy, lived-in look. If none of these styles fit your taste, consider a custom design that incorporates elements from multiple styles to create a unique piece that truly reflects your personal aesthetic.
Sketching the Design:
Rough Sketch:
Begin by drafting a simple drawing of the bench or using online design tools to visualize its dimensions and structure. A rough sketch helps you conceptualize the bench’s appearance and make adjustments before cutting any materials.
Measurements:
Accurate measurements are crucial for a well-fitting bench. Determine the length, width, and height based on your dining area and personal preferences. Standard bench height ranges from 18 to 20 inches, matching the height of a typical dining chair. Ensure that the length and width provide adequate seating space and stability.
Materials and Tools Needed
Materials:
- Lumber: Depending on your design, you will need sturdy lumber, such as 2x4s or 4x4s for the bench frame. For the seat, choose durable plywood or wooden boards. Opt for quality wood that can withstand regular use and provides a solid seating surface.
- Wood Screws: Select appropriate wood screws that will securely fasten the frame and seat components together. Galvanized or coated screws are recommended for added durability.
- Wood Glue: Essential for reinforcing joints and providing additional stability, wood glue ensures that the pieces hold together firmly.
- Sandpaper: Various grits of sandpaper will be needed to smooth rough edges and prepare the wood for staining or painting.
- Wood Stain or Paint: Choose a wood stain or paint that matches your aesthetic preferences. This will not only enhance the appearance of your bench but also protect the wood from wear and tear.
Tools:
- Saw: A circular saw or miter saw is necessary for cutting the lumber to the required dimensions. Ensure the saw is sharp and in good condition for clean, accurate cuts.
- Drill with Screwdriver Bit: Use a power drill with a screwdriver bit to make pilot holes and drive screws into the wood, ensuring a secure assembly.
- Measuring Tape: Accurate measurements are crucial for a well-constructed bench. A measuring tape helps ensure all pieces are cut to the correct size.
- Carpenter’s Square: This tool helps keep your cuts and assembled pieces square, ensuring the bench is properly aligned and stable.
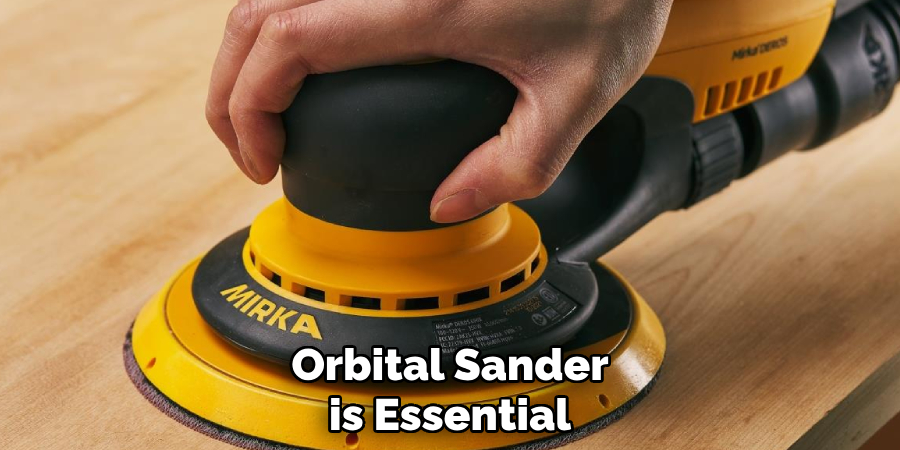
- Sanding Block or Orbital Sander: A sanding block or orbital sander is essential for smoothing the wood surface before staining or painting.
- Paintbrush or Foam Roller: Required for applying wood stain or paint evenly, use a paintbrush or foam roller to achieve a smooth, professional finish.
How to Build a Dining Bench: Construction
1. Frame Assembly
Cutting Lumber
Measure and cut the lumber to the desired lengths for the bench frame components, including the legs, supports, and aprons. The legs should be cut to the standard height of 18 to 20 inches, while the supports and aprons should be measured to fit the desired length and width of your bench. Use a circular saw or miter saw for clean, precise cuts and ensure all pieces are accurately measured to achieve a balanced and stable frame.
Assembly
Attach the legs to the supports using wood screws and wood glue to create the frame structure. Begin by securing the aprons to the top ends of the legs, forming a rectangular frame. Apply wood glue to the contact points before driving in the screws to enhance the joint strength. Make sure the aprons are flush with the top of the legs to provide a flat surface for attaching the seat. Once the aprons are secured, add the side supports between the legs, parallel to the aprons, to complete the frame. Use clamps to hold the pieces in place as you drill pilot holes and drive in the screws, ensuring secure and aligned connections.
2. Seat Construction
Cutting Seat Boards
Measure and cut the plywood or wooden boards to fit the dimensions of the bench frame. The seat should overhang the frame slightly on all sides for comfort and aesthetic appeal. If using multiple boards, cut them to equal widths and ensure the total width matches the frame’s dimensions. Use a circular saw for precise and smooth cuts.
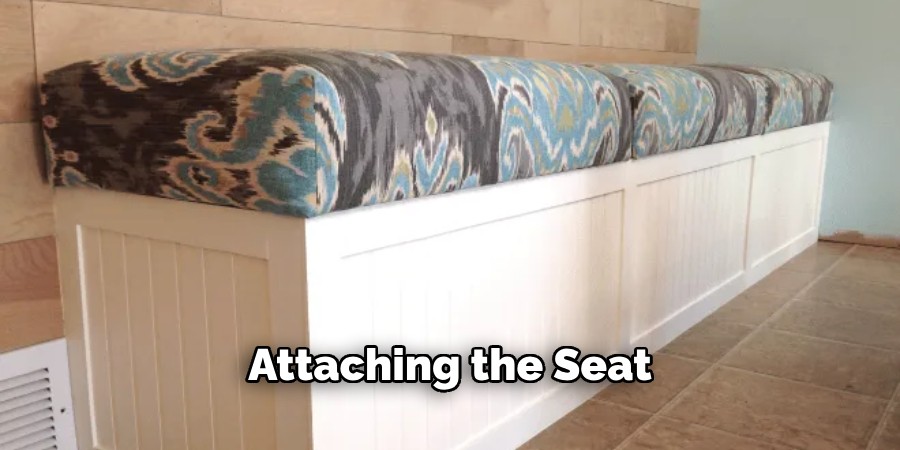
Attaching Seat
Secure the seat boards to the frame using wood screws, ensuring they are evenly spaced and aligned. Apply wood glue along the top edges of the frame before placing the seat boards. Start by attaching the outer boards first, then fill in the center pieces if using multiple boards. Pre-drill pilot holes to prevent the wood from splitting and drive in the screws, countersinking them slightly below the surface for a neat finish. Ensure the seat boards are firmly attached and level across the frame.
3. Reinforcement
Additional Supports
Consider adding cross braces or corner braces to the frame for added stability and weight support. Cut the braces to fit snugly between the aprons and supports or across the length of the bench frame. Attach the braces using wood screws and wood glue, ensuring they are securely fastened and provide additional rigidity to the structure. Cross braces can be placed diagonally beneath the seat for extra support, while corner braces can be added to reinforce the leg joints.
Checking Alignment
Use a carpenter’s square to ensure the frame is square and level before proceeding to the finishing touches. Double-check all joints and connections for stability and make any necessary adjustments to maintain proper alignment. A well-aligned frame will ensure the bench is sturdy and balanced, providing long-lasting functionality and durability. Once satisfied with the alignment and stability, proceed to sanding and finishing the bench to complete your DIY project.
Finishing Touches
Sanding:
- Sanding Frame: Smooth any rough edges or surfaces using sandpaper or an orbital sander. Start with a medium-grit sandpaper to even out any significant roughness and then progress to a finer grit for a smooth finish. Pay special attention to the corners and edges to ensure there are no splinters or sharp areas that could cause injury.
- Sanding Seat: Sand the seat surface to ensure it is smooth and free of splinters. Begin with medium-grit sandpaper to remove any large imperfections, then switch to fine-grit sandpaper for a completely smooth and comfortable seating surface. Wipe down the seat with a damp cloth to remove any dust before moving to the next step.
Staining or Painting:
- Preparation: Apply a wood conditioner if you plan to stain the bench. This helps to ensure even color absorption and prevent blotchiness. Follow the manufacturer’s instructions for the best results.
- Application: Use a paintbrush or foam roller to apply wood stain or paint evenly to the bench frame and seat. Work in the direction of the wood grain for a uniform finish. Apply thin, even coats, allowing each coat to dry as per the manufacturer’s recommendations before applying subsequent layers for a rich and durable finish.
Sealing:
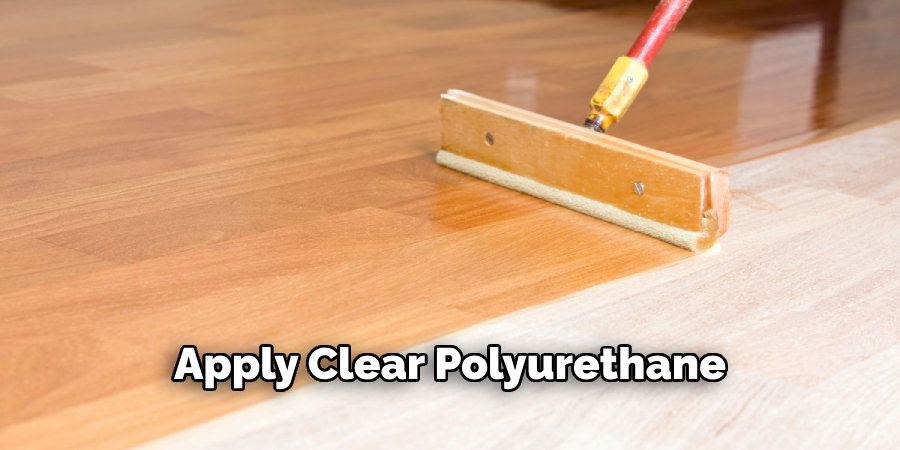
- Protective Coat: Apply a clear polyurethane sealant or wood varnish to protect the bench from moisture, spills, and wear. This step is crucial for ensuring the longevity and durability of your bench, especially if it will be used frequently or exposed to the elements.
- Drying Time: Allow the finish to dry completely according to the manufacturer’s instructions before using the bench. Proper drying time is essential to ensure the protective coat is fully cured and the bench is safe for use.
Assembly and Installation
Final Inspection
Before positioning your newly constructed bench, conduct a thorough final inspection. Check for any loose screws, rough spots, or imperfections that could affect the bench’s stability or appearance. Tighten any loose screws and sand down any rough areas to ensure the bench is safe and comfortable to use.
Placement
Carefully position the bench in the desired location within your dining area. Make sure it is stable and level to avoid wobbling. Use a level to double-check that the bench sits evenly on the floor. Adjust the placement as necessary to ensure a balanced and aesthetically pleasing setup.
Anchoring (Optional)
For added stability and safety, especially in households with children or high traffic, consider anchoring the bench to the floor or wall. This extra step can prevent the bench from tipping over or shifting during use. Use appropriate anchoring hardware and follow manufacturer instructions to secure the bench firmly in place.
Maintenance Tips
Regular Cleaning
To ensure your bench remains in pristine condition, regularly wipe it down with a damp cloth to remove dust, spills, and any other debris. This simple routine can help to maintain the bench’s appearance and extend its longevity.
Touch-Ups
Periodically inspect the bench for signs of wear and tear, particularly on the finish. If you notice any fading or damage, reapply the stain or a protective sealant to keep the bench looking its best and to protect the wood from moisture, scratches, and other potential damage.
Preventive Measures
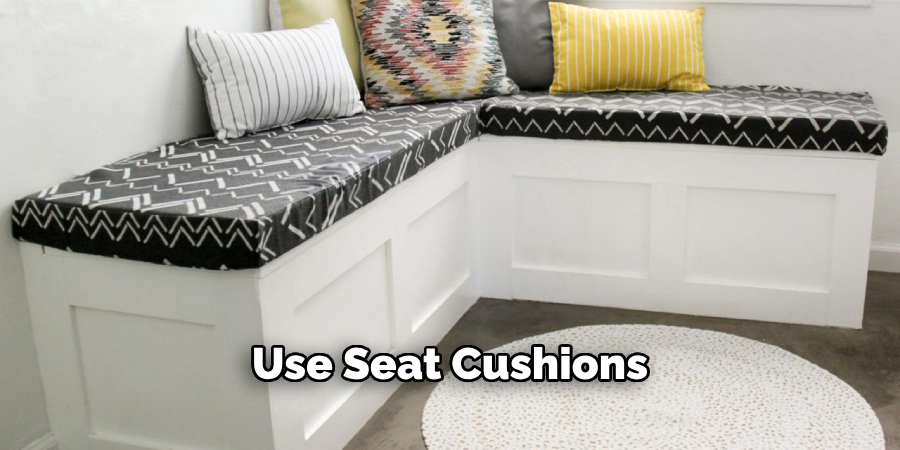
To minimize the risk of scratches and other damage from daily use, consider using coasters, placemats, or seat cushions. Coasters can prevent water rings from beverages, while placemats protect against spills and heat damage. Seat cushions add comfort and help to reduce the likelihood of dents or scratches on the seating surface. Taking these preventive measures can significantly enhance the bench’s durability and aesthetic appeal.
Conclusion
Building a dining bench involves several key steps from start to finish. Begin with meticulous planning, gathering your materials and tools, and creating a design that fits your space. Progress through the construction phase by assembling the frame, adding seat boards, and reinforcing the structure with additional supports. Take care to ensure everything is properly aligned. Next, focus on the finishing touches by sanding the bench thoroughly, applying your choice of stain or paint, and sealing it with a protective coat. Finally, conduct a final inspection, position the bench in its desired location, and consider anchoring it for added stability.
Completing a DIY furniture project like this brings immense satisfaction and the joy of having a unique, custom-built piece. To further personalize your bench, experiment with different designs, colours, and materials that reflect your style. Remember, knowing “how to build a dining bench” empowers you to create beautiful, functional furniture tailored to your home.