
Are you looking to create a peaceful and stylish space for personal grooming? A bedroom vanity is an ideal choice, providing the perfect place to apply makeup, do your hair, or simply take a moment out of the day for some quality self-care. With its timeless design and easy-to-install features, setting up your own vanity can be as simple as pie!
In this post on how to build a bedroom vanity, we’ll walk you through how to build your very own bedroom vanity that looks professionally done – with no professional experience required! Read on to learn more about how you can transform any room into a private oasis.
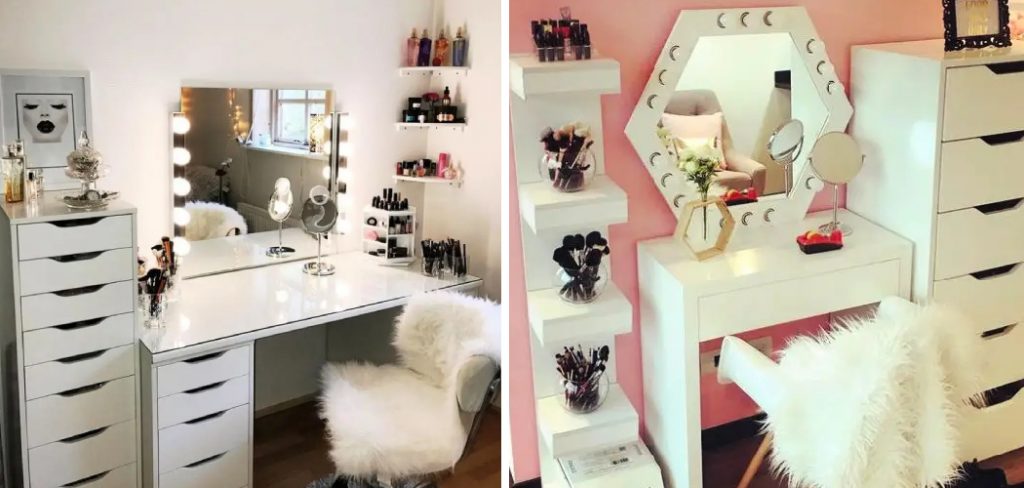
What is a Bedroom Vanity?
A bedroom vanity is a piece of furniture designed to hold items such as makeup, hair care products, and other personal grooming essentials. Most often found in bedrooms, these pieces provide an extra level of convenience for individuals who want to get ready without having to go elsewhere. They also offer a great way to take some time out for yourself and make your bedroom feel like a true sanctuary.
Tools & Materials Needed to Build a Bedroom Vanity
Before you get started on your vanity building project, make sure you have the right tools and materials:
Saw
This is used to cut the wood for your vanity.
Sandpaper
This will help you achieve a smooth finish on the wood surfaces.
Wood Glue
To bond pieces of wood together securely.
Nails and Screws
These are used to keep the frame of your vanity sturdy and secure.
Paint or Stain
This will give your vanity the color and finish you desire.
Hardware (Hinges, Knobs, Handles)
These are used to assemble the drawers and door of your vanity.
Measuring Tape
For measuring the length and width of your vanity frame.
Wood Screws
These are used to secure the frame of your vanity.
9 Easy Step-by-step Guides on How to Build a Bedroom Vanity
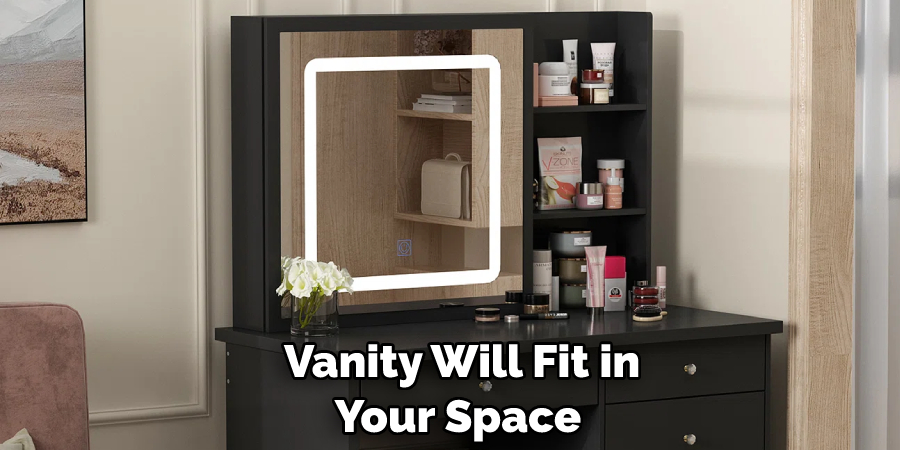
Step 1.: Measure the Size of Your Space
This is important for making sure that the vanity will fit in your space. You’ll need to measure the length and width of the area where you want to place your vanity. But make sure to leave some extra room for the frame and drawers. Otherwise, your vanity won’t fit. You can also measure the doorways to make sure you won’t have any problems getting it into your bedroom.
Step 2: Measure the Wood for Your Frame
Now that you have an idea of how much space you have, decide on the size of your frame and cut it accordingly with a saw. Make sure that all the pieces are cut to the same size. If they’re not, your vanity won’t be level. This will also ensure that your vanity looks professionally done. If you can, try to get the wood pre-cut at the store. This will save you time and energy from cutting it yourself.
Step 3: Assemble the Frame of Your Vanity
Using wood glue, nail and screws, assemble your vanity frame. This will provide a sturdy base for your vanity. If you prefer, you can also hire a professional to do this for you. That way, you don’t have to worry about making any mistakes. It’s also important to make sure that all the pieces are level and aligned correctly.
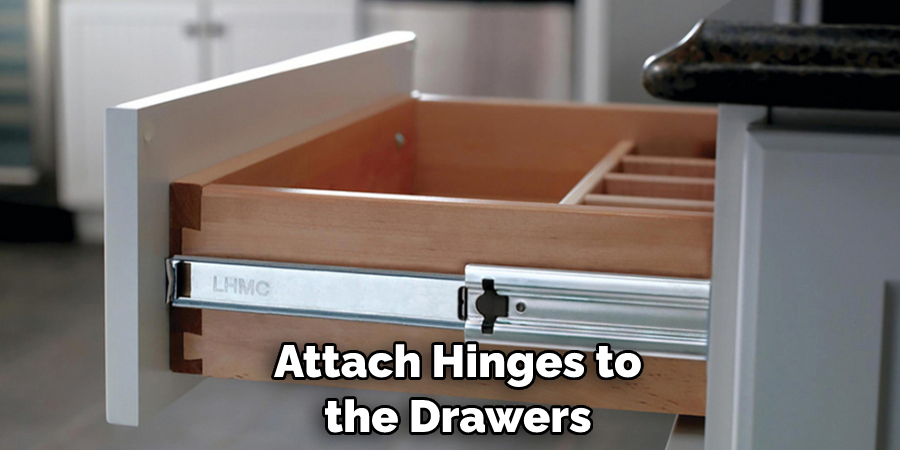
Step 4: Attach Hinges and Hardware to Drawers & Door
Attach hinges to the drawers and door of your vanity using hardware such as knobs and handles. This will make it easier for you to open and close them when needed. If you have the right tools, these can be done by yourself. Otherwise, hire a professional to do them for you. This step is necessary to ensure the functionality of your vanity.
Step 5: Secure the Frame with Wood Screws
Securely fasten your frame by screwing in wood screws at least every 6 inches along its edges. This will help keep everything in place during use. If you do not want visible screws, make sure to countersink them into the wood. This will create a smoother finish and look more professional. It’s also important to check that all the screws are tight and secure.
Step 6: Sand and Paint or Stain
Using sandpaper, smooth out the edges of your vanity. After that, choose a paint or stain color to give it the finishing touch you desire. It’s better to use two coats of paint or stain for a more durable finish. Make sure that all the surfaces are covered to avoid any damage over time. If you want to add a special touch, consider adding some decorative touches such as stenciling or decoupage.
Step 7: Add Your Vanity Top
Securely place your vanity top on top of the frame, making sure it is perfectly level and secure. Now you have your very own bedroom vanity! But before adding any drawers or doors, make sure to measure the length and width of your vanity top. This will ensure that everything fits perfectly.
Step 8: Install the Drawers & Door
Install the drawers and door onto the frame, making sure they are firmly in place. It’s important to make sure all the screws and hardware are tightened properly. This will create a secure foundation for your vanity. If you are installing a door, make sure that it opens and closes smoothly. Otherwise, it may interfere with the functionality of your vanity.

Step 9: Accessorize with Personal Belongings
Now that your bedroom vanity is all set, add some personal belongings such as grooming items and decorations to make it feel like your own. Always make sure that the items are placed in a way where they won’t be knocked over or damaged.
This will ensure that your vanity looks as great as it did when you first installed it.
And there you have it! After following these nine simple steps, you should now have a beautiful bedroom vanity that looks professionally done – all without needing any professional experience! Now sit back and enjoy the beauty of your new DIY project.
Hopefully, this article on how to build a bedroom vanity has been helpful in giving you the knowledge and confidence to create one of your very own. So what are you waiting for? Get started today and transform any room into a private oasis with your own handmade vanity – you won’t regret it!

Do You Need to Hire a Professional?
If you find yourself overwhelmed with the task of building a bedroom vanity, it might be best to hire a professional. They will have the right tools and know-how to get your project done quickly and efficiently. It also helps to free up some time for other tasks or hobbies.
Building a bedroom vanity can be an enjoyable and rewarding experience – so why not give it a try? With this guide as your starting point, you’ll soon be creating beautiful pieces that make any room feel like home!
Frequently Asked Questions
Q: What Type of Wood Should I Use for a Bedroom Vanity?
A: The type of wood you use is up to your preference. Some good options include pine, oak, maple and cherry.
Q: How Long Does it Take to Build a Bedroom Vanity?
A: It depends on your skill level and the size of the vanity you are building. Generally speaking, it can take anywhere from one to two days to complete a simple vanity.
Q: How Much Does it Cost to Build a Bedroom Vanity?
A: The cost will vary based on the materials used and how complex the design is. A basic bedroom vanity can range from $150-$500 in total cost. Of course, there are also high-end options that will cost more than this.
Q: Do I Need Special Tools to Build a Bedroom Vanity?
A: You will need some basic tools such as a saw, drill, hammer and screwdriver in order to build your vanity. You may also need additional tools such as a jigsaw, router or planer if you are creating more intricate designs.
Conclusion
Thanks for reading this article on how to build a bedroom vanity. Building a bedroom vanity is an incredibly rewarding experience! Not only will you have a beautiful piece of furniture in your home, but you’re also saving money by creating it yourself. Whether you use recycled materials or buy the necessary pieces, the options are endless for adding your own personal touch to a homemade vanity.
With some patience and planning, anyone is capable of DIY-ing their very own vanity. Plus, when friends come over and admire your magnificent creation, you get to bask in the glory of knowing you made it all by yourself!
Aspiring carpenters shouldn’t be intimidated when starting their first project; with enough practice and skill-building you can make just about anything happen in your home. Don’t be afraid to take on a project like this; just make sure that safety always comes first!