Bleaching cabinets is an effective way to refresh and modernize your kitchen or bathroom by lightening their color and removing stains or discoloration. This process can breathe new life into dark or outdated cabinets, creating a brighter and more contemporary look. This article aims to provide a comprehensive guide on how to bleach cabinets.

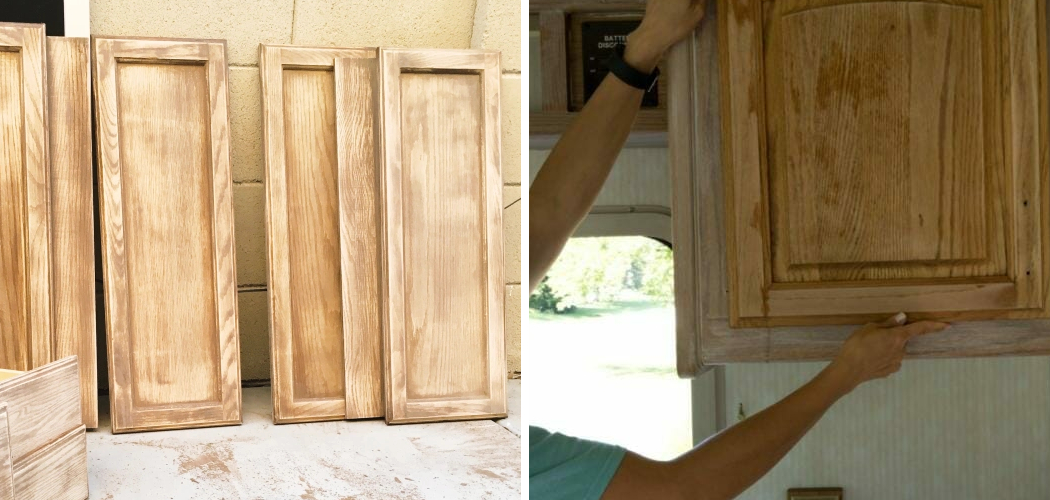
Whether you are dealing with natural wood cabinets or those that have been previously stained or painted, bleaching can help achieve a uniform and clean appearance. The process begins with removing all cabinet doors, drawers, and hardware to ensure thorough access to all surfaces.
Next, the cabinets need to be cleaned and sanded to remove any dirt, grease, or existing finish that could interfere with the bleaching agent. Various bleaching agents, such as oxalic acid, chlorine bleach, or hydrogen peroxide, can be used depending on the type of wood and desired results. Applying the bleach carefully and evenly is crucial, followed by neutralizing and rinsing the wood to prevent damage.
Finally, once the cabinets are dry, a light sanding and application of a protective finish will seal the wood and enhance its new, lighter color. This guide will provide detailed steps and precautions for safely and effectively bleaching your cabinets, transforming them into a stunning focal point of your home.
10 Methods How to Bleach Cabinets
1. Clean and Prep the Cabinets
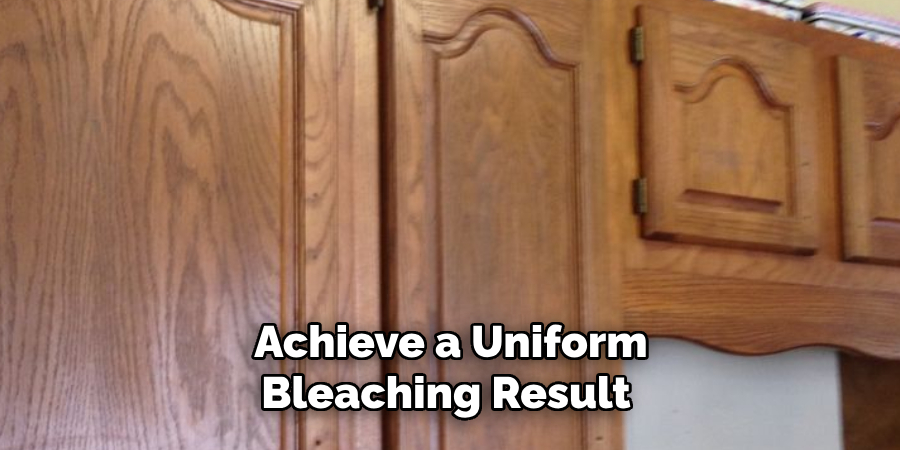
Before bleaching, it’s crucial to thoroughly clean and prep the cabinets. Use a mild detergent mixed with warm water to scrub the surfaces, removing grease, dirt, and grime. Pay special attention to areas around handles and edges where buildup is common. Rinse with clean water and allow the cabinets to dry completely. This step ensures that the bleach can penetrate the wood evenly and effectively. Proper cleaning is essential to achieve a uniform bleaching result and to avoid trapping dirt under the bleach.
2. Remove Existing Finish
To allow the bleach to penetrate the wood, you need to remove any existing finish. This typically involves sanding or using a chemical stripper. Sanding can be done with medium-grit sandpaper (120-150 grit) to remove the finish, followed by fine-grit sandpaper (220 grit) to smooth the surface.
Alternatively, apply a chemical stripper according to the manufacturer’s instructions, then scrape off the old finish with a putty knife. After stripping, wipe down the cabinets with a damp cloth to remove any residue. Removing the existing finish ensures that the bleach reaches the raw wood for maximum effectiveness.
3. Choose the Right Bleach
Different types of wood bleach are available, each suitable for specific purposes. Common types include household chlorine bleach, oxalic acid, and two-part wood bleach. Chlorine bleach is best for removing dye stains and lightening the wood color.
Oxalic acid is effective for removing iron stains and dark spots caused by water damage. Two-part wood bleach (A/B bleach) is used for deep bleaching and significantly lightening the wood’s natural color. Choose the appropriate bleach based on the type of stains and the desired level of lightening.
4. Test a Small Area First
Before applying bleach to the entire cabinet, test it on a small, inconspicuous area. This will help you gauge the reaction of the wood to the bleach and ensure that you achieve the desired color without damaging the wood. Apply a small amount of bleach to the test area and allow it to sit for the recommended time. Rinse and dry the area to see the final color. This test helps prevent unexpected results and gives you confidence in the bleaching process. It’s a crucial step to avoid costly mistakes on larger surfaces.
5. Apply Bleach Evenly
When applying bleach, it’s essential to ensure even coverage to avoid streaks and uneven color. Use a clean, synthetic brush or sponge to apply the bleach, working in the direction of the wood grain. Apply a consistent layer and avoid overlapping strokes that could result in darker lines. Allow the bleach to sit for the recommended time, typically 10-30 minutes, depending on the product and desired effect. Applying bleach evenly is key to achieving a uniform lightening effect across the entire surface of the cabinets.
6. Neutralize the Bleach
After the bleach has worked on the wood for the desired time, it’s crucial to neutralize it to stop the bleaching action and prevent damage to the wood. For chlorine bleach, rinse the surface thoroughly with clean water. For oxalic acid, use a mixture of baking soda and water. For two-part wood bleach, neutralize with a solution of equal parts white vinegar and water.
Apply the neutralizing solution with a clean sponge or cloth, then rinse with clean water and allow the cabinets to dry completely. Neutralizing the bleach ensures that it doesn’t continue to lighten the wood and helps preserve the wood’s integrity.
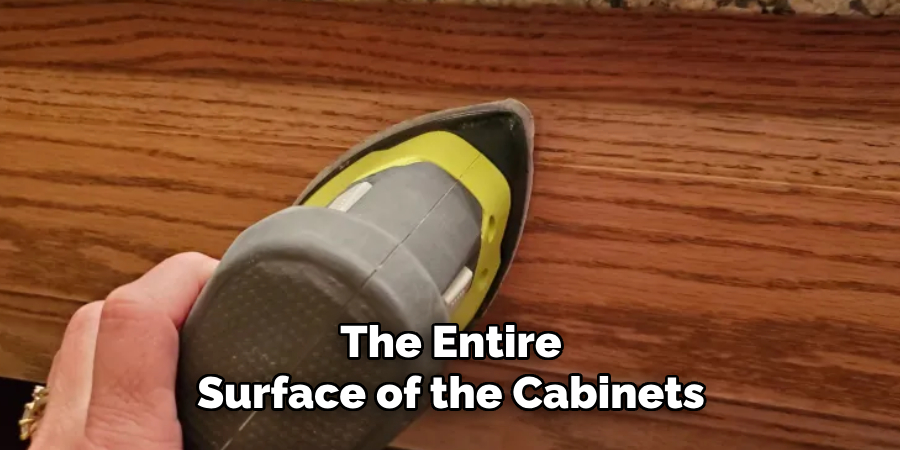
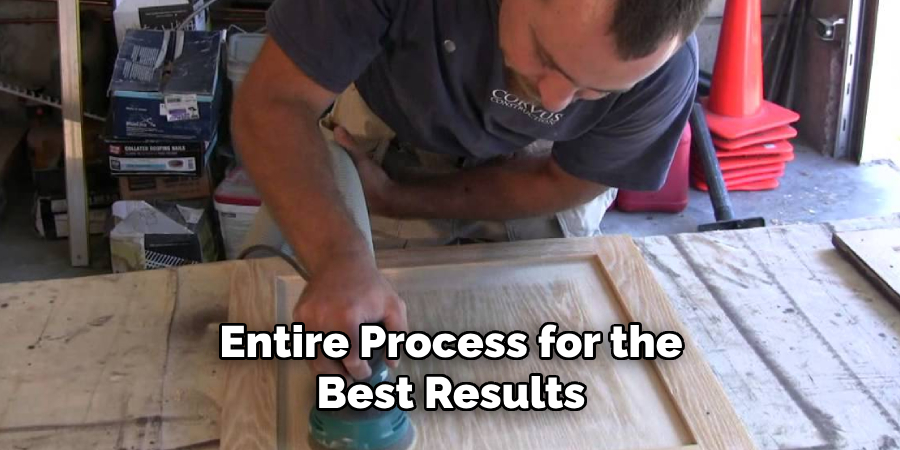
7. Sand the Surface Again
Once the cabinets are dry, lightly sand the surface with fine-grit sandpaper (220 grit) to remove any raised grain or rough spots caused by the bleaching process. Sanding smooths the surface and prepares it for any subsequent treatments, such as staining or sealing. Wipe down the cabinets with a tack cloth to remove dust. This step ensures a smooth, even surface that’s ready for the next stage of finishing. Proper sanding is essential for achieving a professional-looking final result.
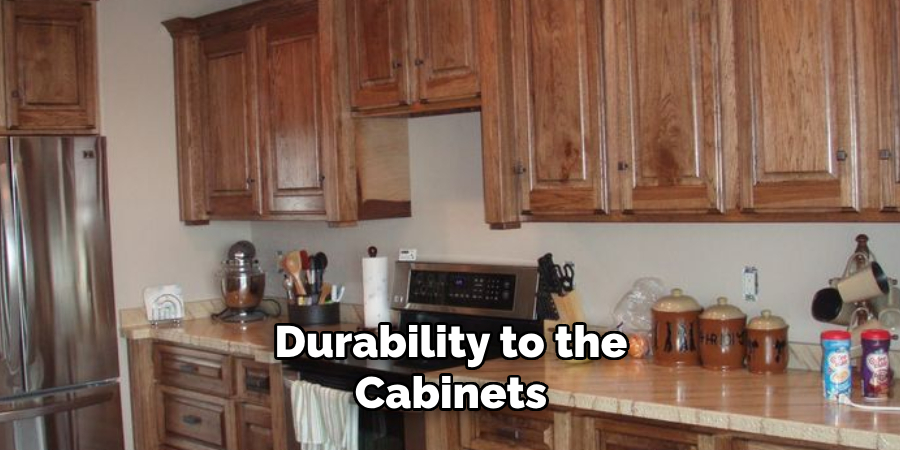
8. Stain or Seal the Wood
After bleaching and sanding, you may want to apply a stain or sealant to protect the wood and enhance its appearance. If you choose to stain, select a color that complements the lightened wood and apply it with a clean brush or cloth, following the wood grain.
Allow the stain to penetrate for the recommended time, then wipe off any excess with a clean cloth. For sealing, apply a clear wood sealant or polyurethane to protect the wood from moisture and wear. Staining or sealing helps preserve the bleached wood and adds durability to the cabinets.
9. Reassemble the Cabinets
If you removed any hardware or doors during the preparation process, reassemble the cabinets after the bleaching, sanding, and finishing steps are complete. Ensure that all hardware is cleaned and possibly refinished to match the newly bleached wood. Reattach doors, knobs, and handles securely, making sure they are properly aligned. This step brings your cabinets back to their functional state and completes the transformation process. Reassembly should be done carefully to avoid damaging the freshly bleached and finished surfaces.
10. Regular Maintenance
To maintain the fresh, light appearance of your bleached cabinets, regular maintenance is essential. Clean the cabinets periodically with a mild detergent and water to remove dirt and grease. Avoid abrasive cleaners that can damage the finish. Consider applying a furniture polish or wax to protect the surface and enhance the wood’s natural luster.
Regular maintenance helps preserve the appearance and prolongs the life of your bleached cabinets. Proper care ensures that your cabinets remain beautiful and functional for years to come.
Things to Consider When Bleaching Wood Cabinets
- Type of Wood: Different wood species react differently to bleaching. Softer woods like pine may absorb bleach more readily than harder woods like oak or maple. Consider the type of wood before deciding on the bleaching process to ensure the best outcome.
- Safety Precautions: Bleaching agents can be harmful if not handled correctly. Always wear protective gear such as gloves, goggles, and a mask. Ensure good ventilation in the workspace to avoid inhaling fumes and to allow any volatile chemicals to dissipate.
- Condition of Wood: The condition of the cabinets can also affect the bleaching process. Wood with pre-existing stains, finishes, or damage may require more preparation before bleaching. Evaluate the condition of your cabinets to avoid unexpected results.
- Bleach Neutralization: Neutralizing agents are crucial after using bleach, as they stop the chemical process and prevent further damage. Make sure you have the correct neutralizing agents on hand for the type of bleach you are using.
- Environmental Impact: Consider the environmental impact of using chemicals in your home. Some bleaching agents can be hazardous to the environment. Look for eco-friendly options or ways to minimize the use of harmful chemicals.
- Time and Effort: The bleaching process can be time-consuming. From preparation to the final finish, each step requires careful attention to detail. Make sure you have the time to commit to the entire process for the best results.
Conclusion
Bleaching cabinets can significantly transform the look of your kitchen or any room, giving it a fresh, updated appearance. The ten methods outlined—cleaning and prepping the cabinets, removing existing finish, choosing the right bleach, testing a small area first, applying bleach evenly, neutralizing the bleach, sanding the surface again, staining or sealing the wood, reassembling the cabinets, and regular maintenance—provide a comprehensive guide to achieving professional results.
Each step is crucial in ensuring that the bleaching process is effective and that the final finish is smooth, even, and durable. By following these methods for how to bleach cabinets, you can rejuvenate your cabinets and enjoy a bright, fresh look that enhances your home’s aesthetic appeal.