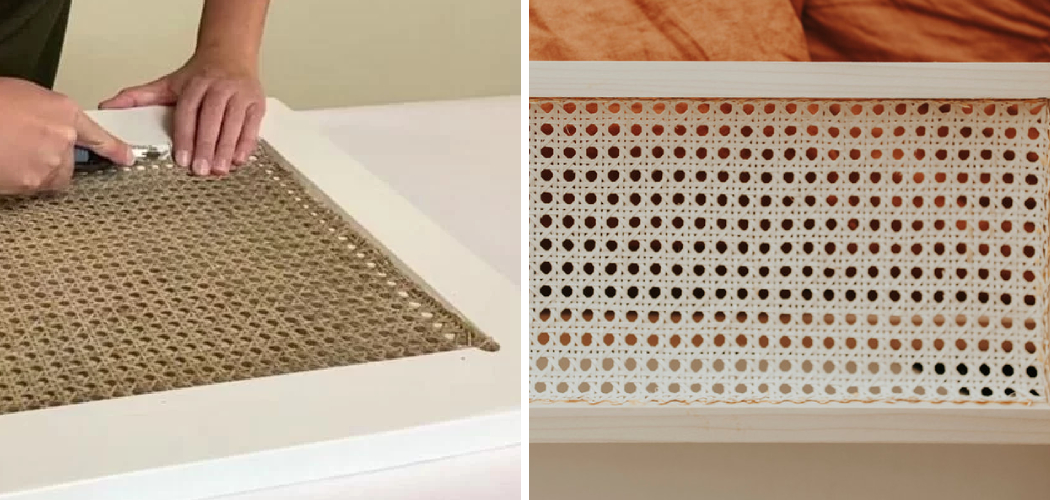
Are you looking for a way to add some rustic charm to your wooden furniture? Or perhaps you want to repair an old rattan chair that has been in your family for generations. Whatever the reason, knowing how to attach rattan to wood can come in handy when it comes to DIY projects and home repairs.
Attaching rattan to wood can enhance various furniture pieces with a beautiful and functional touch of natural elegance and durability. Whether you’re restoring an old chair or crafting a new piece of decor, combining these two materials can seem daunting at first. This guide aims to simplify the task by providing clear, step-by-step instructions, ensuring that even beginners can achieve professional results.
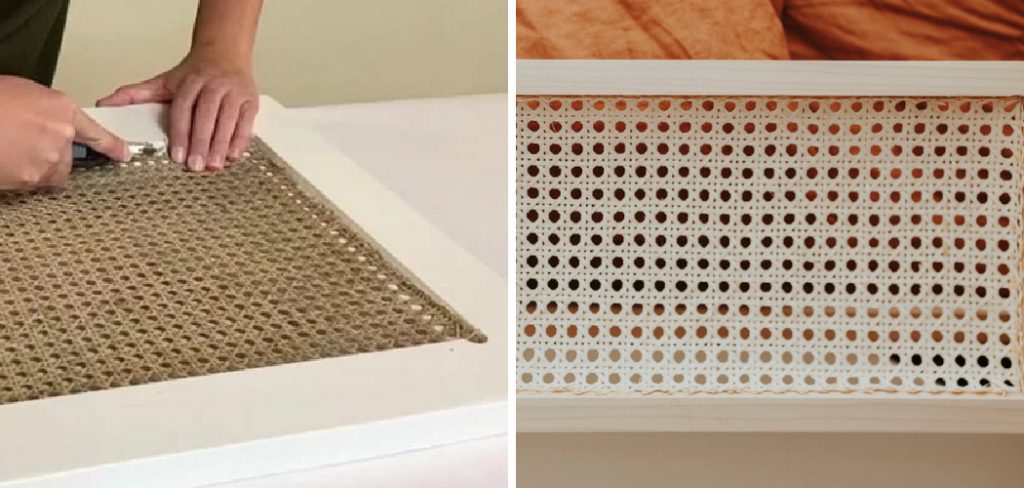
By carefully selecting the right tools and techniques, you can create stunning wooden items with intricate rattan details that are both sturdy and aesthetically pleasing.
What Will You Need?
Before you begin attaching rattan to wood, make sure that you have all the necessary materials and tools ready. Here’s a list of essential items you’ll need to complete the process successfully:
- Rattan cane or reed
- Wood glue
- A sharp knife or scissors
- Measuring tape
- Clamps (optional)
- Sandpaper (optional)
- Varnish or paint (optional)
Once you have all these supplies, you’re ready to start the process of attaching rattan to wood.
10 Easy Steps on How to Attach Rattan to Wood
Step 1: Measure and Cut the Rattan
Start by measuring the length and width of the area on the wooden piece where you want to attach the rattan. Use the measuring tape to get accurate dimensions. Then, transfer these measurements to the rattan cane or reed. Carefully cut the rattan to the required size using a sharp knife or scissors. Ensuring precise measurements and clean cuts is crucial for a professional-looking finish.
Step 2: Prepare the Wood Surface
Once you have cut the rattan to the required size, it’s time to prepare the wood surface. Start by cleaning the area where you plan to attach the rattan. Use sandpaper to smooth out any rough or uneven spots. This will help the rattan adhere better and reduce the chance of any bumps or gaps. If you’re planning to varnish or paint the wood, this is the perfect time to do so. Make sure to let it fully dry before proceeding to the next step. This preparation phase is essential for ensuring a durable and aesthetically pleasing final product.
Step 3: Apply Wood Glue
With the wood surface prepared and the rattan pieces cut to size, the next step is to apply the wood glue. Carefully apply a thin, even layer of wood glue to the area on the wood where the rattan will be attached. Be sure not to overload the surface with glue, as this can cause it to seep out from the edges when pressed down, making your project look messy. A small brush can help you spread the glue evenly, ensuring maximum adhesion.
Step 4: Position the Rattan
Carefully place the cut rattan pieces onto the glued surface of the wood. Make sure to align the rattan with the measurements and cut edges perfectly, avoiding any overlaps or gaps. Gently press down on the rattan to ensure that it makes full contact with the wood and glue. If you have clamps, use them to hold the rattan in place while the glue dries.
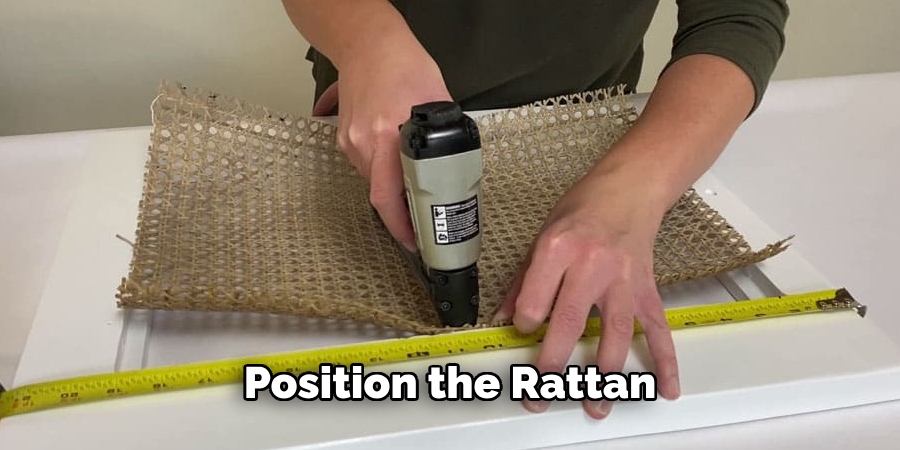
This will help maintain strong adhesion and prevent the rattan from shifting during the drying process. If clamps are not available, you can use heavy objects to keep the rattan pressed against the wood. Allow the glue to dry completely as per the manufacturer’s instructions before moving on to the next step. Proper positioning is key to achieving a clean and professional finish.
Step 5: Secure with Clamps or Weights
Once the rattan is positioned correctly, securing it in place is crucial to ensure a strong bond. If you have clamps, carefully place them around the edges of the rattan and wood, tightening them just enough to hold the materials together firmly without causing damage.
If you don’t have clamps, you can use heavy objects, such as books or weights, to press down on the rattan. Distribute the weight evenly to avoid any shifting. Leave the setup undisturbed until the glue is fully dried—a process that may take several hours or overnight, depending on the glue’s instructions. Proper securing will ensure the rattan adheres smoothly and securely to the wood.
Step 6: Check Adhesion
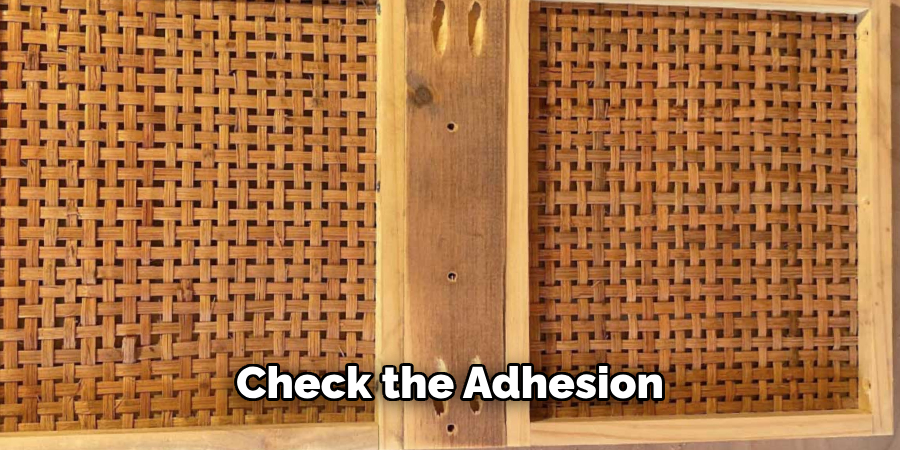
After allowing ample time for the glue to dry, it’s important to check the adhesion of the rattan to the wood. Carefully remove the clamps or weights and gently test the edges of the rattan to ensure it is firmly attached to the wood surface. If any areas seem loose or are lifting, apply a bit more wood glue and press down until secure. Allow additional drying time as needed. Ensuring robust adhesion is vital for the longevity and durability of your project.
Step 7: Trim Excess Rattan
If there is any excess rattan extending beyond the edges of the wood, now is the time to carefully trim it away. Use a sharp knife or scissors to cut the rattan flush with the edge of the wood. This step is essential for achieving a neat and professional appearance. Take your time to ensure that the cuts are clean and accurate.
Step 8: Sand the Edges
Once the excess rattan is trimmed, use fine-grit sandpaper to gently sand the edges where the rattan meets the wood. This will smooth out any rough edges and blend the materials seamlessly. Be careful not to sand too aggressively, as this could damage the rattan or wood surface. This finishing touch will enhance the overall look and feel of your project.
Step 9: Apply Finish
If desired, you can apply a finish to your project to enhance its appearance and protect the materials. Choose a clear varnish, paint, or stain that complements the wood and rattan. Apply the finish according to the product’s instructions, using a brush or cloth for an even coat. Allow it to dry thoroughly before handling the item. A proper finish can add a beautiful sheen and extend the life of your work.
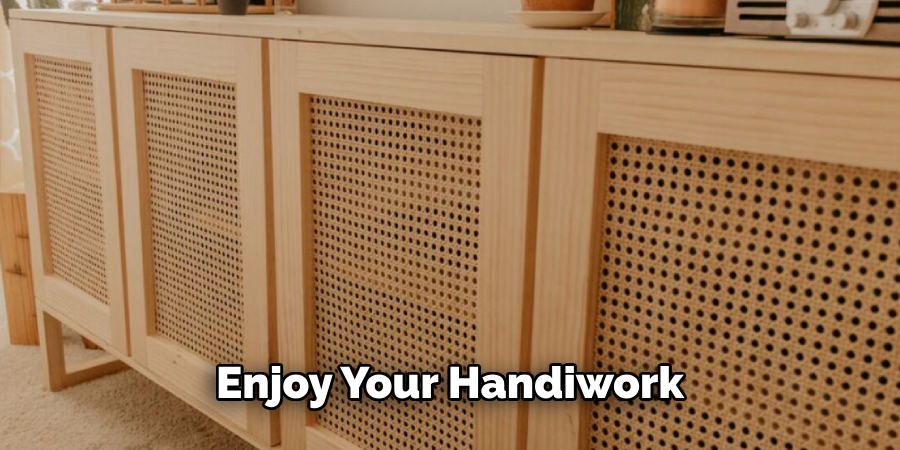
Step 10: Enjoy Your Handiwork
With the finishing touches complete, your project is now ready for use. Take pride in your handiwork, whether it’s a beautifully restored chair or a new decorative piece. The combination of wood and rattan not only adds a charming aesthetic but also provides durability and functionality. Enjoy the fruits of your labor and consider exploring other DIY projects to further hone your skills.
By following these steps and taking the time to ensure precision and attention to detail, you can successfully attach rattan to wood and create stunning pieces that are sure to impress.
5 Additional Tips and Tricks
- Use Strong Adhesives: Choose a high-strength wood adhesive or epoxy resin to ensure a secure bond between the rattan and wood. Apply the adhesive evenly and press the rattan firmly against the wood, allowing it to dry completely as per the manufacturer’s instructions.
- Pre-Drill Holes: When using screws or nails, pre-drill small holes in the rattan to prevent it from splitting. This step helps in accurately aligning the rattan with the wood and makes the attachment process smoother.
- Utilize Clamps: While the adhesive sets or while you are securing the rattan with nails, use clamps to hold the rattan tightly against the wood. This ensures that the rattan adheres properly and maintains a flat surface.
- Sand the Surface: Lightly sand the surface of both the rattan and wood where they will be joined. This creates a rough texture that improves the grip of the adhesive and ensures a stronger bond.
- Apply a Protective Finish: Once the rattan is securely attached to the wood, apply a protective finish such as varnish or polyurethane. This not only enhances the durability of the bond but also provides a polished look to your finished project.
5 Things You Should Avoid
- Using Weak Adhesives: Avoid using low-strength or generic adhesives that may not hold up well over time. This can result in a weak bond that could eventually fail.
- Over-Tightening Screws or Nails: Be careful not to over-tighten screws or nails, as this can cause the rattan to split or crack. Always ensure that the pressure applied is just enough to secure the attachment without damaging the material.
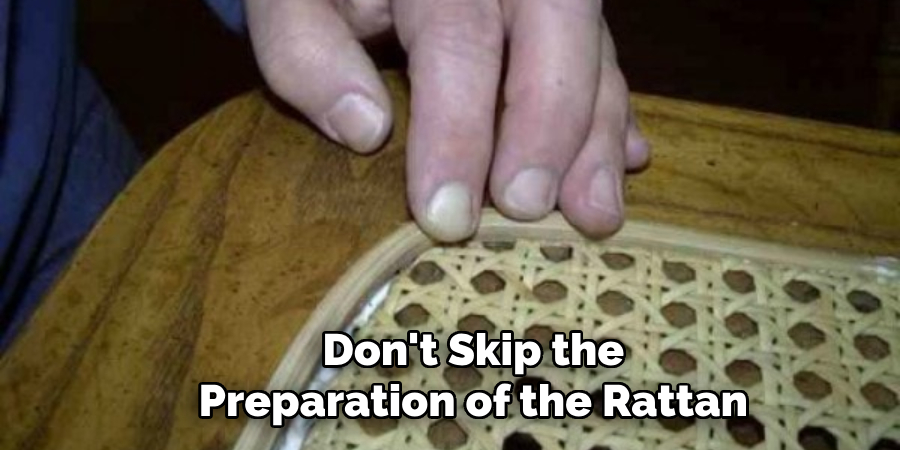
- Skipping Surface Preparation: Do not skip the preparation of the rattan and wood surfaces before bonding. Failing to sand the surfaces or clean them properly can lead to a suboptimal bond, decreasing the longevity and strength of the attachment.
- Ignoring Drying Times: It is crucial to adhere to the recommended drying times for adhesives and finishes. Rushing this process can compromise the bond, leading to a weaker connection between the rattan and the wood.
- Neglecting Environmental Factors: Avoid exposing your project to extreme temperatures, moisture, or direct sunlight during the bonding process. These environmental factors can affect the adhesive properties and the overall quality of the bond.
Conclusion
How to attach rattan to wood involves a combination of proper materials, careful preparation, and meticulous execution.
You can achieve a durable and aesthetically pleasing bond by using strong adhesives, pre-drilling holes, clamps, and surface preparation. Additionally, applying a protective finish will enhance your project’s longevity and provide a polished final touch. Avoid common pitfalls such as using weak adhesives, over-tightening fasteners, and neglecting drying times to ensure a robust attachment.
By following these guidelines and tips, you can confidently combine rattan and wood in your projects, achieving professional-quality results.
