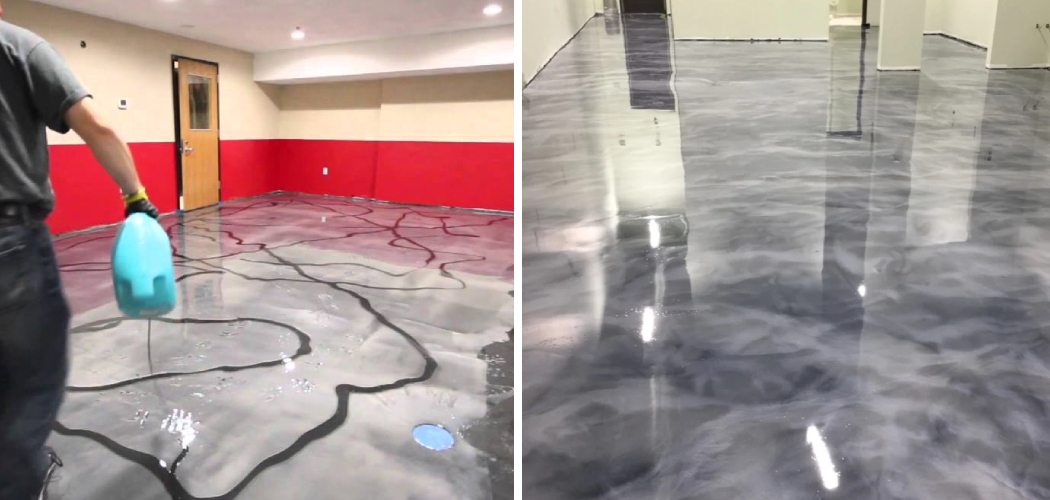
Have you ever seen a luxurious-looking metallic epoxy floor in homes and commercial buildings, and wished your own floors to have the same attractive look? Now you can! With some patience and the right steps, anyone can put down a stunning metallic epoxy finish that will give their floors an air of sophistication.
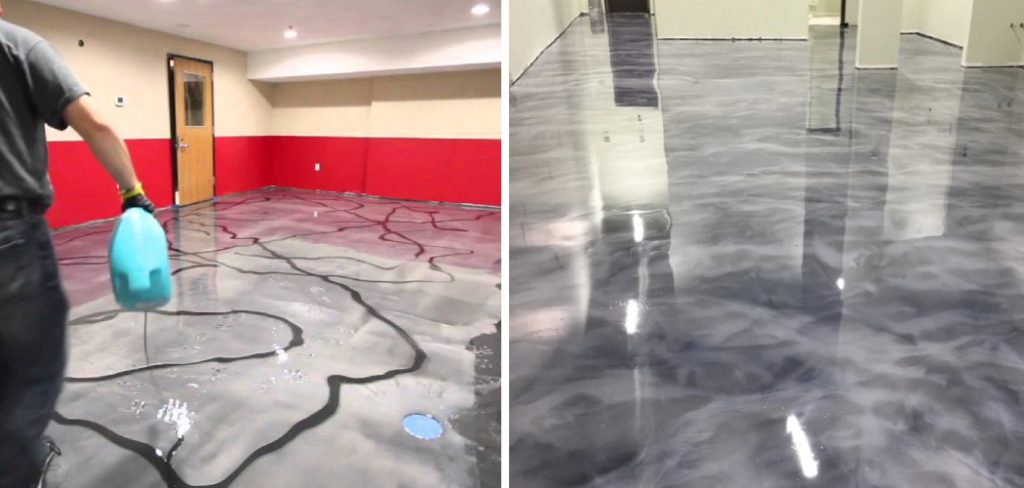
In this blog post on how to apply metallic epoxy floor we’ll take a closer look at how to prepare for applying a metallic epoxy floor coating, what supplies are needed, and finally share our expert tips on how to lay it out perfectly. Keep reading to find out more!
What is Metallic Epoxy Floor?
A metallic epoxy floor is a type of epoxy finish used to create unique and stylish floors. It usually consists of several layers of coatings that are mixed with metallic powders, which give it its shimmering appearance. In addition to being aesthetically pleasing, it can also be very durable and resistant to wear and tear due to the strong bond between the molecular structure of the epoxy and the metallic powder.
Needed Materials
Given below is a list of the materials you’ll need when applying metallic epoxy floor:
Epoxy Resin
This is the basis of your metallic epoxy floor coating. It’s important to choose a high-quality product that has been tested and approved for use on floors.
Metallic Powders
This will be used to give your floor its shimmering effect. Available in a variety of colors and shades, you can choose the one that best matches your decor.
Thinners
These products are used to thin out the epoxy so it’s easier to spread and work with.
Bonding Agent
This is an optional ingredient that helps create a stronger bond between the epoxy layers and the substrate material underneath. It will also help increase adhesion between the layers and ensure a smooth finish.
Masking Tape
This will be used to tape off any areas that you don’t want to be covered in epoxy, such as door frames, baseboards, etc.
Mixers
These products are used to mix the epoxy and metallic powders together. They come in manual and electric blender varieties.
Paint Rollers
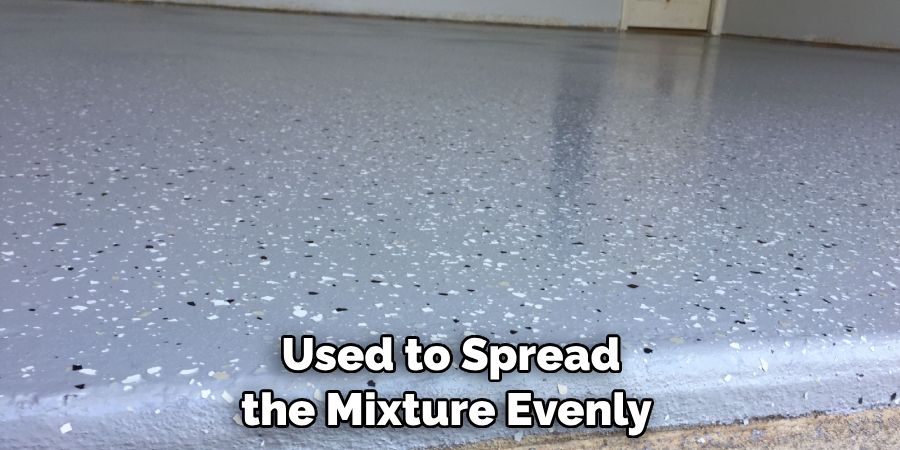
These are used to spread the mixture evenly and smoothly over the floor. Scrapers These tools are used to ensure that the epoxy is properly smoothed out and that any air bubbles or imperfections are removed.
11 Step-by-step Guidelines on How to Apply Metallic Epoxy Floor
Step 1: Prepare the Floor
The most important step in applying a metallic epoxy floor is preparing the surface. Make sure to clean and dry it thoroughly, as any dirt or moisture left behind could cause a poor bond between the epoxy and the floor. If necessary, use a floor grinder to remove any existing coatings and even out the surface. That way, the epoxy will have a smooth surface to adhere to. It’s also important to make sure the floor is completely dust free before applying the epoxy.
Step 2: Repair Any Damage
It’s also important to repair any existing damage on the surface of your floor, such as cracks or chips. This will ensure that there are no weak spots in your final finish. If necessary, use an epoxy filler to plug in any holes or cracks before proceeding. This will help ensure a strong and even finish. It’s also important to mask off any areas that you don’t want to be covered in epoxy. But make sure to leave enough room for the edges of the epoxy so that it will adhere properly.
Step 3: Tape Off Any Areas You Don’t Want to be Covered
Use masking tape to cover up door frames, baseboards, etc., so that they don’t get accidentally covered with epoxy. It’s also important to leave enough room for the edges of the epoxy so that it will adhere properly. This will help ensure a neat final finish.
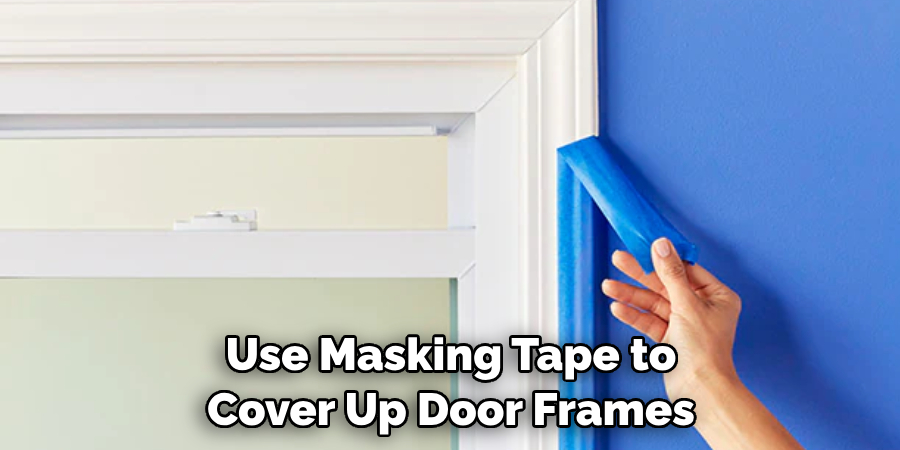
But make sure to remove the tape right away after the epoxy has dried, as it can otherwise peel off and cause damage. It’s also a good idea to apply painter’s tape on the walls and trim so that you have a clean line between the epoxy and surrounding areas. This will also help ensure a professional-looking finish.
Step 4: Mix Your Epoxy Resin and Metallic Powders
Using a mixer (manual or electric), mix together the epoxy resin and metallic powders according to the manufacturer’s instructions. This will help ensure a strong bond between the two materials and create an even finish.
Make sure to mix until all of the ingredients are fully incorporated and you have a smooth, liquid-like consistency. This will also help make sure that the epoxy is properly spread out on the floor. It’s also important to not mix too much, as any excess epoxy can be difficult to work with.
Step 5: Apply Your Bonding Agent
If you’re using a bonding agent, apply it evenly and make sure all areas of the floor are covered the workspace before continuing. But make sure to check the manufacturer’s instructions beforehand, as some bonding agents can only be used on certain types of floors. If you’re not using a bonding agent, skip this step.
Step 6: Begin Applying the Epoxy Mix
Using a paint roller, begin applying the epoxy mix to your floor in thin layers. It’s important not to put on too thick of a layer, as this could cause it to bubble or crack once dry. Allow each layer to dry completely before applying the next one. It’s also a good idea to use a scraper after each layer is applied, as this will help ensure that the epoxy is properly smoothed out and that any air bubbles or imperfections are removed.
Step 7: Use Scrapers to Level Out Any Imperfections
Once all of your layers have been applied, use scrapers to level out any imperfections and ensure that the epoxy is evenly spread across the floor. It’s important to use the right tools here, as using something too hard can cause damage or further imperfections. But make sure to check the manufacturer’s instructions beforehand, as some bonding agents can only be used on certain types of floors. If necessary. This will help ensure a smooth and even finish.
Step 8: Remove Any Excess Epoxy
Using a clean cloth, remove any excess epoxy that has been left behind. Be careful not to damage the underlying layers as you do this. This will help ensure a neat and professional-looking finish. However, make sure not to use too much force when wiping away the epoxy, as this can cause damage. It’s also important to make sure that all of the excess epoxy is removed before proceeding.

Step 9: Let Your Floor Dry Completely
Let your floor dry completely before walking on it or applying any furniture to it. This could take anywhere from 24-48 hours depending on the humidity in your area and other factors. But make sure to check the manufacturer’s instructions beforehand, as some bonding agents can only be used on certain types of floors.
Step 10: Apply a Topcoat for Protection
Once your floor is completely dry, you can apply a topcoat to give it additional protection against scratches and other wear and tear. This will also help keep your floor looking shiny and new for longer. But make sure to check the manufacturer’s instructions beforehand, as some bonding agents can only be used on certain types of floors.
Step 11: Enjoy Your New Metallic Epoxy Floor
Once the topcoat has been applied and dried, you can enjoy your new metallic epoxy floor! This type of flooring is easy to maintain and will give any room an elegant touch. It’s also highly durable, so you won’t have to worry about scratches or other forms of damage. And with proper care and maintenance, your floor will look like new for years to come.
We hope that this post on how to apply metallic epoxy floor was helpful in giving you a better understanding of what’s involved in the process. With the right materials and preparation, anyone can create a beautiful metallic epoxy finish for their floors! Have fun creating your own unique design! Good luck!
Do You Need to Use a Professional?
Although it is possible to apply a metallic epoxy floor coating yourself, it is highly recommended to use the services of a professional if you don’t have prior experience with this type of project.
A professional will be able to provide more accurate measurements and ensure that the job is done properly and safely. They can also offer advice on what materials are best for your particular situation. Hiring a professional is an investment that can save you time, money, and hassle in the long run.
How Much Will It Cost?
The cost of applying a metallic epoxy floor will depend on the size of the area, the type of finish you’re looking for, and other factors. Generally speaking, professional installation can range anywhere from $3 to $7 per square foot.
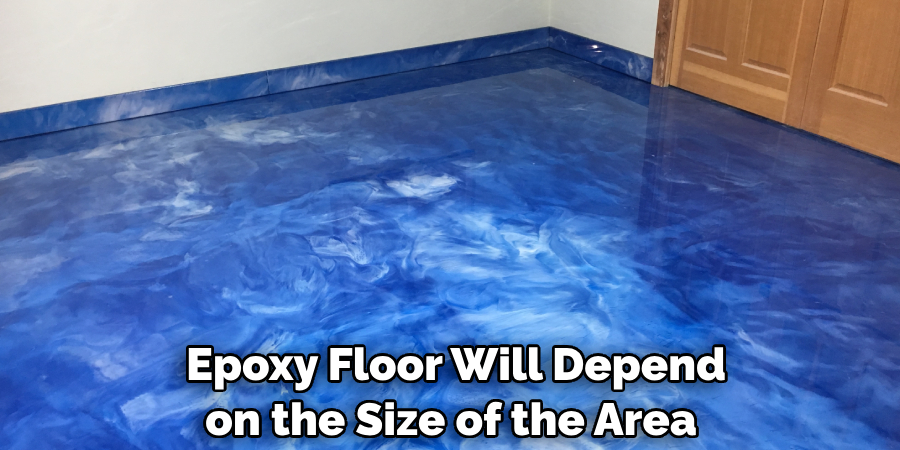
This price range covers all necessary materials as well as labor costs. As you can see, applying a metallic epoxy floor is not an overly difficult process but it does require some skill and precision in order to get the best results possible. By following these steps closely and using quality materials, you can rest assured that your finished product will be something to be proud of!
Frequently Asked Questions
Q: What is the Best Way to Clean My Metallic Epoxy Floor?
A: For general cleaning, use a damp mop and mild detergent. For more stubborn stains, use a sponge with warm water and a small amount of dish soap. Do not use abrasive cleaners or harsh chemicals as these can damage the finish.
Q: Can I Walk on My Metallic Epoxy Floor Right Away?
A: It is best to wait 24-48 hours after applying the epoxy before walking on it. This will ensure that the layers have had time to properly set and bond with each other.
Q: How Often Should I Reapply My Metallic Epoxy Floor Coating?
A: Depending on how often you use your floor, it’s recommended that you reapply a topcoat every 2-3 years in order to keep your metallic epoxy floor looking its best.
Q: Does Metallic Epoxy Flooring Require Special Maintenance?
A: Yes, it is important to clean and maintain your epoxy floor regularly in order to prolong the life of the finish and keep it looking its best. By following a regular cleaning regimen, you can enjoy your metallic epoxy floor for many years to come!

Conclusion
In conclusion on how to apply metallic epoxy floor, applying a metallic epoxy floor is an easy and effective way to customize your living or workspace. Not only does it look great, but it also adds value to your property.
Metallic epoxy floors come with various designs, colors and properties so be sure to do some research and take some samples before buying a product. Most importantly, if you’re tackling this project yourself, make sure you follow the manufacturer’s instructions carefully in order to ensure proper installation.
Additionally, seek help from professionals whenever possible for added safety and assurance that it will work as intended. So whether you’re looking for something stylish and unique or just want a new flooring option with added durability, metallic epoxy floors are definitely worth considering! Give it a try today!
