
Are you looking for a way to make your child’s high chair more comfortable and ergonomic? Adding a footrest to a high chair is a simple solution that can provide numerous benefits for both you and your little one. In this guide, we will discuss the steps on how to add footrest to high chair.
High chairs are essential for feeding your little one comfortably and safely, but many high chairs lack a crucial component: a footrest. A footrest provides your child with the support needed to sit properly, promoting better posture and mealtime behavior. Adding a footrest to a high chair can make a significant difference in your child’s comfort and overall dining experience.
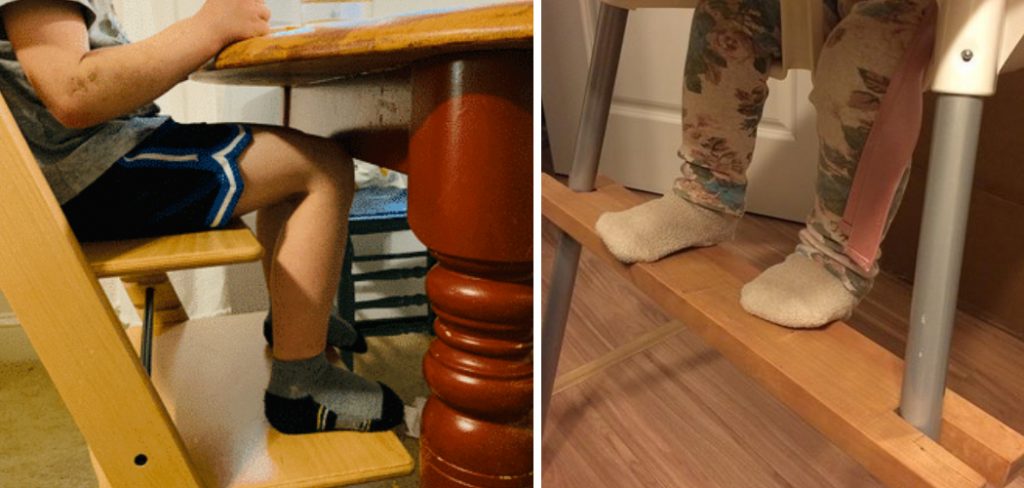
Here, we’ll walk you through the straightforward process of adding a footrest to your high chair, ensuring that mealtime is both enjoyable and ergonomic for your child.
What Will You Need?
Before we dive into the steps, here are some materials you will need to add a footrest to your high chair:
- High Chair: This is the main component that needs a footrest. Make sure that it has a sturdy structure and can bear the weight of your child.
- Footrest Material: You can use any material for a footrest, such as wood, plastic, or metal. Just make sure that it is durable and can withstand the weight of your child.
- Screws and Screwdriver: These are essential for attaching the footrest to your high chair securely.
- Measuring Tape: This will come in handy when determining the right height for the footrest.
- Safety Gear: It’s always a good idea to wear safety gear, such as gloves and goggles when working with tools.
- Optional: Sandpaper and Paint/Stain: If you’re using wood for the footrest, sandpaper can help smoothen any rough edges. You can also paint or stain the footrest to match your high chair’s color and style.
10 Easy Steps on How to Add Footrest to High Chair
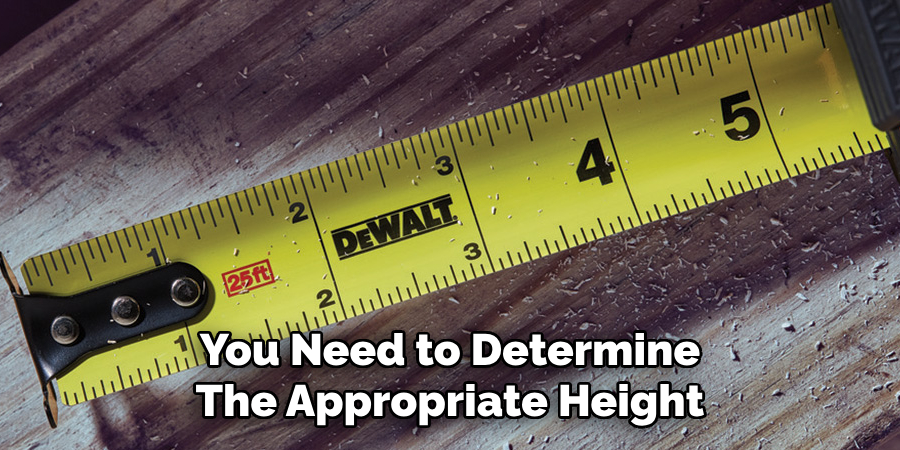
Step 1. Measure the Height:
First, you need to determine the appropriate height for the footrest on the high chair. The footrest should be positioned so that your child’s knees are at a 90-degree angle, which promotes healthy posture during mealtime. Use your measuring tape to measure from the seat of the high chair to the point where your child’s feet naturally rest. Mark this spot on each leg of the high chair.
Step 2. Cut the Footrest Material:
Once you have the measurements, it’s time to cut the material for the footrest. Depending on the material you’ve chosen (wood, plastic, or metal), use the appropriate tools to cut it to size. Ensure that the footrest is wide enough to fit between the high chair legs and long enough to provide ample space for your child’s feet.
Step 3. Sand the Edges (if using wood):
If you’ve opted for wood as your footrest material, it’s crucial to sand the edges thoroughly. This process is essential to remove any splinters or rough spots that could potentially harm your child.
Use sandpaper to smooth out all sides and edges of the wooden footrest. Starting with a coarser grit sandpaper can help remove larger splinters, and then finishing with a finer grit will create a smooth surface. This not only enhances safety but also gives the footrest a neat and aesthetically pleasing finish. If desired, you can also sand the entire surface of the footrest to ensure it is smooth to the touch.
Step 4. Optional: Paint or Stain the Footrest:
Once the edges are smooth, you have the option to paint or stain the footrest to match the color and design of your high chair. This step is not only for aesthetic purposes but also to protect the wood from moisture and wear. Choose a non-toxic, child-safe paint or stain to ensure your child’s safety. Apply a single coat of paint or stain and allow it to dry completely, following the manufacturer’s instructions. For a more polished look, you can apply a second coat after the first one dries.
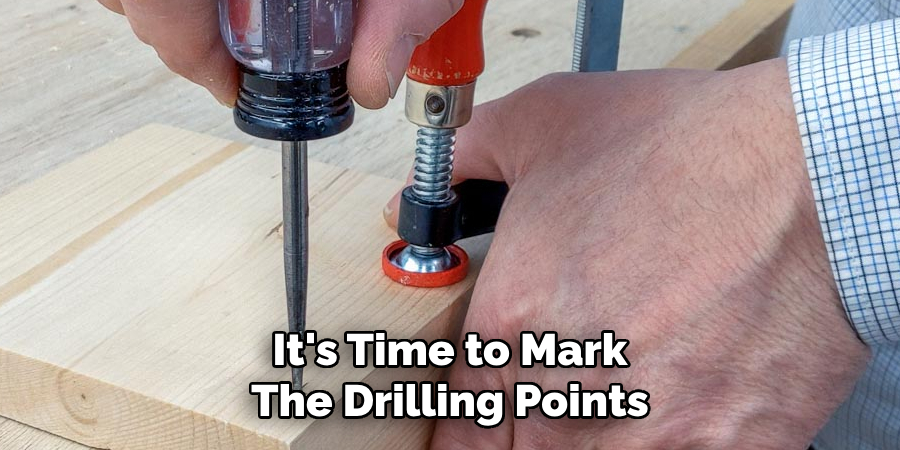
Step 5. Mark the Drilling Points:
With the footrest prepared, it’s time to mark the drilling points on the high chair legs. These points should align with the previously marked height where your child’s feet will rest. Use a pencil to mark the exact spots on each leg of the high chair where you’ll need to drill holes for attaching the screws. Ensure that these marks are level and at identical heights on all legs to achieve a balanced footrest.
Step 6. Drill Holes:
Now, carefully drill holes at the marked points on the high chair legs. Use a drill bit that matches the diameter of your screws to ensure a snug fit. It’s essential to drill straight to prevent the screws from angling and causing instability. If you’re uncertain about drilling, you can use a level to maintain accuracy. Always wear safety glasses to protect your eyes from debris, and proceed slowly to avoid any damage to the high chair.
Step 7. Attach the Footrest:
Position the footrest between the high chair legs, aligning it with the drilled holes. Insert the screws through the holes in the footrest into the drilled holes in the high chair legs. Tighten the screws using a screwdriver, ensuring they are secure but not overly tight to avoid cracking the material. If you’re using a power screwdriver, set it to a low torque setting to prevent over-tightening.
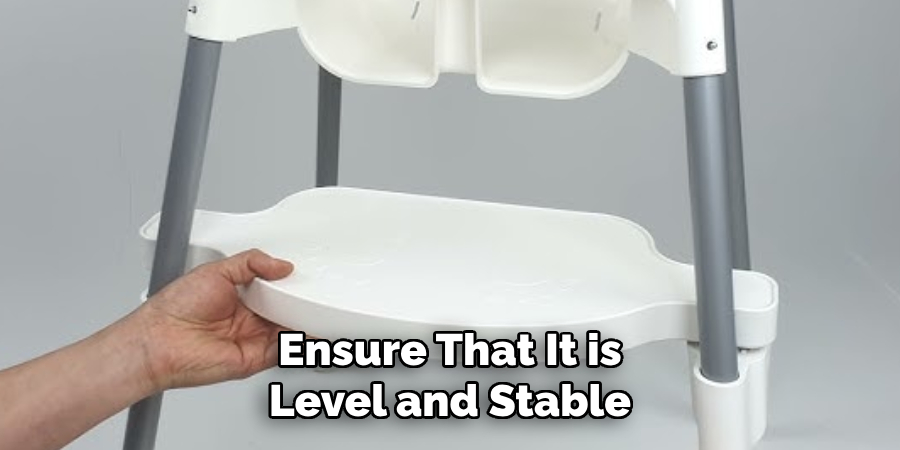
Step 8. Double-Check Alignment:
Once the footrest is attached, double-check its alignment. Ensure that it is level and stable, allowing for even weight distribution. Have your child sit in the high chair to verify that the height is appropriate and that your child’s feet rest comfortably on the footrest with their knees at a 90-degree angle.
Step 9. Test for Stability:
Before using the high chair with the footrest, perform a stability test. Gently shake the footrest and the high chair to ensure that the footrest is firmly attached and the high chair remains stable. If you notice any wobbling or instability, re-tighten the screws or make any necessary adjustments to the placement.
Step 10. Regular Maintenance:
Finally, regularly inspect the footrest and screws to ensure they remain secure over time. Periodically check for any signs of wear or damage, and tighten the screws as needed. Regular maintenance will ensure the footrest continues to provide safe and comfortable support for your child during mealtimes.
By following these 10 easy steps, you can easily add a footrest to your high chair and provide your child with improved posture and comfort during mealtime.
5 Additional Tips and Tricks
- Measure Accurately: Before purchasing or crafting a footrest, measure the distance from the seat of the high chair to where your child’s feet naturally rest. This ensures the footrest will be at the correct height for comfort and support.
- Choose Adjustable Options: Opt for an adjustable footrest. As your child grows, the footrest can be moved to accommodate their changing height, providing consistent support over time.
- Secure Properly: Ensure the footrest is securely attached to avoid any movement that could cause discomfort or instability. Use robust fixings, such as screws or strong clips, to keep it firmly in place.
- Consider DIY Solutions: If you prefer a custom solution, consider creating a footrest using household items. Wooden boards or PVC pipes can be fashioned into effective footrests with some basic tools and a bit of creativity.
- Keep it Clean: Just like any other part of your child’s high chair, the footrest should be regularly cleaned to maintain hygiene. Use a gentle cleanser and warm water to wipe down the footrest after each use.
By following these additional tips and tricks, you can ensure that your child’s high chair footrest is not only functional but also safe and comfortable.
5 Things You Should Avoid
- Ignoring Measurements: Avoid skipping the measurement process. Not measuring accurately can result in a footrest that is too high or too low, leading to discomfort for your child.
- Using Weak Materials: Do not use flimsy or weak materials for the footrest, as these can break easily and pose a safety hazard. Always choose durable materials that can support your child’s weight.
- Improper Securement: Never attach the footrest without ensuring it is securely fastened. Loose attachments can be dangerous and may cause the footrest to detach during use.
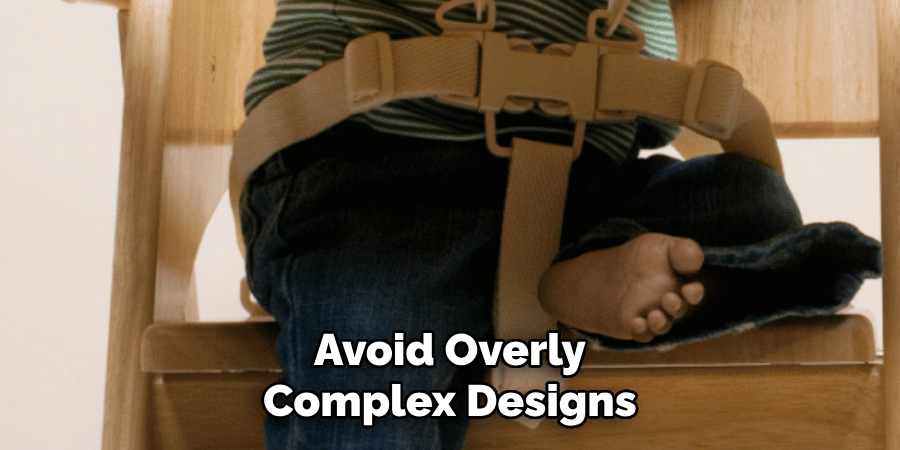
- Overcomplicating the Design: Avoid overly complex designs that can be difficult to assemble or adjust. A simple, straightforward design is often more effective and safer.
- Neglecting Regular Maintenance: Do not forget to regularly check and maintain the footrest. Over time, screws and attachments can loosen, and regular inspection ensures continued safety and functionality.
By avoiding these common pitfalls, you can create a safer and more comfortable high chair experience with a well-fitted footrest.
Conclusion
How to add footrest to high chair involves careful planning and execution to ensure both comfort and safety for your child. Start by accurately measuring the necessary dimensions and choosing adjustable and durable materials. Secure the footrest firmly using robust fixings to prevent any instability.
Whether opting for a store-bought solution or crafting a custom footrest, cleanliness, and regular maintenance are paramount to avoid any hygiene or safety issues.
By following these guidelines and avoiding common mistakes, you can enhance your child’s dining experience, making it both supportive and enjoyable.