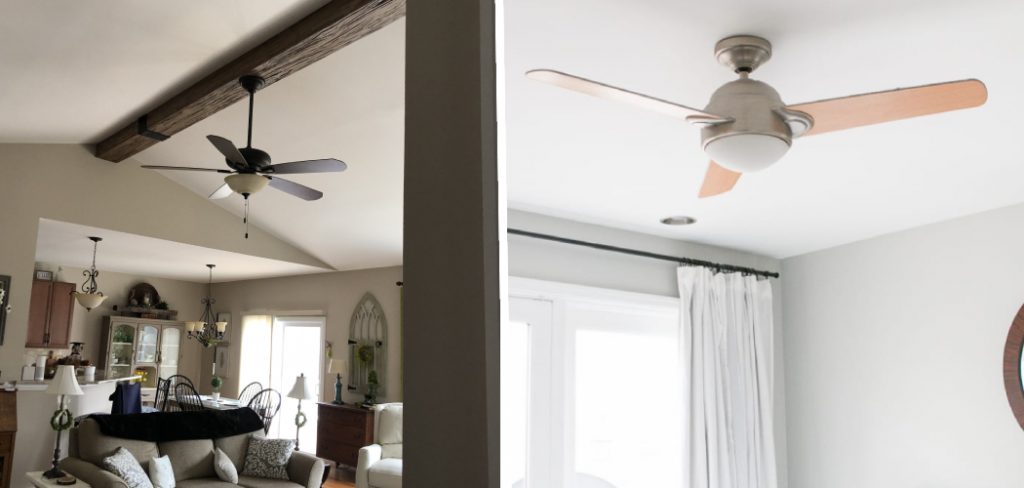
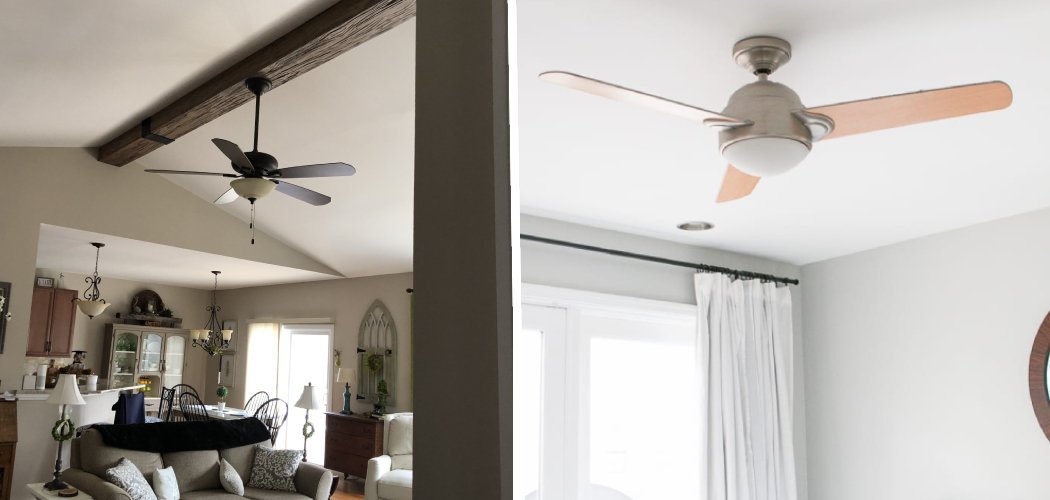
Installing a ceiling fan might seem daunting, but you don’t have to be an expert to do it. Adding a ceiling fan to your room is not only a great way to improve the airflow, but it can also add to the room’s décor. A ceiling fan is a practical and popular upgrade for any home. You only need a few tools, some basic knowledge, and the right instructions to do it properly. In this blog post, we will provide you with a step-by-step guide on how to add a ceiling fan to a room.

Can You Add a Ceiling Fan to A Room?
Tired of stuffy, stagnant air in your room? A ceiling fan may be the perfect solution to bring in some cool, refreshing breezes. Luckily, adding a ceiling fan to a room is a relatively easy DIY project that can enhance the space’s functionality and aesthetics.
With a few tools and some basic electrical knowledge, you can have a stylish new fan up and running in no time. Not only will it help circulate air and provide some relief during the hot summer months, but it can also add a decorative touch to the room. So why not consider installing a ceiling fan and enjoy the many benefits it has to offer?
Why Should You Add a Ceiling Fan to A Room?
A ceiling fan is an excellent addition to any room. Not only does it provide much-needed comfort on hot days, but it can also save you money on your energy bill.
A ceiling fan can make a room feel up to eight degrees cooler by circulating the air and creating a breeze. This means you can rely less on your air conditioning unit, which can help reduce your energy usage and ultimately lower your monthly bill.
Plus, ceiling fans come in various sizes and styles, making it easy to find one that complements your decor. It’s a small investment with big rewards, and adding a ceiling fan to any room is a no-brainer.
A Step-by-Step Guide on How to Add a Ceiling Fan to A Room
Step 1: Choose a Location
Choose the perfect location in your room to hang your ceiling fan. You want to ensure it’s balanced by opting for a ceiling fan mount with enough support for its weight. You also want to consider the size of your room when installing.

If you have high ceilings, consider an extension rod to lower the fan for improved air movement. If you have low ceilings, choose a flush mount option.
Step 2: Turn Off Power
Make sure to turn off the power to the room where you will install the ceiling fan. You can do this by finding the circuit switch that controls that particular room and flipping it OFF.
Step 3: Assemble the Fan
Start assembling the components of your ceiling fan by following the manufacturer’s instructions. Fix the mounting bracket to the ceiling hook and install the downrod of the fan using the screws and washers provided. Next, attach the blades to the fan motor. Make sure you read and understand the instructions carefully, and don’t miss any steps.
Step 4: Wiring the Ceiling Fan
Use a ceiling fan wiring diagram to connect the wiring for your ceiling fan. Your ceiling fan should have a green, white, and black wire. The green wire is for grounding, white is for neutral, and black is for hot.

You’ll need to run wires to your ceiling while observing all safety precautions. Use wire nuts to connect the ceiling wires to the fan wires in the electrical box.
Step 5: Attach Light Kit (Optional)
If your ceiling fan has a light kit, follow the manufacturer’s instructions to attach it to the fan. Typically, the light kit attaches right under the ceiling fan. Request the help of another person to hold the light while you connect the wires with wire nuts. Finally, assemble the other parts, such as the globe and shade, to cover the light.
Step 6: Secure the Fan
Once you have all the components of your ceiling fan assembled, it’s time to secure it in place. Use screws and washers provided by the manufacturer to fix the downrod and mounting bracket to the electrical box. Double-check that everything is securely attached before moving on to the final step.
Step 7: Turn On Power
After you have completed all the necessary steps and securely attached your ceiling fan, it’s time to test it out! Turn on the power to the room and switch on your new ceiling fan. If everything is working properly, congratulations! You now have a beautiful and functional addition to your room.

That’s it! You’ve now learned how to add a ceiling fan to a room in just seven simple steps. Remember to always follow all safety precautions and manufacturer’s instructions when installing any electrical appliance, including a ceiling fan.
Enjoy your new cool breeze and improved air circulation in the comfort of your own room! So why wait? Follow these steps today and transform your space with the addition of a ceiling fan.
Some Considerations Things When You Need to Add a Ceiling Fan to A Room
Ceiling fans have become a popular addition to homes for various reasons. Not only do they provide a stylish and unique look to a room, but they can also improve overall air circulation and energy efficiency. However, adding a ceiling fan to a room requires some consideration to ensure the installation is safe and effective. One important thing to think about is the size of the fan in relation to the size of the room.
A fan that is too small or too large for the room can affect both the aesthetic appeal and the fan’s effectiveness. Additionally, the ceiling height should be considered to ensure that the fan is mounted at a safe and appropriate distance for both functionality and safety. By carefully considering these factors, adding a ceiling fan to your room can be an easy and rewarding home improvement project.
5 Benefits of Add a Ceiling Fan to A Room
1. Improved Airflow
Adding a ceiling fan to a room is a great way to improve airflow and circulation. Ceiling fans are designed to push air downwards, creating a cooling breeze that can help reduce a room’s temperature by up to 8 degrees Celsius. This makes them an ideal option for keeping rooms cool during summer. Additionally, ceiling fans can be used in conjunction with air conditioning units to help reduce energy costs.

2. Increased Comfort
Ceiling fans can also help increase room comfort levels by circulating air more efficiently than other methods, such as open windows or portable fans. The gentle breeze created by a ceiling fan can make it feel much cooler than it actually is, making it easier to relax and enjoy the space. Additionally, ceiling fans can be used year-round as they can be reversed to push warm air downwards during winter.
3. Reduced Humidity
Ceiling fans are also effective at reducing humidity levels in a room as they help move moisture away from walls and furniture, preventing mold and mildew from forming. This is especially beneficial for areas that experience high levels of humidity, such as bathrooms or kitchens, as these areas are particularly susceptible to mold growth due to their moist environments.
4. Enhanced Aesthetics
Ceiling fans not only provide practical benefits but can also enhance a space’s aesthetics with their stylish designs and finishes. Countless options are available on the market, ranging from traditional wooden blades to modern chrome designs, so you’re sure to find something that will fit your decor perfectly. Additionally, many modern ceiling fans come with lights built into them, which can add an extra layer of ambiance and style to any room.
5. Quiet Operation
A major benefit of installing a ceiling fan is that it operates very quietly compared to other forms of ventilation, such as window units or portable fans, which can be quite noisy when running at full power. Modern ceiling fans typically produce sound levels lower than 50 decibels, which is quieter than normal conversation, so you won’t have to worry about being disturbed by loud noises while trying to relax or sleep in your home.
Some Common Mistakes People Make When Trying to Add a Ceiling Fan to A Room
Adding a ceiling fan to a room can greatly improve its functionality and aesthetic appeal. However, people often make a few common mistakes when attempting this project. One of the most prevalent issues is choosing the wrong size fan for the space.
Many homeowners believe that bigger is always better, but an oversized fan can actually overwhelm a small room. Another mistake is failing to properly install the fan, resulting in wobbling, noise, and even potential safety hazards. It’s important to follow the manufacturer’s instructions carefully or consider hiring a professional electrician to ensure proper installation.
Finally, some people overlook the importance of selecting the right type of fan for the room’s specific needs. For example, a fan designed for outdoor use may not work well in a living room. By avoiding these common mistakes, homeowners can enjoy the many benefits of a well-functioning and stylish ceiling fan for years to come.
Conclusion
Adding a ceiling fan to your room can be a great way to provide more airflow, make a room look better, and provide an efficient way to cool or heat your room, depending on the model. Keep in mind that it can be a challenging job, especially if you are doing it for the first time. But with the right guidance and instructions, you can definitely do it. Always read the manufacturer’s instructions before starting the installation and observe safety precautions while working with electricity.
Remember to take your time and ask for help if needed, and you will end up with a satisfying result. With this guide, you should be able to add a ceiling fan to your room without facing any trouble. Thanks for reading our post about how to add a ceiling fan to a room.
