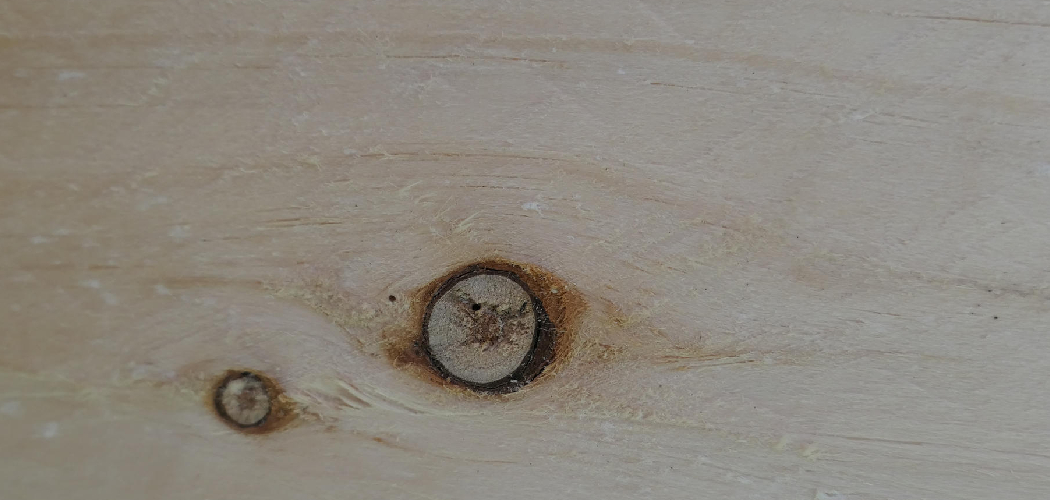
Are you tired of looking at knots in the wood of your furniture or other wooden items? Don’t worry. You don’t have to replace the entire piece. How to fill knots in wood is an easy and affordable solution to make it look as good as new.
Knots in wood can add character and charm to a piece, but they can also pose challenges if not properly managed. Whether you’re working on a woodworking project or restoring furniture, filling knots in wood is essential to achieving a smooth and professional finish. In this guide, we will walk you through the steps needed to effectively fill knots, ensuring that your final product is both aesthetically pleasing and structurally sound.

By following these tips and using the right materials, you can seamlessly integrate the natural beauty of wood while addressing any imperfections.
What Will You Need?
To begin filling knots in wood, you will need the following materials:
- Wood filler or putty
- Sandpaper (or an electric sander)
- Putty knife or scraper
- Paintbrush
- Wood stain (optional)
Once you have gathered all the necessary materials, you can start filling those pesky knots.
10 Easy Steps on How to Fill Knots in Wood
Step 1: Prepare the Wood
Before getting to work on filling the knot, it’s important to properly prepare the wood surface. This includes sanding down any rough spots or uneven areas around the knot to create a smooth and even surface. If working on furniture, make sure to remove any existing finish or paint from the area surrounding the knot.
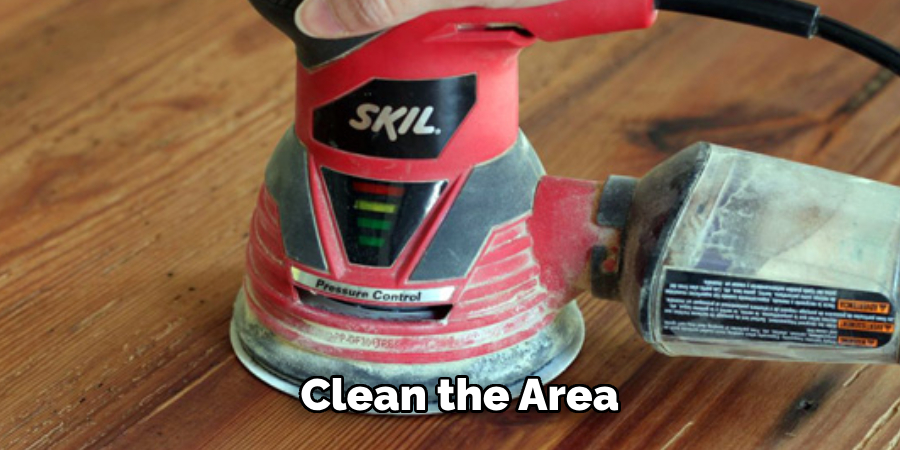
Step 2: Clean the Area
After sanding, it’s essential to thoroughly clean the area around the knot. Use a soft brush or a vacuum to remove any dust, debris, or sanding residue. A clean surface ensures that the wood filler or putty adheres properly, leading to a more durable and seamless finish. If necessary, wipe the area with a damp cloth and let it dry completely before moving on to the next step.
Step 3: Choose the Right Wood Filler
Selecting the appropriate wood filler is crucial for achieving a professional and lasting result. There are several types of wood fillers available, including water-based, solvent-based, and epoxy-based options.
- Water-Based Wood Filler: This eco-friendly option is easy to clean up with water. It dries quickly and is ideal for indoor projects. However, it may not be as durable for outdoor use.
- Solvent-Based Wood Filler: Known for its robustness, solvent-based filler is more durable and can withstand harsher environments, making it suitable for both indoor and outdoor use. However, it has a stronger odor and requires solvents like mineral spirits for cleanup.
- Epoxy-Based Wood Filler: This type is the most durable and is often used for structural repairs. It is water-resistant, making it ideal for outdoor projects or areas exposed to moisture. It bonds well with wood and can be easily molded and shaped, but it requires careful mixing and application.
When choosing a wood filler, consider the type of wood you are working with and the environment the piece will be in. Matching the filler’s color to the wood or the intended stain can also help in achieving a seamless finish. You may need to mix a few different fillers or add tints to get the perfect match.
Step 4: Apply the Wood Filler
Once you have selected the appropriate wood filler, it’s time to apply it to the knot. Use a putty knife or scraper to scoop a small amount of filler and press it firmly into the knot. Make sure to overfill the knot slightly, as the filler may shrink as it dries.
Smooth out the surface with your putty knife, ensuring that the filler is evenly distributed and there are no air pockets. Work quickly but carefully, as some fillers can start to harden within minutes. For larger knots, you may need to apply the filler in layers, allowing each layer to dry before adding the next.
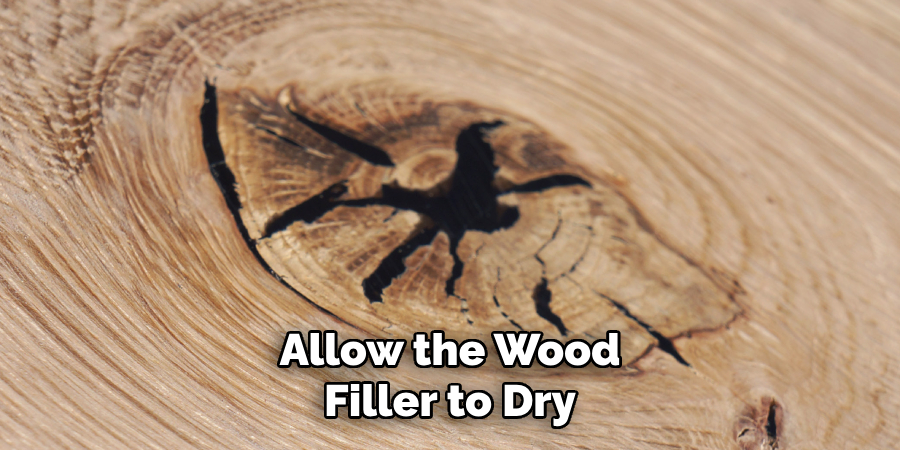
Step 5: Let the Filler Cure
Allow the wood filler to dry and cure completely before proceeding to the next step. The drying time can vary depending on the type of filler used and the knot size. Follow the manufacturer’s instructions regarding curing times. Typically, water-based fillers dry faster, while epoxy-based fillers may take longer to fully harden. Ensure that the filler is fully cured to prevent any issues during sanding and finishing.
Step 6: Sand the Filled Area
Once the filler is fully cured, it’s time to sand the area to achieve a smooth, even surface. Start with a medium-grit sandpaper to remove any excess filler, and gradually move to a finer grit to refine the surface. If you have an electric sander, it can speed up the process and help you achieve a more consistent finish. Be sure to sand in the direction of the wood grain to avoid scratches and maintain the natural appearance of the wood.
Step 7: Clean the Sanded Area
After sanding, clean the filled area once again to remove any sanding dust or debris. Use a vacuum or a soft brush, followed by a damp cloth if necessary. Ensuring a clean surface will help achieve better results in the final finishing steps.
Step 8: Apply Wood Stain or Paint (Optional)
If you’re looking to enhance the appearance of the wood or match the existing color, this is the time to apply a wood stain or paint. Choose a stain or paint that complements the wood and apply it evenly with a paintbrush. Multiple coats may be required to achieve the desired shade. Allow each coat to dry according to the manufacturer’s instructions before applying the next.
Step 9: Apply a Protective Finish
To safeguard your work and ensure the longevity of the filled area, apply a protective finish such as a clear coat, varnish, or polyurethane. This will shield the wood from moisture, wear and tear, and give it a polished look. Apply the finish with a clean brush and allow it to dry thoroughly.
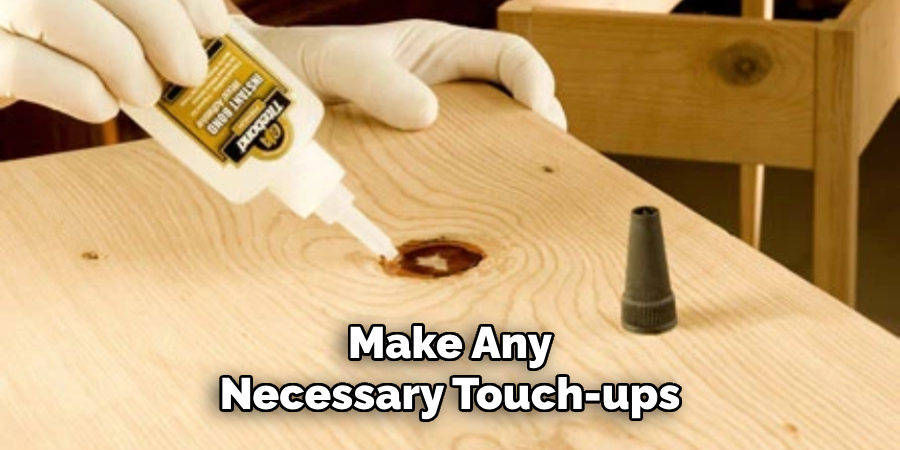
Step 10: Final Touches
Inspect the filled area and make any necessary touch-ups or adjustments. If the knot is still slightly visible, add a small amount of wood filler and sand it down once it has fully dried. Once you are satisfied with the result, your filled knots are ready to withstand everyday use and look as good as new!
By following these steps and using the right tools and materials, you can easily fill knots in wood and achieve a smooth, seamless surface.
5 Additional Tips and Tricks
- Use Epoxy Resin for Durable Fillings: Due to its strength and durability, epoxy resin is an excellent choice for filling larger knots. Mix the epoxy according to the manufacturer’s instructions and carefully fill the knot, ensuring it fully penetrates for a solid bond.
- Tint the Filler to Match the Wood: For a seamless repair, mix a pigment or dye into the filler material to match the color of the surrounding wood. This will make the filled knot less noticeable and blend well with the overall appearance.
- Sand Smooth for a Professional Finish: Once the filler has dried completely, sand the area smoothly using fine-grit sandpaper. This ensures the surface is level with the surrounding wood and prepares it for finishing.
- Seal with Shellac Before Filling: To prevent the filler from absorbing too much of the wood’s natural oils, apply a coat of shellac to the area before filling. This will create a barrier and help the filler adhere better for a stronger bond.
- Use a Wood Hardening Agent for Soft Woods: For softwoods like pine or cedar, use a wood hardener before filling to strengthen and stabilize the wood fibers. This will prevent future cracking in the filled knot and make it more durable against wear and tear.
5 Things You Should Avoid

- Ignoring Proper Surface Preparation: Skipping the cleaning and sanding of the area around the knot will lead to poor filler adhesion. Always ensure the wood is clean, dry, and smooth before applying any filler material.
- Using the Wrong Filler Type: Not all fillers are suitable for all types of wood or knot sizes. Using the wrong filler can result in a weak bond or noticeable repair. Choose a filler designed for the wood type and knot size you are dealing with.
- Overfilling the Knot: Overfilling the knot can lead to excessive sanding and an uneven surface. Apply the filler gradually and remove any excess to ensure a smooth and level repair.
- Neglecting to Tint the Filler: A filler that doesn’t match the wood’s color will stand out and look unnatural. Always tint the filler to match the surrounding wood for a more seamless appearance.
- Skipping the Finish: Leaving the filled knot unfinished can make it susceptible to moisture and wear. Always apply a finish, such as varnish or paint, to protect the repair and enhance the wood’s natural beauty.
Conclusion
How to fill knots in wood is a meticulous process that, when executed correctly, can significantly enhance the appearance and durability of your wood projects.
By following the detailed steps—starting from cleaning and preparing the knot, using the appropriate filler, sanding, optionally staining or painting, and finally applying a protective finish—you can achieve a seamless repair that blends effortlessly with the surrounding wood. Additionally, incorporating tips such as using epoxy resin for larger knots, tinting the filler, and sealing with shellac ensures professional and long-lasting results. Conversely, avoiding common pitfalls like improper surface preparation and skipping the final finish protects the knot from future damage and maintains the wood’s aesthetic.
With patience and attention to detail, even a novice can master this skill, ensuring that your wooden pieces are functional and visually appealing.