
Sealing latex paint on furniture is an essential step to ensure durability and longevity. Whether you’ve upcycled an old piece or given a new item a fresh coat of color, proper sealing protects the paint from chipping, scratching, and everyday wear and tear.
This guide on how to seal latex paint on furniture will walk you through the necessary steps and offer tips on the best products to use so your painted furniture maintains its vibrant appearance for years to come.
What is Latex Paint?
Latex paint is a water-based paint that uses synthetic polymers as binders. It is known for its quick drying time, easy cleanup with soap and water, and low odor. Latex paint comes in various finishes such as flat, eggshell, satin, semi-gloss, and high gloss, making it suitable for a wide range of projects.
You can find latex paint at most hardware stores, home improvement centers, and online retailers in a multitude of colors. It is also more environmentally friendly compared to oil-based paints, which release harmful VOCs (volatile organic compounds) into the air.
Why is Sealing Latex Paint Important?
While latex paint has many benefits, it can also be easily damaged if not sealed properly. Without a protective layer, the paint can peel, crack, and discolor over time. It is especially crucial to seal furniture that will experience heavy use or outdoor elements.
Sealing latex paint also enhances its appearance by giving it a smooth and glossy finish. Additionally, it helps prevent dirt, dust, and grime from settling into the paint, making cleaning and maintenance more manageable.

Needed Materials
Before you begin sealing latex paint on furniture, make sure you have the following materials:
1.Latex Paint:
Choose a high-quality latex paint in the color and finish of your choice.
2.Paintbrushes:
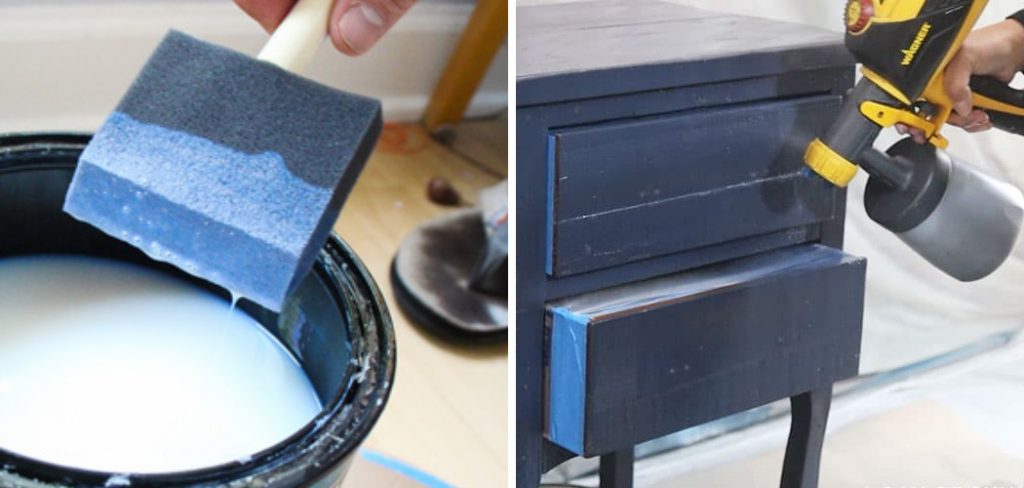
You will need at least two types of brushes – one for applying the paint and another for sealing. For painting, use a synthetic bristle brush, and for sealing, use a foam brush or a natural bristle brush.
3.Sandpaper:
Use fine-grit sandpaper (220 grit) to lightly sand the painted surface before sealing.
4.Tack Cloth:
This sticky cloth removes any dust or debris on the furniture before sealing.
5.Water-based Polyurethane Sealer:
Water-based polyurethane is a popular choice for sealing latex paint. It dries clear, resists yellowing, and creates a durable finish. You can find it in various finishes such as matte, satin, and gloss.
9 Step-by-step Guides on How to Seal Latex Paint on Furniture
Step 1: Allow the Paint to Cure Completely
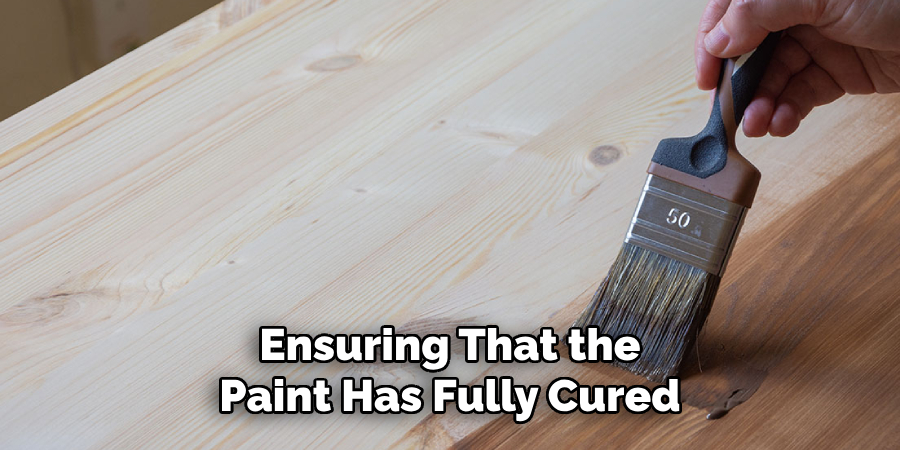
Before applying any sealer, it’s crucial to allow the latex paint to cure completely. Curing is different from drying; while paint may feel dry to the touch within a few hours, it often takes longer for it to fully harden and bond with the surface. This process can take anywhere from 7 to 30 days, depending on factors like the paint brand, thickness of the layers, and humidity levels.
Ensuring that the paint has fully cured before sealing prevents any unwanted texture changes or trapping moisture underneath the sealer, which can affect the paint’s durability and final appearance.
Step 2: Lightly Sand the Surface
Once the paint has cured completely, the next step is to lightly sand the painted surface. Use fine-grit sandpaper (220 grit) for this task to avoid removing too much paint. The goal is to create a smooth and even surface that will allow the sealer to adhere better. Sanding also helps to eliminate any minor imperfections, such as brush strokes or raised edges, that may have formed during the painting process.
To sand the surface, gently rub the sandpaper over the entire painted area using circular or back-and-forth motions. Be sure to apply even pressure to avoid uneven sanding marks. After sanding, wipe away any dust or debris with a tack cloth to ensure a clean surface for the sealer. This step is crucial for achieving a professional-looking finish, as it ensures the sealer applies smoothly and effectively bonds with the paint.
Step 3: Test the Sealer on a Small Area
Before applying the sealer to the entire furniture piece, it’s essential to test it on a small, inconspicuous area first. This step allows you to see how the sealer will interact with your specific paint and surface type. For example, some sealers may cause yellowing or affect the color of certain paints.
Follow the instructions on the sealer’s label for application and drying time before inspecting the results. If you’re satisfied with how it looks, proceed with sealing the rest of the furniture. If not, try a different brand or consult an expert for advice.
Step 4: Apply the First Coat of Sealer
Once you’ve completed the previous steps, it’s time to apply the first coat of sealer. Stir the sealer thoroughly before use, then dip your brush into it and remove any excess on the rim of the container. Apply a thin and even layer of sealer over the entire furniture piece, working in one direction to avoid visible brush strokes. Use long, smooth strokes for larger surfaces and short strokes for smaller areas or edges.
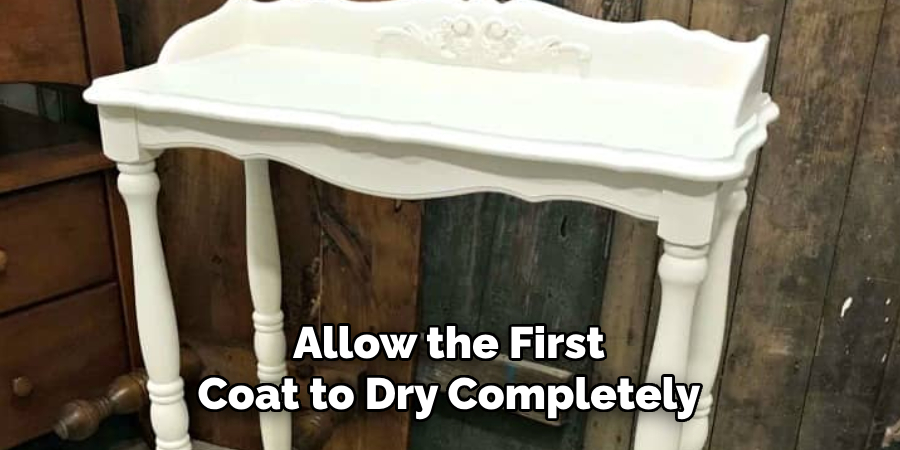
Be sure not to apply too much pressure when brushing, as this can cause bubbles or streaks in the finish. If you do notice any bubbles forming during application, gently run your brush over them while they’re still wet to remove them. Allow the first coat to dry completely before applying a second coat.
Step 5: Sand the First Coat
After the first coat has dried, lightly sand it with fine-grit sandpaper (220 grit). This step helps to smooth out any bumps or imperfections that may have formed during application and allows for better adhesion of subsequent coats. Once finished, wipe away any dust with a tack cloth.
The number of coats you apply depends on the type and brand of sealer used, as well as your personal preference. It’s generally recommended to apply at least two coats for furniture that will experience heavy use or exposure to outdoor elements.
Step 6: Apply Subsequent Coats
Repeat Steps 4 and 5 for each additional coat of sealer, allowing each layer to dry completely before applying the next. Be sure to follow the manufacturer’s instructions regarding drying time between coats. If you notice any bubbles or streaks forming during application, gently brush over them while they’re still wet.
As with painting, it’s better to apply multiple thin coats rather than one thick coat for a smoother and more durable finish.
Step 7: Sand the Final Coat
After applying the final coat of sealer and allowing it to dry completely, it’s time to sand the surface one last time. Using fine-grit sandpaper (220 grit), lightly sand the entire surface. The purpose of this step is to ensure the finish is as smooth and flawless as possible. Sanding the final coat helps to remove any minor imperfections or dust particles that may have settled into the sealer during drying.
Rub the sandpaper gently over the sealed surface using consistent, circular motions. Be mindful not to apply too much pressure, as this can scratch the finish or remove the sealer. Once you have sanded the entire piece, use a tack cloth to remove all dust and debris.
Step 8: Apply Furniture Wax (Optional)
If you want to add an extra layer of protection and shine to your sealed furniture, you can apply a coat of furniture wax after sanding the final coat. Furniture wax helps to protect against scratches and minor wear and gives the surface a smooth, polished finish.
Using a clean cloth or brush, apply the wax in thin layers, following the direction of the wood grain. Allow it to dry completely before buffing it with a clean cloth for added shine. You can repeat this step as necessary until you achieve your desired level of shine.
Step 9: Allow Enough Drying Time
After completing all previous steps, it’s crucial to allow enough drying time before using or placing any objects on your newly sealed furniture. The label on your sealer should provide an estimated drying time, but it’s best to allow at least 24 hours for the sealant to fully cure and harden before handling or using the furniture.

During this time, keep the furniture in a well-ventilated area with low humidity levels to promote proper drying. Avoid exposing it to direct sunlight or extreme temperatures, as these can affect the curing process and result in a less durable finish.
Following these steps on how to seal latex paint on furniture will help you achieve a beautifully sealed and protected furniture piece that will last for years to come. Remember to always read and follow the instructions on your chosen sealer for best results, and don’t hesitate to consult an expert if you have any questions or concerns. Happy sealing!
Conclusion
Sealing painted furniture is an essential step for achieving a professional-looking finish that will withstand daily use and potential exposure to moisture or outdoor elements. By following these steps on how to seal latex paint on furniture and being patient with the drying process, you can ensure long-lasting protection for your painted furniture pieces.
Whether you’re a DIY enthusiast or a professional furniture painter, sealing is a crucial step in the furniture painting process that should not be overlooked. So go ahead and confidently paint and seal your furniture to give it new life and preserve its beauty for years to come. Happy creating!