You’ve just finished a fantastic DIY project or a professional renovation, and everything looks perfect—except for the shellac primer residues. Those stubborn spots can be a real headache! But worry not; we’ve got you covered. This blog post will guide you through the essential steps for cleaning shellac primer effectively and efficiently.

Whether you’re a seasoned painter or a DIY enthusiast, knowing how to clean shellac primer is crucial for maintaining your tools and ensuring a smooth finish for future projects. In this post, you’ll learn about the materials you’ll need, a step-by-step guide to the cleaning process, additional tips for better results, and answers to frequently asked questions.
What is Shellac Primer?
Understanding Shellac Primer
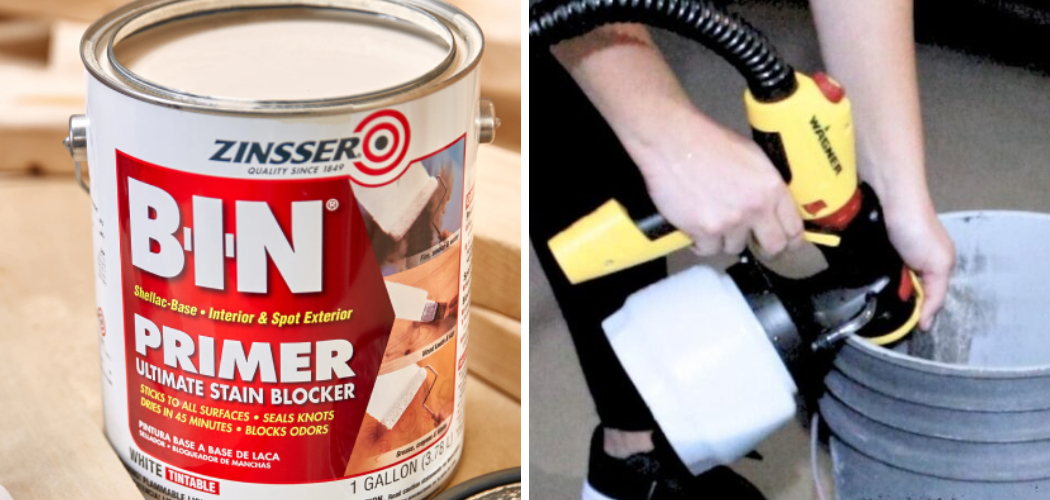
Shellac primer is a versatile and durable product used primarily for sealing surfaces before painting. It adheres well to various materials, including wood, metal, and plaster, making it an essential item in any painter’s toolkit.
Benefits of Using Shellac Primer
The primer offers several advantages, such as excellent adhesion, quick drying time, and the ability to seal knots and other imperfections. It’s especially beneficial for blocking odors and stains, providing a clean, fresh surface for your paint.
Common Uses for Shellac Primer
From kitchen cabinets to ceilings, shellac primer is used in a variety of settings. Its excellent sealing properties make it ideal for preparing surfaces for painting, ensuring a long-lasting, professional finish.
Why You Need to Clean Shellac Primer?
Preserving Your Tools
Cleaning your tools after using shellac primer is crucial for extending their lifespan. Brushes, rollers, and sprayers can become stiff and unusable if not cleaned properly.
Ensuring Future Project Success
Residue from shellac primer can affect the quality of your next project. Proper cleaning ensures that your tools are in optimal condition, allowing for a smooth and even application of paint.
Maintaining a Safe Work Environment
Shellac primer contains chemicals that can be harmful if left on tools and surfaces. Cleaning thoroughly helps maintain a safe and healthy work environment.
Needed Materials
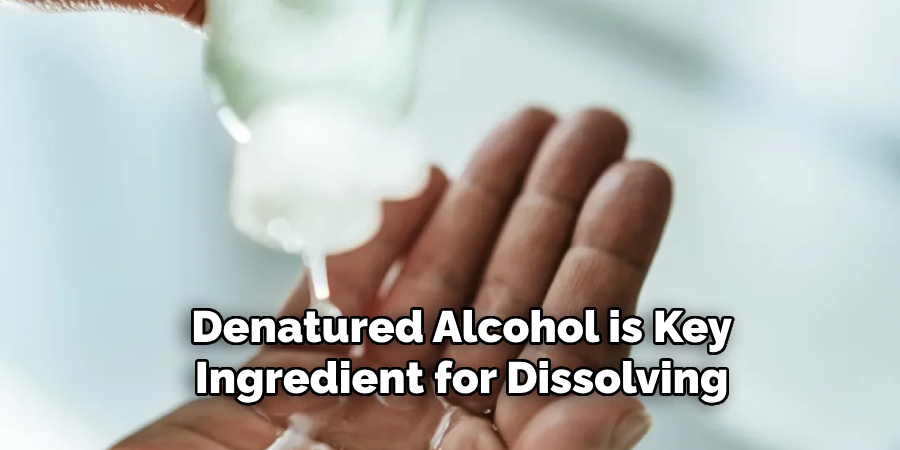
Denatured Alcohol:
The key ingredient for dissolving shellac.
Clean Rags or Paper Towels:
For wiping and drying surfaces.
Container for Soaking:
A bucket or similar vessel to soak brushes and rollers.
Protective Gloves:
To protect your hands from chemicals.
Ventilation Mask:
Ensures you don’t inhale harmful fumes.
Warm Water and Soap:
For an additional rinse after the initial cleaning.
Scrubbing Brush:
For stubborn residue on tools.
7 Step-by-step Guidelines on How to Clean Shellac Primer
Step 1: Prepare Your Workspace
Begin by setting up a well-ventilated area for cleaning, as shellac primer and its cleaning agents can release harmful fumes. Open windows or use a fan to ensure proper airflow. Lay down a drop cloth or old newspapers to protect your work surface from spills and splatters.

Make sure you have all the needed materials within easy reach: denatured alcohol, clean rags or paper towels, a container for soaking, protective gloves, a ventilation mask, warm water and soap, and a scrubbing brush. Wearing your protective gloves and ventilation mask, you’re now ready to begin the cleaning process.
Step 2: Wear Protective Gear
Before handling any cleaning agents, put on your protective gloves and ventilation mask. Denatured alcohol, which is essential for dissolving shellac primer, can be harsh on your skin and produce strong fumes.
Proper protective gear will guard against skin irritation and inhalation of harmful chemicals. Additionally, you may want to wear old clothes or an apron to protect your attire from accidental spills or splashes. By taking these precautions, you create a safer work environment for yourself as you proceed with the cleaning process.
Step 3: Soak Tools in Denatured Alcohol
Pour a sufficient amount of denatured alcohol into your container for soaking. Submerge the brushes, rollers, or any other tools that have shellac primer residue. Allow the tools to soak for approximately 10-15 minutes.
This soaking process will help dissolve the shellac primer, making it easier to remove. Ensure that the tools are fully immersed in the alcohol for effective cleaning. During this time, you can occasionally agitate the tools by swirling them around in the container to loosen any stubborn residue. Once the soaking time is complete, proceed to the next step, which is to thoroughly clean and rinse the tools.
Step 4: Scrub the Tools
After soaking, take a scrubbing brush and gently scrub the tools to remove any remaining shellac primer residue. Focus on the bristles of the brush or the surface of the roller, ensuring that you reach all grooves and crevices where primer might be trapped.
Use circular motions for optimal results and occasionally dip the tools back into the denatured alcohol to keep them wet and facilitate easier cleaning. Make sure to scrub thoroughly but gently to avoid damaging your tools. Once you have removed all visible residue, rinse the tools with warm water to remove any remaining alcohol and dissolved shellac.
Step 5: Wipe Surfaces Clean
After rinsing, take clean rags or paper towels and thoroughly wipe down the tools to remove any remaining residue and moisture. Pay special attention to ensure that no shellac primer or denatured alcohol is left on the surfaces.
Dry the tools as much as possible with the rags or paper towels. This helps to prevent any leftover solvents from potentially causing damage to the tools or the next project you work on. Be gentle during this process to avoid any wear and tear on your tools. Once the tools are completely wiped down and dry, they are ready for use in your next painting project.
Step 6: Rinse with Warm Water and Soap
Once you’ve wiped down the tools, the next step is to give them a thorough rinse with warm water and soap. Fill your container with warm water and add a few drops of mild dish soap. Submerge the tools and gently agitate them in soapy water to remove any remaining denatured alcohol and shellac primer residue.
Use your hands or a soft sponge to work the soapy water into the bristles of brushes or the surface of rollers, ensuring a comprehensive clean. After thoroughly soaping up the tools, rinse them under running warm water until all soap suds and residues are completely gone. This step ensures that your tools are clean and free from any chemicals that might affect their performance or the finish of future projects.
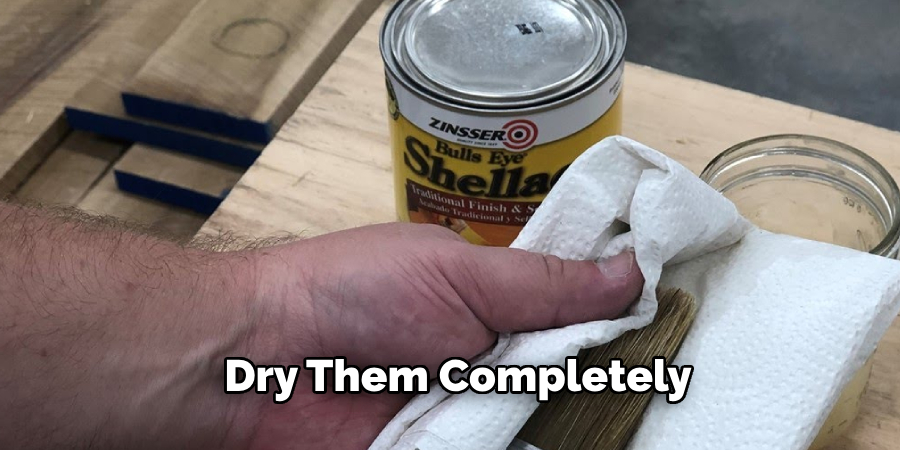
Step 7: Dry Completely
After the tools have been thoroughly rinsed, it is crucial to dry them completely to prevent any rust or degradation. Use clean, dry rags or paper towels to remove as much moisture as possible from the brushes, rollers, and other tools. Then, lay the tools out in a well-ventilated area, preferably in a horizontal position, to air-dry.
Allow them to dry naturally, ensuring they are not left in direct sunlight or near a heat source, as this can damage the materials. Make sure they are completely dry before storing them away or using them in your next project. Proper drying helps maintain the longevity and performance of your painting tools.
Following these step-by-step guidelines on how to clean shellac primer will help you keep your tools in top shape for future painting projects. Proper cleaning and maintenance will also ensure that your tools perform at their best, allowing you to achieve a professional finish in your work. Remember to always wear protective gear, work in a well-ventilated area, and handle chemicals with caution to ensure your safety while cleaning. Happy painting!
Additional Tips
Tip 1: Use High-Quality Tools
Investing in high-quality brushes and rollers can make the cleaning process easier. They tend to withstand the chemicals better and last longer with proper maintenance.
Tip 2: Regular Maintenance
Clean your tools immediately after use. The longer the shellac sits, the harder it will be to remove. Make cleaning a regular part of your painting routine.
Tip 3: Alternative Cleaning Solutions
If denatured alcohol isn’t available, you can use ammonia mixed with water as an alternative. However, be aware that ammonia has a strong odor, so ensure proper ventilation.
Frequently Asked Questions
Q: Can I Use Regular Alcohol to Clean Shellac Primer?
A: Denatured alcohol is recommended because it’s specifically formulated to dissolve shellac. Regular rubbing alcohol may not be as effective.
Q: How Do I Know if All the Shellac is Removed?
A: Visually inspect your tools and surfaces. They should be free of any sticky or glossy residue. If in doubt, give them another rinse with denatured alcohol.
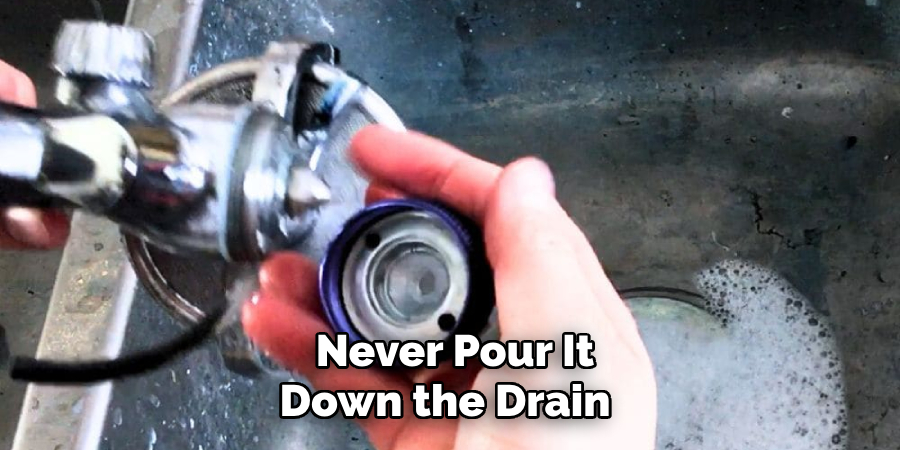
Q: Is It Safe to Pour Denatured Alcohol Down the Drain?
A: No, denatured alcohol should be disposed of according to local hazardous waste disposal guidelines. Never pour it down the drain as it can harm the environment.
Conclusion
Cleaning shellac primer may seem daunting, but with the right materials and steps, it becomes a manageable task. By understanding the importance of cleaning, following our step-by-step guide, and applying additional tips on how to clean shellac primer, you can ensure your tools and surfaces remain in top condition. This not only preserves your equipment but also sets you up for success in future projects.
Remember, a clean workspace is a productive workspace. Take the time to clean your shellac primer today, and enjoy the benefits of pristine tools and a professional finish in every project. If you found this guide helpful, consider sharing it with fellow DIY enthusiasts and professionals. Happy painting!