Removing a closet can significantly enhance the functionality and aesthetics of a room, whether for remodeling purposes, reconfiguring the space, or replacing it with a different storage solution. Many homeowners undertake closet removal to create a more open layout, add built-in furniture, or incorporate modern storage options that better meet their needs. Before you start, having a well-thought-out plan is crucial to ensure the process runs smoothly and efficiently. Proper planning and preparation are essential to avoid unnecessary damage to walls, floors, or nearby structures.

The fundamental steps in how to remove a closet include a thorough assessment to understand the structure, meticulous disassembly of closet components, patching and repairing any damage, and finally, giving the space a polished finish. By following these steps and paying attention to detail, you can successfully transform your space and achieve your desired outcome.
Assessment and Planning
Evaluation
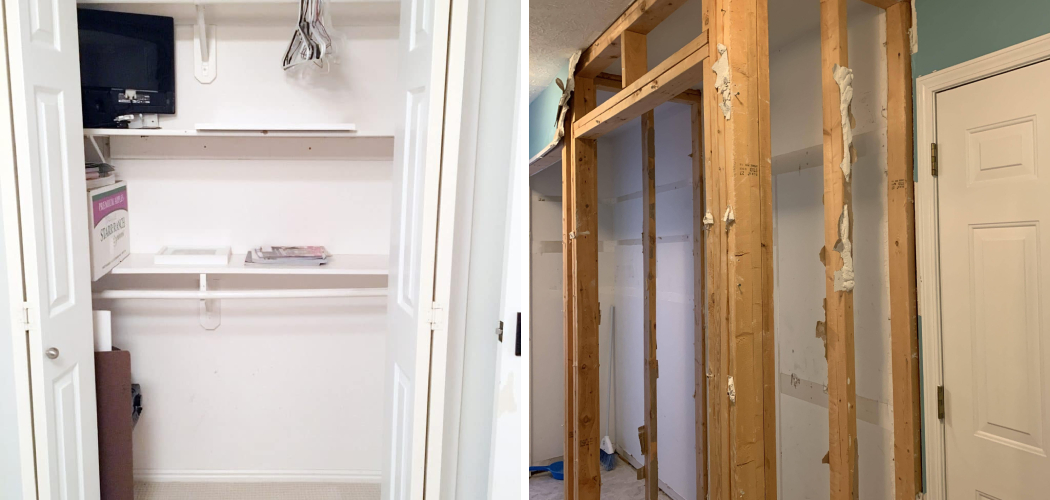
Begin by thoroughly assessing the condition of the closet. Take note of its size, construction materials, and how it is attached to the surrounding structure. Is the closet made of drywall, plaster, or a more robust material like wood? Examine how the closet is anchored to the walls and floor—look for screws, nails, or other fasteners. Understanding the construction details will help you anticipate the effort and tools needed for the removal.
Purpose
Next, clearly define why you want to remove the closet. Are you aiming to reconfigure the space for a new layout, install built-in furniture, or switch to a modern storage solution? Knowing the end goal will help guide your removal process and subsequent renovations. Consider how the newly freed space will be utilized; this can also influence the extent of demolition required and any structural changes.
Planning
Create a comprehensive plan for the removal process. Outline a timeline that includes each step, from initial assessment to final cleanup. Identify the necessary tools and materials, such as hammers, pry bars, and patching compounds. Consider potential challenges, like hidden electrical wiring or plumbing, which may complicate the removal. Planning for these variables in advance will help mitigate surprises and ensure a smooth, efficient closet removal process.
How to Remove a Closet: Disassembly
Disassembly is a crucial phase in removing a closet. Meticulous attention to detail during this step ensures a smooth transition to patching and repairs while minimizing damage to the surrounding area.
1.Clearing the Closet
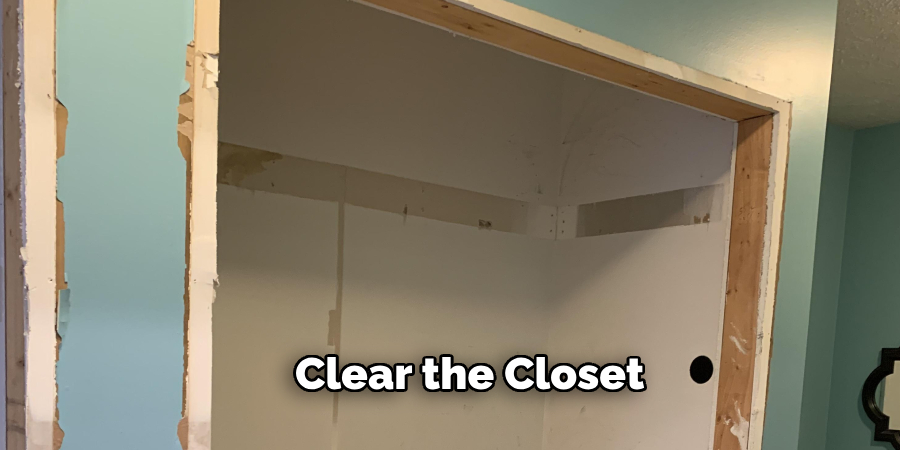
Before you begin disassembling the closet, make sure to remove all items stored within it. This includes clothing, shoes, boxes, and any other belongings. Clearing the closet not only protects your items but also provides a clear workspace, making it easier to maneuver and preventing accidents. Additionally, clear the area surrounding the closet to ensure easy access and reduce the likelihood of tripping or damage to other areas of the room.
2.Removing Doors
The next step in disassembly is to take off any doors or sliding panels attached to the closet. This often requires simply lifting the doors off their tracks or unscrewing the hinges that hold them in place. For sliding doors, gently lift them upward and carefully slide the bottom edge out of the track. For hinged doors, support the door while unscrewing the hinges to prevent it from falling or causing injury. Place the removed doors and screws aside in a secure location.
3.Dismantling Shelves and Rods
Once the doors are out of the way, proceed with dismantling the internal fixtures, such as shelves and rods. Use a screwdriver or pry bar to remove any brackets or supports that are holding the shelves and rods in place. Carefully unscrew each shelf one at a time, supporting the weight to prevent it from collapsing and causing damage or injury. Remove all screws, nails, or fasteners holding the shelves and rods, and take them out of the closet.
4.Detaching Closet Frame
The next step is to detach the closet frame from the surrounding walls and floor. Using a pry bar or hammer, carefully work around the edges of the frame to loosen it. Be cautious not to damage the adjacent walls or flooring. Having an extra set of hands to support the frame as you work is often helpful, ensuring it is removed evenly and safely. Pay extra attention to corners and areas where the frame may be more securely fastened.
5.Removing Fasteners
After the frame is detached, methodically remove any remaining screws, nails, or other fasteners that were used to attach the closet frame to the walls and floor. This may involve using a combination of a screwdriver, pliers, and a pry bar. Ensure all fasteners are removed to prevent any hazards during the subsequent steps of patching and repairing.
6.Disposing of Debris
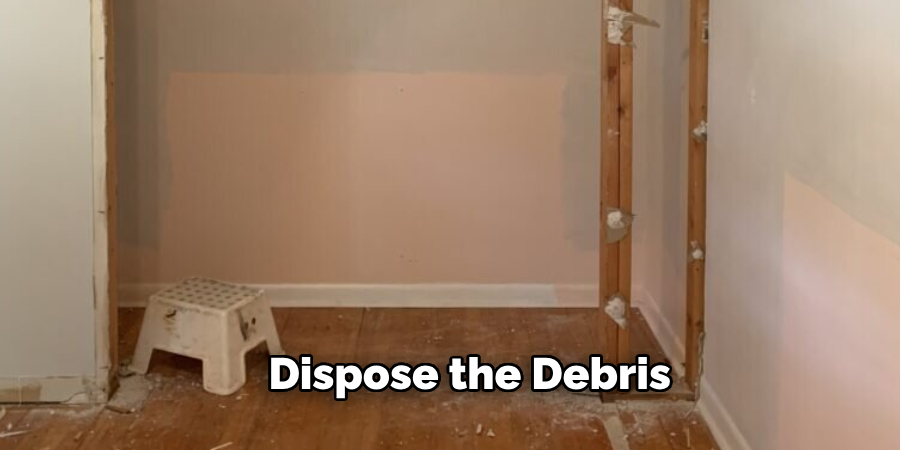
With the closet now fully disassembled, it is essential to dispose of the debris appropriately. Place all discarded materials, such as wood fragments, nails, screws, and drywall pieces, into trash bags for disposal. Make sure the area is thoroughly cleaned, removing any dust and debris using a broom or vacuum cleaner. This not only prepares the space for the patching and repairing phase but also ensures a safe and tidy environment.
By following these detailed steps, you can efficiently and safely disassemble a closet, paving the way for the next phases of your renovation project.
Patching and Repairing
7.Filling Holes
Use patching compound to fill any holes or indentations left in the walls or floor after removing the closet. Carefully apply the compound using a putty knife, ensuring it fills the gaps completely. If the holes are particularly large, you may need to apply multiple layers, allowing each layer to dry before adding the next. This will help to create a smooth and even surface.
8.Sanding
Once the patching compound is completely dry, which usually takes a few hours to overnight depending on the compound used, proceed with sanding the patched areas. Use fine-grit sandpaper to gently sand the surface until it is smooth and level with the surrounding wall or floor. Sanding not only smooths out the patched areas but also ensures that the compound is seamlessly integrated, making it less visible after painting or finishing.
9.Painting or Finishing
Finally, touch up the patched areas with paint or apply a matching wall covering to blend with the surrounding surfaces. Choose a paint color that matches the existing wall, or if you’re applying wall covering, ensure it aligns perfectly with the rest of the room. Use a small brush for precision in smaller areas, and ensure even strokes to avoid streaks. For floors, consider refinishing or replacing the flooring to achieve a polished look. This step will help achieve a cohesive and finished appearance, making it hard to tell that a closet was ever there.
Final Touches and Clean-Up
Inspecting
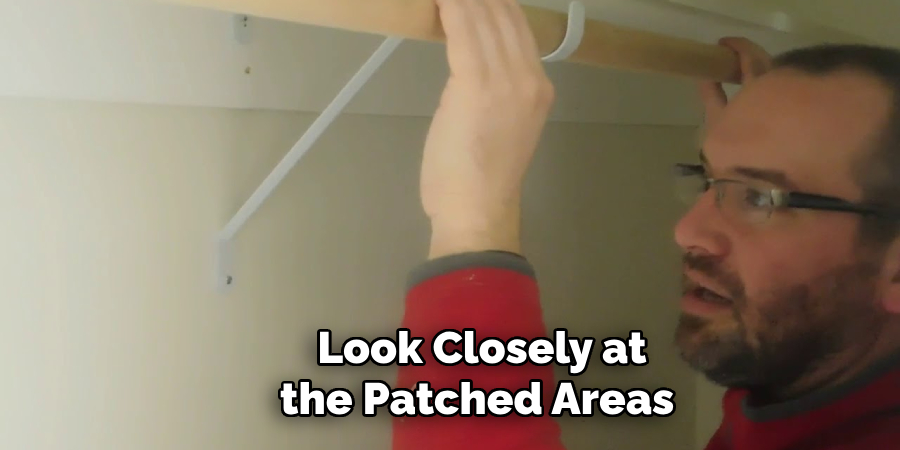
Double-check the area to ensure all debris has been removed and all surfaces are clean and free of damage. Look closely at the patched areas to confirm they are smooth and evenly integrated with the surrounding surfaces. Check for any missed spots or imperfections that may need additional attention.
Touching Up
Make any final touch-ups to the patched areas or surrounding surfaces as needed. This may involve applying a small amount of patching compound to any remaining minor imperfections, sanding again for a smooth finish, and touching up with paint or wall covering to blend seamlessly. Ensure the touch-ups are meticulously done to achieve a uniform appearance.
Clean-Up
Dispose of any remaining debris, vacuum or sweep the area, and wipe down surfaces for a clean finish. Gather all tools and materials, ensuring they are stored away properly. Thoroughly clean the workspace using a vacuum or broom to remove any dust and particles, and finish by wiping down surfaces with a damp cloth to leave the area spotless and ready for the next stage of your renovation.
Safety Considerations
Protective Gear
Before beginning the disassembly process, equip yourself with essential protective gear. Wear safety goggles to shield your eyes from dust, debris, and any potential sharp objects. Additionally, use sturdy gloves to protect your hands from splinters, sharp edges, and nails. It’s also advisable to wear a dust mask, especially if you’ll be sanding or dealing with old materials that may produce harmful particles.
Structural Integrity
Exercise caution when detaching the closet frame to prevent damaging the surrounding walls or floors. Work slowly and methodically with tools such as a pry bar or hammer, avoiding excessive force. Supporting the frame with an extra set of hands can also ensure it is removed evenly, reducing the risk of causing structural damage.
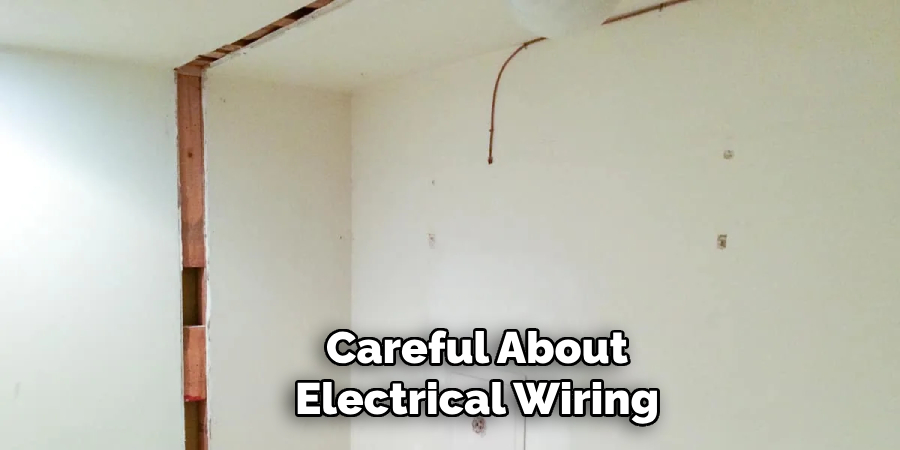
Electrical and Plumbing
Be mindful of any electrical wiring or plumbing fixtures that may be located behind or within the closet. Use a stud finder or similar device to detect hidden utilities before proceeding. Always turn off the electricity in the area to avoid accidental shocks and consult a professional if you’re unsure about safely handling these elements.
Conclusion
Successfully removing a closet involves a series of well-planned steps. Begin with an assessment to understand the structure and any potential challenges. Disassemble the closet carefully, removing the frame and any fasteners, followed by thorough debris disposal. Proceed to patch and repair the walls and floors, filling holes, sanding, and finishing with paint or coverings for a seamless look.
Careful planning and meticulous attention to each step are crucial for a successful closet removal process. These measures ensure structural integrity, safety, and a professional finish, setting the stage for subsequent renovations or repurposing of the space.
For a smooth and efficient project on how to remove a closet, consider seeking professional assistance for complex or large-scale projects, especially those involving structural changes. Always be mindful of potential hidden utilities, and adhere to safety protocols to avoid accidents. This preparedness will lead to a hassle-free and satisfying renovation experience.