
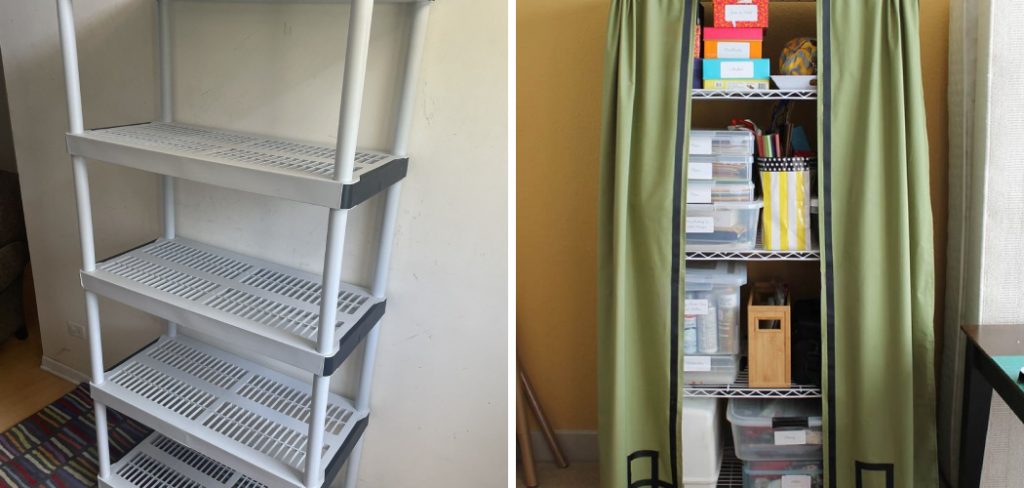
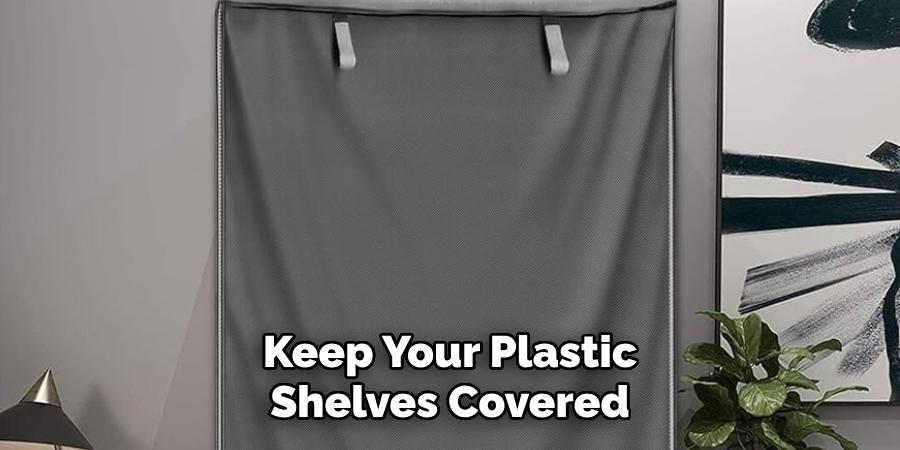
Plastic shelves are a popular choice for storage solutions due to their affordability, lightweight nature, and versatility. They can be found in various settings, from home closets and garages to office spaces and retail environments. Over time, however, the plain appearance of plastic shelves may become less appealing, prompting a desire to enhance their aesthetic appeal or boost their durability. Covering plastic shelves can offer a quick and effective solution to transform their look and extend their lifespan.
The process of how to cover plastic shelves involves several key steps, including thorough preparation, selecting appropriate covering materials, accurate application, and finishing touches to ensure a polished result. By following this guide, you will be equipped with the knowledge and skills to give your plastic shelves a new lease on life, making them both functional and visually pleasing.
Preparation
Before you begin the process of covering your plastic shelves, proper preparation is crucial to ensure the best results. Start by thoroughly cleaning the plastic shelves with soap and water. Use a mild detergent to effectively remove any dirt, grease, or residues that may be present on the surface. A soft cloth or sponge can help scrub away any buildup, ensuring the shelves are entirely clean. This step is vital as any contaminants left on the surface could interfere with the adhesion of the covering material.
Once the shelves have been cleaned, rinse them thoroughly with water to remove any soap residue. After rinsing, it’s essential to allow the shelves to dry completely. Any moisture left on the shelves can prevent the adhesive from bonding correctly, potentially causing the covering material to peel or bubble over time. You can either let the shelves air dry naturally or use a soft, lint-free cloth to speed up the drying process. Ensure every nook and cranny is dry before proceeding. Proper drying is a key step to guarantee the adhesion process is smooth and long-lasting. By investing time in thorough cleaning and drying, you lay the foundation for a successful and durable covering application.
Materials Needed
Selecting the right materials is essential for ensuring a successful outcome when covering plastic shelves. You’ll need a variety of tools and materials, starting with the covering material itself. Several options are available to suit different tastes and requirements:
- Fabric: Choose a durable fabric that matches your decor. It’s flexible and can add a soft texture to your shelves.
- Contact Paper: This is a versatile and easy-to-use option that comes in numerous patterns and colors. It’s self-adhesive, which simplifies the application process.
- Adhesive Shelf Liners: These are similar to contact paper but are specifically designed for shelves. They often provide additional grip to prevent items from sliding.
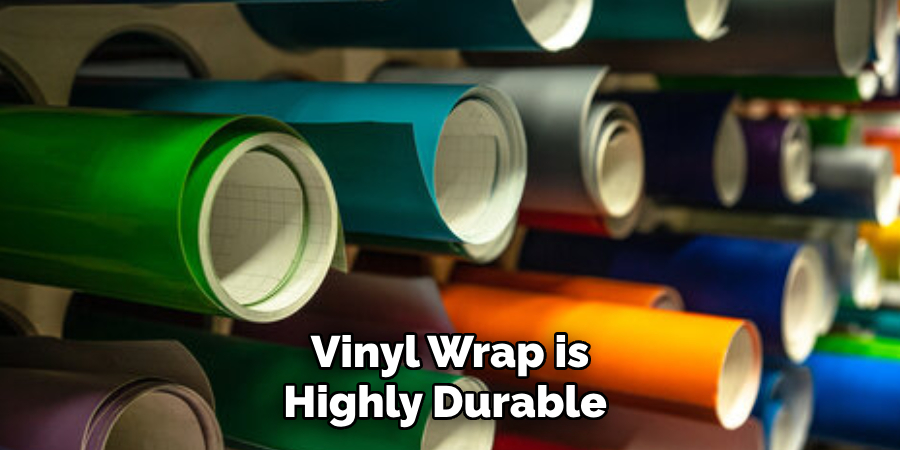
- Vinyl Wrap: Ideal for a sleek, modern look, vinyl wrap is highly durable and water-resistant.
- Decorative Paper: If you’re aiming for a unique design, decorative paper offers endless possibilities. You’ll need adhesive to secure it.
Next, choose an adhesive to secure the covering material to the shelves effectively:
- Spray Adhesive: Ideal for an even distribution, especially when using fabric or decorative paper.
- Double-Sided Tape: Provides a convenient and clean solution for attaching lighter materials like contact paper.
- Contact Cement: Offers a strong, permanent bond, which is particularly useful for vinyl wrap.
Lastly, having the right tools will ensure precision:
- Scissors or Utility Knife: These are essential for cutting the covering material to the correct size, enabling a neat and precise application.
How to Cover Plastic Shelves: Application
1.Measuring
The first step in the application process is to measure the dimensions of your plastic shelves accurately. Using a measuring tape, take the length, width, and depth of each shelf. Write down these measurements to ensure precision throughout the cutting phase. Accurate measurements are crucial for ensuring that the covering material fits perfectly and looks professionally applied.
Once you have your measurements, lay out the covering material on a flat surface. Using a ruler or a straight edge, mark the dimensions on the material, adding a small allowance of about half an inch on all sides for any adjustments. Use scissors or a utility knife to cut the material according to your measurements. A utility knife provides better control and precision for intricate designs or tight spaces.
2.Applying Adhesive
Next, you’ll want to prepare the adhesive, whether it’s spray adhesive, double-sided tape, or contact cement, depending on the covering material you’ve chosen. Follow the manufacturer’s instructions carefully to ensure the best adhesion.
- Spray Adhesive: Shake the can well and spray a light, even coat onto the surface of the shelves. Maintain a consistent distance from the surface to avoid pooling or uneven distribution.
- Double-Sided Tape: Apply the tape along the edges of the shelves and add a few strips in the middle for additional support. Press down firmly to ensure good contact.
- Contact Cement: Apply a thin layer using a brush, spreading it evenly across the entire surface. Wait for it to become tacky before proceeding.
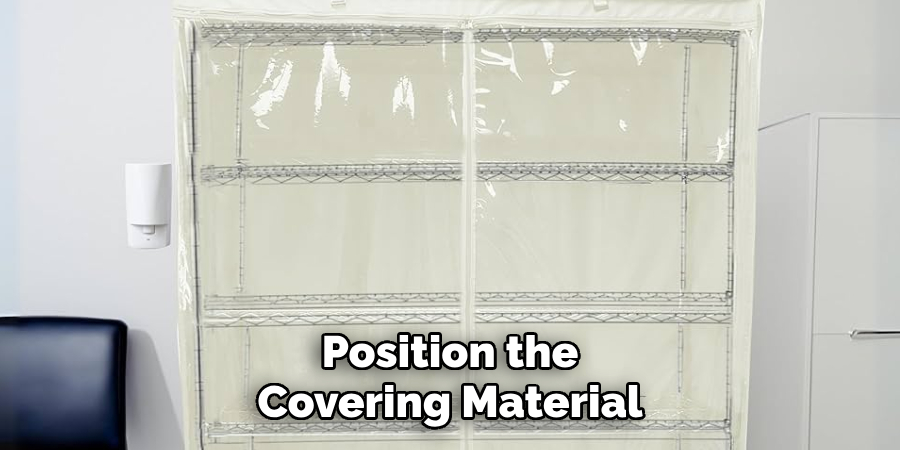
3.Applying Covering Material
Once the adhesive is ready, carefully position the covering material onto the adhesive. Start from one edge of the shelf and slowly lay the material down, smoothing it out as you go to avoid wrinkles and bubbles. Use a soft cloth or a squeegee to press the material onto the adhesive, working from the center outwards to ensure a smooth finish. If using fabric, gently stretch it to remove any creases, but be careful not to over-stretch and distort the fabric’s pattern.
4.Trimming Excess
After the covering material is in place, trim any excess using scissors or a utility knife. A straight edge can help achieve a neat and tidy finish. Make careful cuts along the edges, ensuring the covering material is flush with the surface of the shelves. Make small relief cuts for rounded corners or irregular shapes to help the material conform to the contours.
5.Repeat for Each Shelf
Repeat the process for each shelf, maintaining consistent application and alignment of the covering material. Take your time to measure, cut, and apply the adhesive precisely, ensuring each shelf looks uniform. Consistent application will make your covered shelves look cohesive and professionally finished.
By diligently following these steps, you can transform your plain plastic shelves into attractive and durable storage solutions, greatly enhancing their functionality and aesthetic appeal.
Finishing Touches
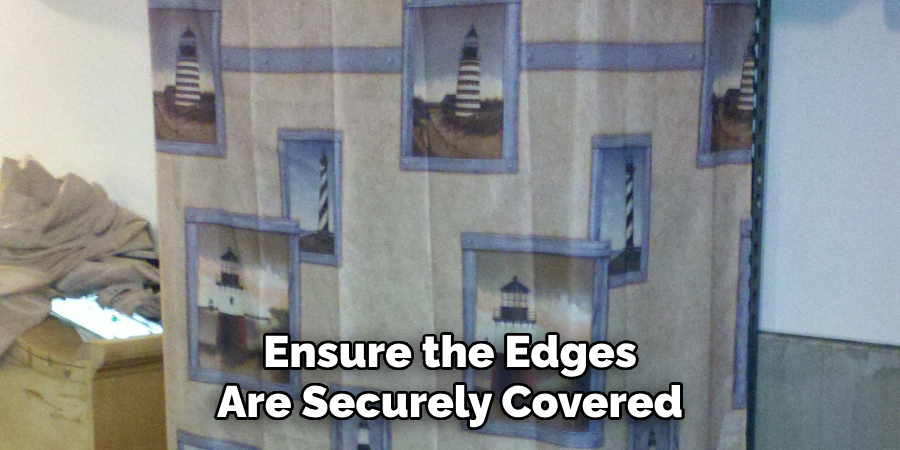
After the covering material has been applied to the shelves, it’s time to focus on the finishing touches to ensure a professional look and long-lasting adhesion. Begin by smoothing the surface with a squeegee or your hands to remove any remaining wrinkles or bubbles. This step is crucial for achieving a flawless, even finish. Next, pay special attention to the edges of the shelves.
Ensuring the edges are securely covered and sealed prevents the material from peeling over time and contributes to a polished appearance. If necessary, trim any excess material with scissors or a utility knife for a clean finish. Finally, allow the adhesive to cure fully according to the manufacturer’s instructions before loading the shelves with items. Giving the adhesive enough time to set ensures a strong bond, which is essential for the durability and longevity of the covering. By following these steps, your covered plastic shelves will not only look great but also stand the test of time.
Maintenance Tips
Regular Cleaning
To keep your covered plastic shelves looking their best, clean them regularly with a damp cloth or mild soap and water. This routine maintenance helps to remove dust, dirt, and grime that may accumulate over time, ensuring the shelves remain in pristine condition.
Avoid Sharp Objects
Exercise caution when placing sharp or abrasive objects on the shelves. Items with pointed edges or rough surfaces can cause scratches or tears in the covering material, reducing its lifespan and aesthetic appeal.
Reapplication
If the covering material becomes damaged or begins to peel, it’s essential to address it promptly. Carefully remove the old covering and clean the shelves thoroughly before reapplying a new covering. This proactive approach ensures your shelves continue to look great and function effectively, extending their durability and visual appeal. Regular maintenance and timely reapplication will keep your covered plastic shelves looking fresh and attractive for years to come.
Conclusion
Covering plastic shelves involves a few key steps to achieve the best results. Start with thorough preparation by cleaning and drying the shelves to ensure proper adhesion. Next, choose the right materials, whether fabric, contact paper, adhesive shelf liners, vinyl wrap, or decorative paper, and apply them using suitable adhesives and tools. Finishing touches like smoothing out bubbles and securing the edges are crucial for a polished look.
The benefits of learning how to cover plastic shelves are clear: not only does this process enhance the appearance of your shelves, making them more visually appealing, but it also improves their durability by protecting the surface from wear and tear.
For additional tips, consider matching the covering material to your decor for a cohesive look and always follow the manufacturer’s instructions for adhesive curing times. By following these guidelines, you can transform your plastic shelves into functional and stylish additions to any room.