
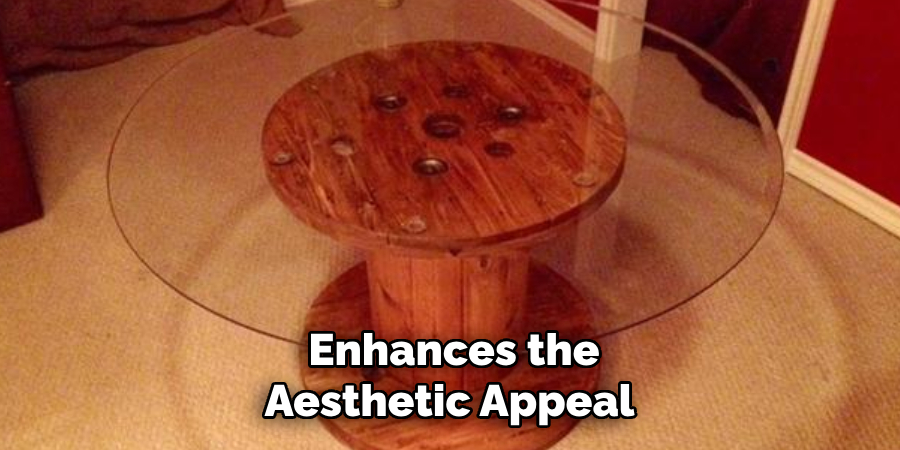
Due to their aesthetic appeal and versatility, glass and wood are popular in interior design and furniture making. Combining these two materials can result in elegant, modern, and functional pieces, such as tables, cabinets, and decorative items. The interplay of the transparency of glass with the warmth of wood introduces a sophisticated dimension to design projects. However, knowing how to connect glass to wood securely and aesthetically is crucial to the success of such projects.
This article aims to provide a step-by-step guide on how to connect glass to wood effectively. By following these guidelines, you can ensure that your creations are both professional and durable. Additionally, we will offer tips and techniques tailored to different project types, allowing you to achieve a seamless and attractive finish in your work.
Materials and Tools Needed
Materials:
- Glass Pane (tempered or annealed, depending on the project requirements)
- Wood Piece (hardwood or softwood, depending on the design)
- Adhesive (epoxy, silicone adhesive, or polyurethane glue suitable for glass-to-wood bonding)
- Rubber or Silicone Gaskets (for cushioning and securing the glass)
- Screws or Brackets (if mechanical fasteners are used)
- Wood Finish (stain, paint, or varnish)
Tools:
- Measuring Tape
- Glass Tleaner and Floth
- Sandpaper (various grits)
- Clamps
- Drill and Appropriate Drill Dits (if using mechanical fasteners)
- Caulking gun (for silicone adhesive)
- Screwdriver or Power Drill (for screws and brackets)
- Safety Gear (gloves, safety glasses)
Having the right materials and tools is essential for successfully connecting glass to wood. Using tempered or annealed glass is recommended based on the specific requirements of your project for safety and durability. Whether hardwood or softwood, the choice of wood should align with your design goals.
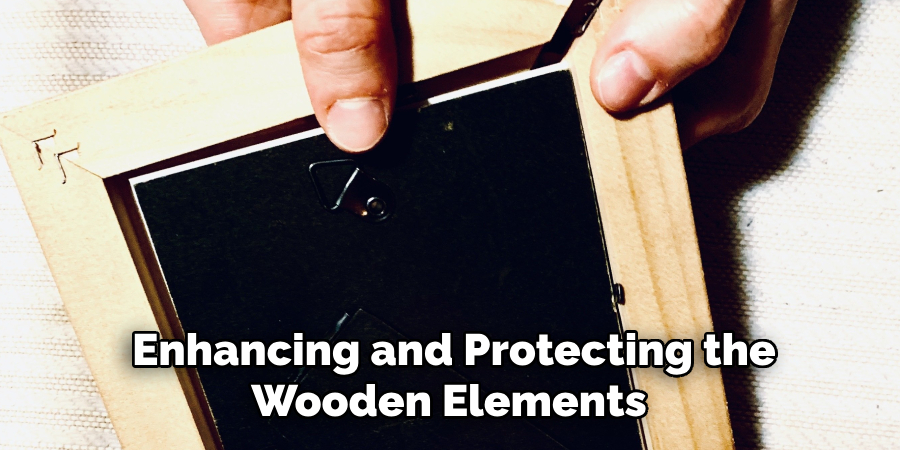
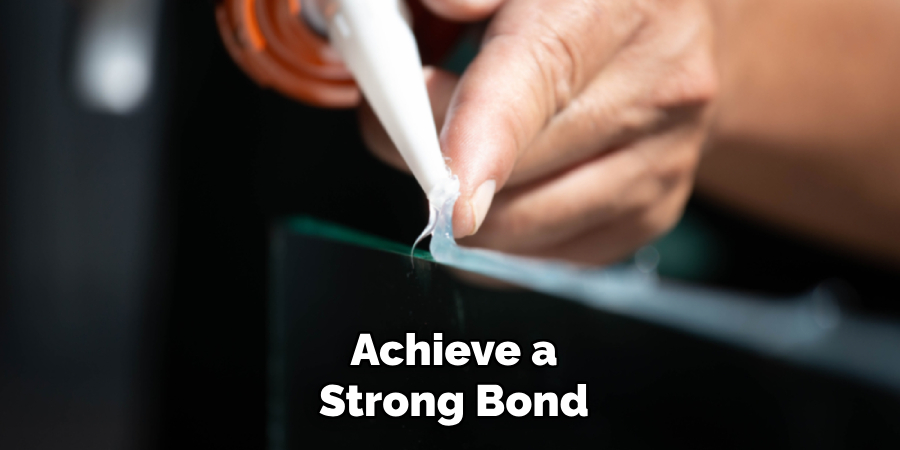
Adhesives like epoxy, silicone, or polyurethane are crucial for creating a strong bond between glass and wood, while rubber or silicone gaskets provide necessary cushioning. Mechanical fasteners such as screws or brackets can offer additional support. Choosing the right wood finish helps in enhancing and protecting the wooden elements of your project.
Among the tools, a measuring tape ensures accurate dimensions and a glass cleaner with a cloth helps in preparing the glass surface. Sanding the wood properly ensures a smooth finish and better adhesion. Clamps are useful for holding the materials in place during bonding. Drilling equipment is necessary if you are using screws or brackets, and a caulking gun facilitates the application of silicone adhesive. Lastly, wearing safety gear like gloves and safety glasses is important to protect yourself while working on the project.
Preparing the Wood and Glass
Measuring and Cutting:
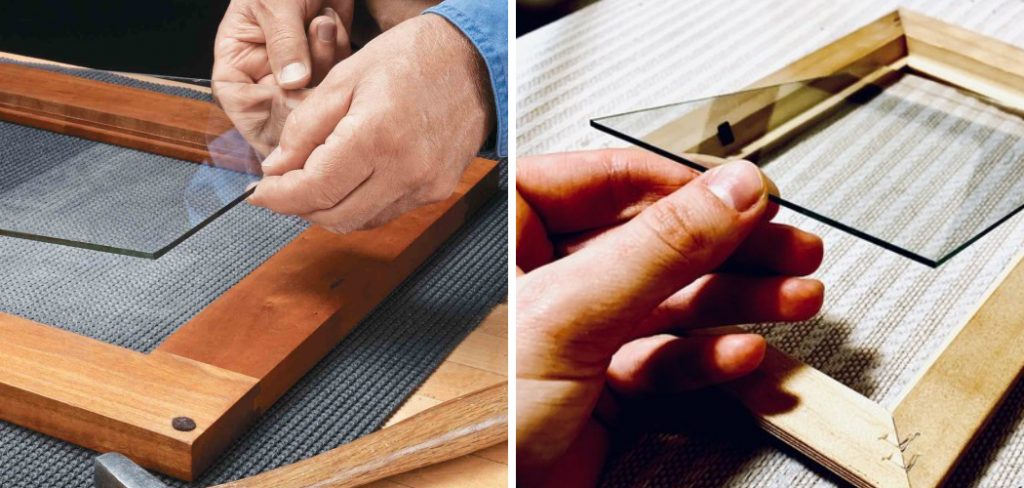
- Measure the Dimensions of the Glass and Wood Accurately to ensure a precise fit. Accurate measurements are critical to achieving a seamless connection between the two materials.
- Cut the Wood to the Desired Size and Shape using appropriate tools, such as a saw. Take your time to ensure straight and clean cuts, as this will impact the overall appearance and stability of the final piece.
- Sand the Edges of the Wood to smooth out any rough areas and ensure a clean, finished look. Sanding also helps the adhesive bond more effectively to the wood surface.
Cleaning the Glass:
- Clean the Glass Pane Thoroughly with glass cleaner and a lint-free cloth to remove any dust, dirt, or grease. Any residue can affect the adhesive bond and, ultimately, the durability of the connection.
- Ensure the Glass is Completely Dry before proceeding to the next steps. Moisture can interfere with the adhesion process and potentially weaken the bond between the glass and wood.
Preparing the Wood Surface:
- Clean the Wood Surface to remove any dust or debris. A clean surface is essential for effective adhesion and a professional finish.
- If Needed, Apply a Wood Finish (stain, paint, or varnish) and allow it to dry completely before attaching the glass. A properly finished wood surface not only enhances the aesthetic appeal but also provides additional protection against moisture and wear.
How to Connect Glass to Wood: Using Adhesive to Bond Glass to Wood
1.Choosing the Right Adhesive:
- Epoxy Adhesive:
- Offers strong bonding and is suitable for a variety of glass-to-wood applications.
- Mix the two-part epoxy according to the manufacturer’s instructions.
- Silicone Adhesive:
- Flexible and durable, ideal for applications where slight movement is expected.
- A caulking gun is used for precise application.
- Polyurethane Glue:
- Provides strong adhesion and is moisture-resistant, suitable for outdoor projects.
2.Applying the Adhesive:
- Epoxy Adhesive:
- Mix the epoxy components thoroughly.
- Apply a thin, even layer of epoxy to the wood surface where the glass will be attached.
- Position the glass carefully on the wood and press down to ensure contact.
- Silicone Adhesive:
- Apply a bead of silicone adhesive along the edges of the wood surface.
- Position the glass on top of the adhesive bead and press down gently.
- Use clamps to hold the glass in place while the adhesive cures.
- Polyurethane Glue:
- Apply a thin layer of polyurethane glue to the wood surface.
- Position the glass on the wood and apply gentle pressure.
- Use clamps to hold the glass in place until the glue cures.
3.Curing Time:
- Allow the adhesive to cure completely according to the manufacturer’s instructions, usually ranging from a few hours to 24 hours.
- Ensure the glass remains undisturbed during the curing process to achieve a strong bond.
Using Mechanical Fasteners
4.Selecting Fasteners:
- Choose Screws, Brackets, or Clips designed specifically for securing glass to wood. It’s crucial to use fasteners that are engineered for these materials to ensure a secure and stable connection.
- Ensure the Fasteners Are of Appropriate Size and Strength for your project. Consider the weight and thickness of the glass as well as the type of wood being used. This will help determine the necessary size and robustness of the fasteners.
5.Drilling Pilot Holes:
- Mark the Positions for the fasteners on the wood using a pencil or marker. Accurate marking is important to ensure that the glass is held in place correctly and securely.
- Drill Pilot Holes slightly smaller than the screws to prevent the wood from splitting. This step is essential as it allows the screws to be inserted more easily and reduces the risk of damaging the wood.
6.Attaching Brackets or Clips:
- Position the Brackets or Clips on the marked spots on the wood. Align them carefully to ensure even support for the glass.
- Secure Them With Screws, making sure they are firmly attached to the wood. Use rubber or silicone gaskets between the glass and the fasteners to cushion the glass and prevent it from being damaged during installation or use.
7.Securing the Glass:
- Carefully Place the Glass Pane in position, ensuring it aligns correctly with the brackets or clips. Double-check the alignment before securing it to avoid any misplacement.
- Tighten the Screws or Adjust the Brackets/clips to hold the glass securely in place. Be cautious to avoid over-tightening, as this can exert too much pressure on the glass and cause it to crack.
8.Finishing Touches:
- Inspect the Attachment to ensure the glass is securely fastened and properly aligned. Make any necessary adjustments to ensure a snug and secure fit.
- Add Any Decorative Caps or Covers to hide the fasteners, if desired. This not only enhances the aesthetic appeal of the final piece but also provides an extra layer of protection for the fasteners.
Final Touches and Maintenance
Inspecting the Connection:
- Check the Bond or Fasteners to ensure the glass is securely attached to the wood. Inspect each point of connection for any signs of looseness or instability.
- Make Any Necessary Adjustments to ensure stability and alignment. If the glass seems misaligned or unstable, carefully reposition and secure it to maintain a seamless and sturdy bond.
Adding Protective Elements:
- Apply Rubber or Silicone Gaskets along the edges to protect the glass from impact and provide a finished look. These gaskets also serve to cushion the glass, reducing the risk of chipping or cracking at the edges.
- Consider Using Corner Protectors or Edge Guards if the glass edges are exposed. These additions not only enhance the safety of the piece by preventing accidental injuries but also contribute to the overall aesthetic appeal.
Regular Maintenance:
- Clean the Glass Regularly with a mild glass cleaner and a soft cloth to maintain clarity and appearance. Avoid abrasive materials that could scratch or damage the glass surface.
- Dust and Clean the Wood Surface to keep it looking polished and well-maintained. Use a gentle wood cleaner or a damp cloth to remove dust and grime without harming the finish.
- Periodically Check the Adhesive Bond or Mechanical Fasteners to ensure they remain secure and make any necessary repairs. Regular inspections will help prolong the life and durability of the assembled piece by addressing any potential issues early on.

Conclusion
Connecting glass to wood involves two main methods: using adhesive and mechanical fasteners. Adhesives like epoxy, silicone, and polyurethane glue offer strong, flexible, and moisture-resistant bonds suitable for different project needs.
Mechanical fasteners, such as screws, brackets, and clips, provide a secure method and require precise placement and proper cushioning to prevent glass damage. Properly preparing materials, such as measuring, cutting, and cleaning, is essential for a seamless connection. Choosing the correct method depends on the specific project’s requirements and the characteristics of the materials involved.
Take your time and follow each step carefully to achieve a professional and durable result. Combining glass and wood in various projects offers versatility and aesthetic appeal, from furniture creation to decorative installations. Enjoy the satisfaction of crafting something unique and visually stunning.
Properly connecting glass to wood enhances both durability and visual appeal. It is advisable to seek professional assistance for complex projects or if any part of the process feels too challenging. Mastering “how to connect glass to wood” opens up a world of creative possibilities, adding elegance and sophistication to your craftsmanship.
You Can Check It Out to Secure Newel Post to Floor