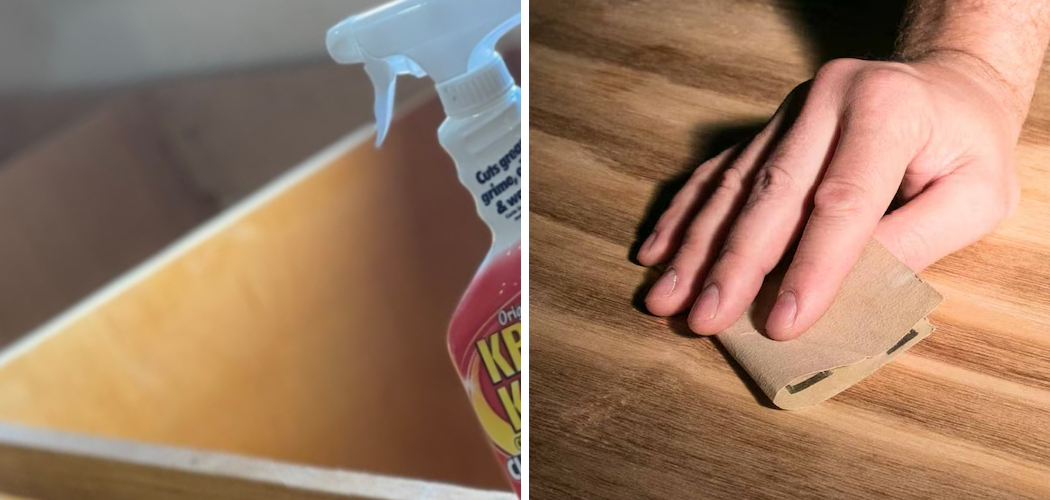
Sanding cabinets is a crucial step in refinishing or repainting, but it leaves behind a significant amount of dust and debris. Properly cleaning cabinets after sanding ensures a smooth, flawless finish and prevents dust from interfering with paint or stain adhesion. Knowing how to clean cabinets after sanding is essential for achieving professional results and extending the longevity of your new finish.

This article will provide a comprehensive, step-by-step guide on how to effectively clean cabinets after sanding. It will also offer tips and techniques to ensure that the cabinets are completely free of dust and ready for the next step in the refinishing process. Whether you’re a DIY enthusiast or a professional, these insights will help you achieve the best possible outcome for your cabinetry project.
Materials and Tools Needed
Materials:
- Tack cloths
- Microfiber cloths
- Vacuum cleaner with a brush attachment
- Soft-bristle brush or paintbrush
- Bucket of warm water
- Mild dish soap
- Cleaning solution (optional, such as TSP for heavy grime)
- Rubbing alcohol or mineral spirits (optional for thorough cleaning)
Tools:
- A vacuum cleaner with a hose and brush attachment
- Soft-bristle brush or paintbrush
- Tack cloths or microfiber cloths
- Spray bottle (optional for cleaning solution)
- Safety gear (gloves, safety glasses, dust mask)
Having the right materials and tools is crucial for effectively cleaning cabinets after sanding. Tack cloths and microfiber cloths are essential for picking up fine dust particles without leaving lint behind. A vacuum cleaner with a brush attachment will help remove larger debris and dust from crevices. For stubborn areas, a soft-bristle brush or paintbrush can be used to loosen particles.
A bucket of warm water mixed with mild dish soap serves as a gentle cleaning solution, while more robust options like TSP are recommended for heavy grime. Optional items such as rubbing alcohol or mineral spirits can be used for a more thorough cleaning. Ensuring you have safety gear like gloves, safety glasses, and a dust mask will protect you from potential hazards during the cleaning process.
How to Clean Cabinets After Sanding: Initial Dust Removal
Using a Vacuum Cleaner:
Begin by vacuuming the cabinets with a brush attachment to remove the majority of the sanding dust. This step is crucial as it quickly and efficiently sucks up both large and fine dust particles. Focus on corners, crevices, and edges where dust tends to accumulate. The brush attachment will help dislodge dust from these hard-to-reach areas, ensuring a more thorough clean.
Additionally, it’s beneficial to vacuum the surrounding area, including the floor and nearby surfaces, to prevent dust from resettling on the cabinets. By keeping the entire workspace clean, you minimize the risk of dust interfering with your refinishing process.
Soft-Bristle Brush:
After vacuuming, use a soft-bristle brush or a clean, dry paintbrush to gently brush off any remaining dust from the cabinet surfaces. This method is especially effective for lifting dust that the vacuum may have missed. Pay special attention to detailed areas, such as moldings and grooves, where dust can be particularly stubborn. The gentle action of the soft-bristle brush will help ensure that every nook and cranny is free of dust, setting the stage for a flawless finish as you move forward with your refinishing project.
How to Clean Cabinets After Sanding: Wiping Down the Cabinets
Damp Cloth Cleaning:
- Dampen a microfiber cloth with warm water and gently wipe down the cabinets to pick up any remaining dust.
- Rinse the cloth frequently in clean water to avoid spreading dust around.
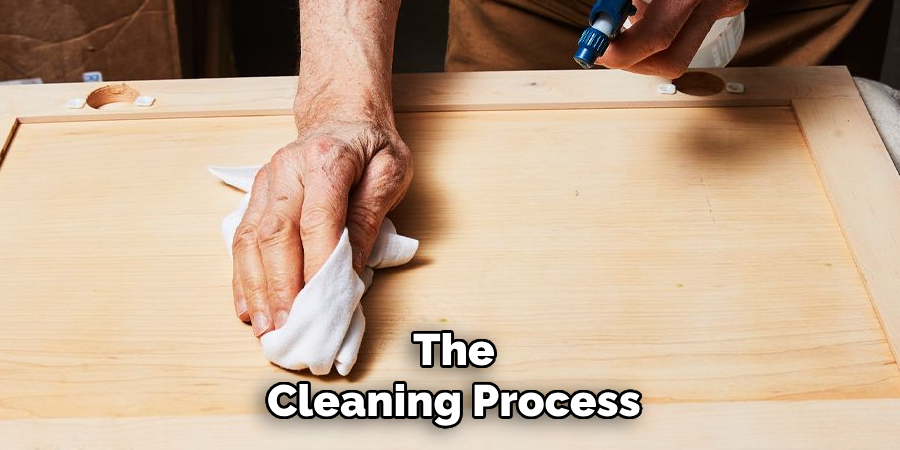
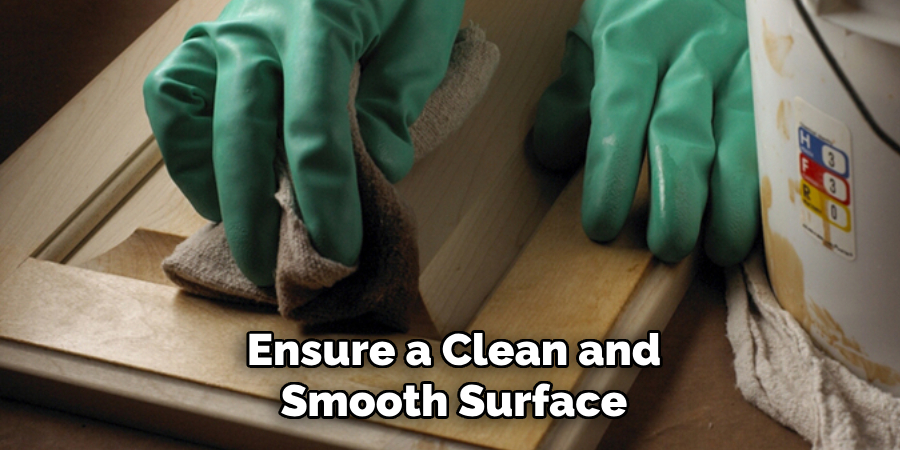
After removing the bulk of the dust with a vacuum and soft-bristle brush, proceed to wipe down the cabinets with a damp microfiber cloth. Lightly moisten the cloth with warm water and gently wipe the surfaces of the cabinets. This step helps to capture residual dust particles that might have been left behind. Be sure to frequently rinse the cloth in clean water to prevent the dust from simply being redistributed. Properly wiping down the cabinets will ensure a clean and smooth surface that is ready for the next stage of finishing.
Mild Soap Solution:
- Mix a few drops of mild dish soap in a bucket of warm water for cabinets with heavy dust or slight grease.
- Dip a microfiber cloth in the soapy water, wring it out well, and wipe down the cabinets.
- Follow up with a clean, damp cloth to remove any soap residue.
If the cabinets have areas with heavy dust buildup or slight grease, enhance the cleaning process by using a mild soap solution. Combine a few drops of mild dish soap with warm water in a bucket. Dampen a microfiber cloth with the soapy mixture, making sure to wring it out well to prevent excess water from saturating the wood. Carefully wipe down the cabinets, focusing on particularly dirty areas. Once cleaned, follow up with a clean, damp cloth to remove any soap residue left behind. This two-step process ensures that your cabinets are thoroughly cleaned and prepared for finishing.
Tack Cloth for Fine Dust
- After the initial wipe-down, use a tack cloth to remove any remaining fine dust particles.
- Lightly wipe the tack cloth over all cabinet surfaces, including edges and corners.
- Tack cloths are sticky and specifically designed to pick up fine dust and debris without leaving residue.
Once you have completed the damp cloth cleaning process, it is crucial to eliminate any lingering fine dust that could interfere with the smoothness of your finish. To do this, utilize a tack cloth, which is specially designed for this purpose. Gently wipe the tack cloth over every surface of the cabinets, ensuring you cover all edges and corners where dust can hide. The tack cloth’s sticky texture will efficiently capture any remaining fine particles, leaving your cabinets spotless and perfectly prepped for the next steps in your refinishing project.
Deeper Cleaning (Optional)
Using TSP Solution:
- For particularly grimy cabinets, mix a TSP (trisodium phosphate) solution according to the manufacturer’s instructions.
- Apply the solution with a sponge or cloth, focusing on areas with heavy dirt or grease buildup.
- Rinse thoroughly with clean water and wipe dry.
Using a TSP solution can be highly effective for cabinets with significant grime or grease buildup. Begin by mixing the TSP (trisodium phosphate) solution according to the instructions provided by the manufacturer. Using a sponge or cloth, apply the solution to the cabinet surfaces, paying special attention to areas with a lot of dirt or grease. The TSP solution will help break down and remove these tough residues.
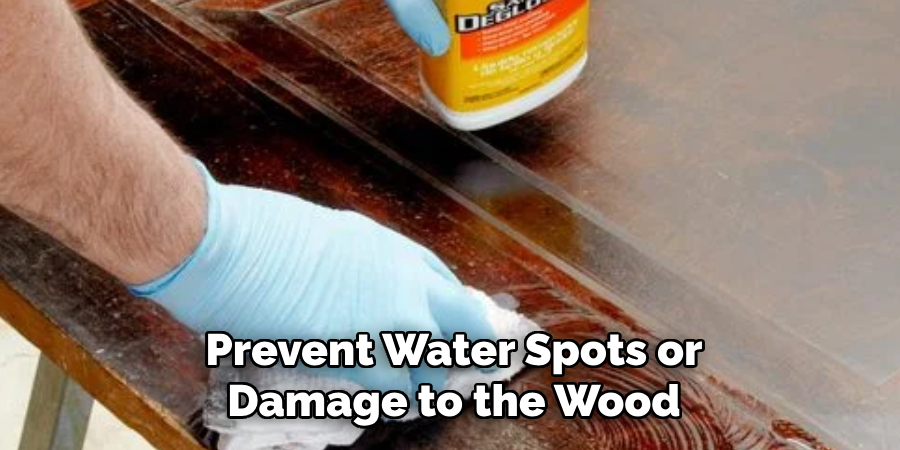
Once cleaned, make sure to rinse the cabinets thoroughly with clean water to remove any leftover TSP solution, and then wipe them dry to prevent water spots or damage to the wood.
Rubbing Alcohol or Mineral Spirits:
- For an extra level of cleanliness, wipe down the cabinets with rubbing alcohol or mineral spirits.
- Use a clean, lint-free cloth and apply the solvent evenly over all surfaces.
- This step helps remove any oils or residues that might interfere with paint or stain adhesion.
- Ensure proper ventilation when using these solvents and wear protective gear as needed.
To achieve an even higher level of cleanliness, consider wiping down the cabinets with rubbing alcohol or mineral spirits. Use a clean, lint-free cloth for this process, and make sure to apply the solvent evenly over all cabinet surfaces. This step is particularly beneficial for removing any lingering oils or residues that could interfere with the adhesion of paint or stain.
Ensure that the area is well-ventilated when using these solvents, and wear appropriate protective gear, such as gloves and a mask, to safeguard your health during the cleaning process.
Final Inspection and Preparation
Inspecting for Dust:
- Carefully inspect the cabinets for any remaining dust or debris.
- Run your hand over the surfaces to feel for any rough spots or remaining particles.
After performing the deeper cleaning steps, thoroughly inspect your cabinets for any residual dust or debris. Run your hand gently over all surfaces to identify and address any rough spots or remaining particles that you may have missed earlier. This tactile inspection is crucial to ensuring a smooth, flawless finish.
Final Touches:
- Use a dry microfiber cloth to wipe the cabinets one last time.
- Ensure that all surfaces are completely dry before proceeding with painting or staining.
Once the inspection is complete, use a dry microfiber cloth to give the cabinets one final wipe down. This step guarantees that any last bits of dust are removed. Make sure all surfaces are entirely dry before moving on to the painting or staining stages.
Masking and Taping:
- Use painter’s tape to mask off areas that you do not want painted or stained, such as hinges and handles.
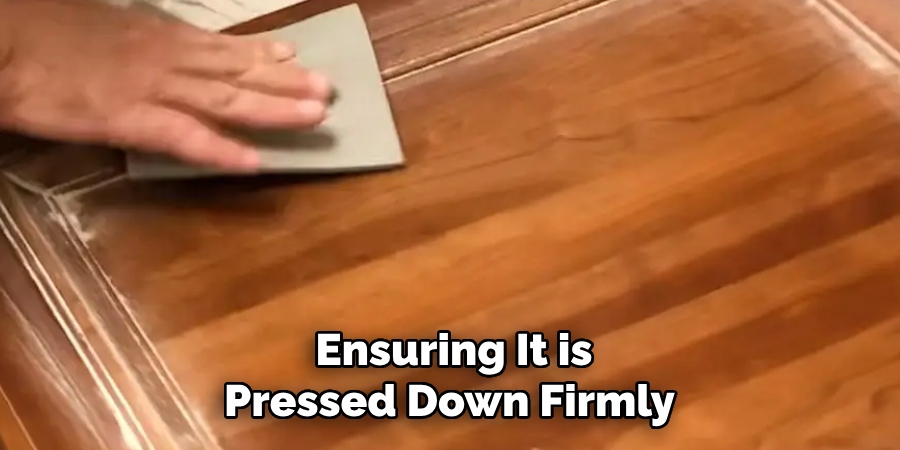
- Ensure a clean edge by pressing the tape firmly and covering all necessary areas.
Before applying paint or stain, carefully mask off areas like hinges and handles that you do not want to be coated. Use painter’s tape to achieve clean, sharp edges, ensuring it is pressed down firmly and covers all required areas to protect them during the finishing process.
Conclusion
Properly cleaning cabinets after sanding is a multi-step process essential for a professional finish. Start by vacuuming the dust off the cabinet surfaces, then gently brush off any remaining particles with a soft-bristle brush. Follow this by wiping down the cabinets with a damp microfiber cloth and, if necessary, a mild soap solution for more stubborn grime.
Finally, use a tack cloth to remove any fine dust particles and consider deeper cleaning methods like TSP solution or rubbing alcohol for particularly grimy cabinets.
Thoroughly cleaning the cabinets is vital for achieving a professional-quality finish. Clean surfaces greatly improve the adhesion of paint or stain, resulting in a more durable and attractive outcome. Ensuring that all dust and residues are removed will help the finish last longer and look better.
Take your time with each step to ensure the best results. Set up a clean, dust-free workspace for the painting or staining process to maintain the cleanliness achieved during preparation. By following these steps carefully, you will master how to clean cabinets after sanding and achieve a stunning finish.