
Suspended ceiling tiles, often a crucial part of both commercial and residential interiors, play a significant role in maintaining a clean and aesthetically pleasing environment. Clean suspended ceiling tiles extend beyond mere appearance; they are essential for ensuring good indoor air quality and promoting a healthy atmosphere.
Dust, grime, and other contaminants can accumulate over time, leading to potential health risks and an unprofessional look. Therefore, understanding how to clean suspended ceiling tiles properly is vital for anyone looking to maintain their space effectively.
This article provides a comprehensive guide on how to clean suspended ceiling tiles, covering everything from the basics of suspended ceilings and the materials they are made from to various cleaning methods and maintenance tips. We will delve into the impacts of dirty ceiling tiles on indoor environments, safety precautions to take, and step-by-step instructions for different types of tiles.
Additionally, we will explore eco-friendly cleaning solutions and compare the benefits of professional cleaning versus DIY approaches. By the end of this guide, you will be well-equipped with the knowledge and techniques needed to keep your suspended ceiling tiles in pristine condition, thereby enhancing the overall ambiance and health of your living or working space.
Understanding Suspended Ceiling Tiles
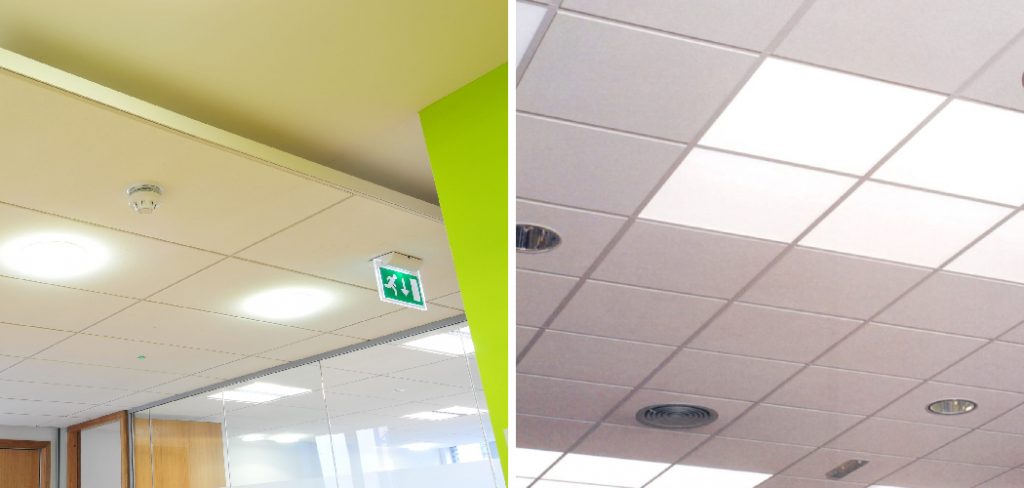
Suspended ceiling tiles, also known as drop ceilings or false ceilings, serve multiple functions that enhance a room’s functionality and aesthetics. At their core, these tiles are designed to create a secondary ceiling below the primary structural ceiling, typically installed in a grid pattern supported by metal frames.
The primary purpose of suspended ceiling tiles is to conceal unsightly elements such as ductwork, wiring, and plumbing while also improving acoustic insulation and fire resistance. Additionally, they provide a clean, uniform appearance that can be easily customized to suit various design preferences.
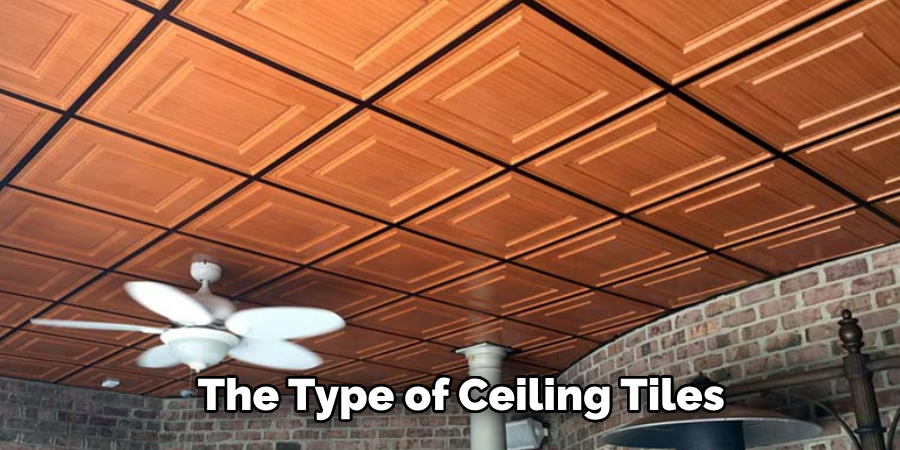
Several common materials are used to manufacture suspended ceiling tiles, each offering distinct advantages.
Vinyl tiles are popular for their ease of cleaning and resistance to moisture, making them suitable for areas prone to humidity, such as kitchens and bathrooms. Fiberglass tiles are known for their excellent acoustic properties, effectively absorbing sound to reduce noise levels in busy environments like offices and schools.
Mineral fiber tiles, composed of a blend of natural and synthetic materials, offer a balance of acoustic performance and durability. Metal ceiling tiles, often made of aluminum or steel, provide a sleek, modern look while offering exceptional longevity and fire resistance.
Suspended ceiling systems come in various types, tailored to meet specific requirements and preferences.
The most common type is the exposed grid system, where the metal grid framework is visible, providing a straightforward and accessible setup for installing tiles. This system allows for easy tile removal and replacement, making it ideal for spaces requiring frequent maintenance or access to the ceiling void.
Another type is the concealed grid system, which features tiles that either completely or partially hide the supporting grid, creating a seamless, sophisticated appearance. Concealed grid systems are often used in high-end commercial settings where aesthetics are paramount.

For environments that demand high performance and hygiene standards, such as medical facilities or laboratories, specialized ceiling systems like the cleanroom or antimicrobial systems are employed. These systems are designed to minimize contamination and meet stringent cleanliness criteria.
Additionally, there are open-cell ceiling systems that offer a unique, visually striking option by creating a lattice effect with open spaces between tiles, enhancing airflow,open-cell ceiling systems, and providing a modern architectural element.
Understanding the variety of materials and systems available helps in selecting the most appropriate suspended ceiling solution for your specific needs, ensuring both functional and visual benefits are achieved.
Why Cleanliness Matters
Impact of Dirty Ceiling Tiles on Indoor Air Quality
Maintaining clean suspended ceiling tiles is crucial for ensuring good indoor air quality. Over time, ceiling tiles can collect dust, dirt, pollen, and other particulate matter. These contaminants can become airborne, recirculating through the HVAC system and reducing the overall air quality within the space.
Poor air quality can exacerbate allergies and respiratory conditions, making it particularly problematic in offices, schools, and healthcare facilities where many individuals spend significant amounts of time. The presence of mold and mildew, often resulting from accumulated moisture and dirt, further compromises air quality by releasing spores that can be hazardous when inhaled.
Health Risks Associated with Neglected Ceiling Tiles
Neglected ceiling tiles can pose a variety of health risks. Accumulations of dust and debris create an ideal environment for allergens and pathogens, contributing to conditions such as asthma, allergic rhinitis, and other respiratory issues.
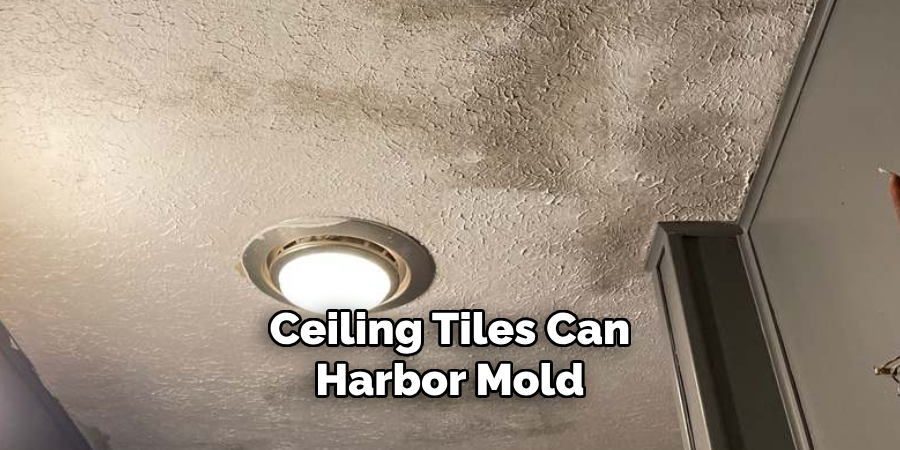
In damp conditions, ceiling tiles can harbor mold, which is unsightly and potentially toxic. Black mold, for instance, can produce mycotoxins that severely impact respiratory health.
Moreover, ceiling tiles that are not regularly inspected and cleaned can also suffer from water damage, leading to structural weaknesses that may eventually cause tiles to fall, posing physical safety risks to occupants.
Aesthetic Considerations and Maintaining Professional Environments
The visual aspect of ceiling tiles cannot be overstated, especially in professional and commercial settings. Discoloured, stained, or dirty ceiling tiles detract from a room’s overall appearance, creating an environment that looks neglected and unprofessional.
First impressions are pivotal in business environments; therefore, maintaining pristine ceiling tiles is essential for projecting an image of cleanliness and attention to detail. Regular upkeep not only improves the aesthetic appeal but also extends the lifespan of the tiles, thereby delaying the need for costly replacements.
To summarise, the cleanliness of suspended ceiling tiles has far-reaching implications for indoor air quality, health, and aesthetics. Ensuring regular cleaning and maintenance of these tiles is fundamental to fostering a healthy, safe, and visually appealing environment.
Whether in a commercial, residential, or healthcare setting, the benefits of properly caring for ceiling tiles are manifold, significantly contributing to improved air quality, reduced health risks, and enhanced overall ambience.
Preparing for Cleaning
Safety Precautions
Before commencing the cleaning of suspended ceiling tiles, it is paramount to prioritize safety.
Start by ensuring that the area beneath the work site is clear of obstacles and that adequate warning signs are placed to alert others of the maintenance activities. Personal protective equipment (PPE) is essential; this includes gloves, safety goggles, and a dust mask to protect against inhaling dust and debris.

If a ladder or scaffolding is required, verify its stability and ensure it is properly secured to prevent falls. Additionally, if using cleaning agents or chemicals, make sure the area is well-ventilated to avoid the build-up of hazardous fumes.
Gathering Necessary Supplies
Gathering all necessary supplies before beginning the cleaning process can streamline operations and reduce interruptions.
Essential cleaning supplies include a vacuum cleaner with a soft brush attachment for removing loose dust, a mild detergent mixed with water in a spray bottle for spot cleaning, and soft microfiber cloths or sponges for wiping down the tiles. A non-abrasive cleaner may be necessary for tiles that may have stubborn stains.
If the ceiling tiles are especially grimy, having a step ladder or scaffolding, buckets for cleaning solutions, and protective coverings to safeguard furniture and floors from drips or splashes might also be useful.
Assessing the Condition of the Tiles
Thoroughly assessing the condition of the ceiling tiles before commencing any cleaning activities is crucial. Inspect each tile for signs of dirt, stains, and moisture damage. Pay close attention to areas around vents and light fixtures, as these are common hotspots for grime accumulation.
Check for any mold growth, as this will require specialized cleaning to ensure it is effectively removed and does not return. Additionally, assess the structural integrity of the tiles; any tiles that appear sagging, cracked, or severely damaged should be noted and scheduled for replacement, as cleaning alone will not restore their condition.
Documenting the state of the tiles helps in detailing the cleaning process and identifying particular areas that may need extra attention or maintenance. This preparatory step ensures a smooth and efficient cleaning process, promoting the ceiling tiles’ longevity and appearance.
Cleaning Methods for Different Materials
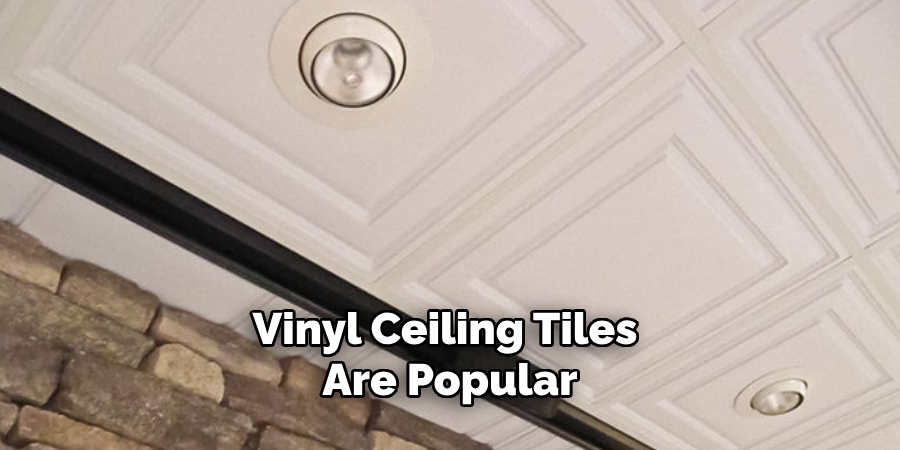
Cleaning Process for Vinyl Ceiling Tiles
Vinyl ceiling tiles are popular due to their durability and ease of maintenance. To clean vinyl ceiling tiles, dust them with a vacuum cleaner equipped with a soft brush attachment to remove loose dirt and debris. Prepare a solution of mild detergent and warm water for a deeper clean.
Spray the solution onto a soft microfiber cloth or sponge rather than directly onto the tiles to prevent oversaturation. Gently wipe the surface of each tile, paying special attention to any stains or discolored areas. For particularly stubborn stains, consider using a non-abrasive cleaner specifically designed for vinyl surfaces.
After cleaning, wipe the tiles with a damp cloth to remove any soap residue, followed by a dry cloth to prevent water spots. Regular maintenance of vinyl tiles will keep them looking fresh and prolong their lifespan.
Techniques for cleaning fiberglass tiles
Fiberglass ceiling tiles are known for their sound-absorbing properties but require careful handling during the cleaning process to avoid damage. Begin by using a vacuum cleaner with a soft brush attachment to remove surface dust.
If further cleaning is needed, gently wipe the tiles with a soft, dry cloth. Avoid using water or liquid cleaners on fiberglass tiles, as they can weaken the material and compromise its structural integrity.
If there are stains that cannot be removed with dry cleaning, a very light mist of water on a microfiber cloth can be used, but it is crucial to dry the tiles immediately to prevent moisture absorption. Ensure good ventilation during and after cleaning to help any residual moisture evaporate quickly.
Care Tips for Mineral Fiber Tiles
Mineral fiber ceiling tiles are a common choice for commercial spaces due to their acoustic properties and affordability. Cleaning these tiles starts with a vacuum cleaner and a soft brush attachment to remove surface dust and loose dirt.
Mix a mild detergent with water for spot cleaning and apply the solution to a soft cloth or sponge. Gently dab the stained area, taking care not to saturate the tile. It is important to avoid excessive moisture, as mineral fiber tiles are prone to water damage and can lose their structural integrity.
For persistent spots, a mild, non-abrasive cleaner may be used. After spot cleaning, dry the tiles with a microfiber cloth to eliminate any remaining moisture. Regular inspection and immediate cleaning of any stains will help maintain the appearance and performance of mineral fiber tiles.
Special Considerations for Metal Ceiling Tiles
Metal ceiling tiles offer a sleek, modern look and are relatively low-maintenance compared to other materials. To clean metal ceiling tiles, start with a dry microfiber cloth or a vacuum cleaner with a soft brush attachment to remove dust and loose debris.
A solution of warm water and mild detergent works well for greasy or sticky residues. Apply the solution to a soft cloth or sponge and gently wipe the tiles. Avoid using abrasive cleaners or scrubbing pads that could scratch or damage the metal surface.
After cleaning, thoroughly rinse the tiles with a damp cloth to remove any soap residue, and then dry with a clean, soft cloth to prevent water spots and streaking. A non-abrasive metal polish can be applied according to the manufacturer’s instructions for added shine and protection.

In summary, the cleaning method best suited for ceiling tiles depends significantly on the material from which they are made. Employing the correct techniques and materials ensures that the tiles not only look their best but also retain their functional properties, thereby enhancing the overall durability and aesthetic appeal of the ceiling.
Regular cleaning and maintenance tailored to each type of ceiling tile material are essential practices in any setting to uphold hygiene, safety, and visual appeal.
How to Clean Suspended Ceiling Tiles: Step-by-Step Cleaning Guide
Step 1: Clearing the Area and Protecting Surroundings
Before embarking on the ceiling tile cleaning process, it is essential to clear the area beneath the tiles. Remove or cover any furniture, electronics, or other items to safeguard them from potential drips or debris.
Use drop cloths or plastic sheeting to cover floors and larger pieces of furniture, ensuring all nearby surfaces are well-protected. This step minimizes the risk of damage and makes subsequent cleaning easier and more efficient.
Step 2: Dusting or Vacuuming the Tiles
Begin by removing surface dust and loose dirt from the ceiling tiles. Use a vacuum cleaner with a soft brush attachment to gently sweep over each tile. Pay extra attention to corners and edges where dust tends to accumulate.
If a vacuum is unavailable, a microfiber duster or electrostatic cleaning cloth can be used as an alternative. This initial dusting step is critical to prevent dirt from smearing during washing.
Step 3: Washing the Tiles with Appropriate Cleaners
The next step is washing the tiles, and the cleaner required will depend on the ceiling tile material:
- Vinyl Ceiling Tiles: Mix a mild detergent and warm water. Dampen a microfiber cloth or sponge with the solution, and gently wipe down each tile. Avoid saturating the tiles to prevent damage.
- Fiberglass Ceiling Tiles: Generally, only a dry cloth should be used. If deeper cleaning is needed, slightly dampen the cloth with a very light mist of water and wipe gently. Dry the tiles immediately.
- Mineral Fiber Ceiling Tiles: Mix mild detergent with water and spot clean the tiles by dabbing the stained areas. Avoid excessive moisture, as these tiles are water-sensitive.
- Metal Ceiling Tiles: Wipe the tiles carefully with a soft cloth soaked in a solution of warm water and mild detergent, avoiding abrasive cleaners that could scratch the metal surface.
Step 4: Rinsing and Drying the Tiles Thoroughly
After washing, it’s imperative to rinse and dry the tiles to eliminate any cleaner residue and prevent water spots:
- Vinyl and Metal Ceiling Tiles: Employ a damp cloth to remove any soap residues, followed by a dry cloth to wipe off excess moisture.
- Fiberglass and Mineral Fiber Ceiling Tiles: Use minimal moisture. If slight dampening is necessary during cleaning, dry the tiles instantly with a dry microfiber cloth to prevent absorption and possible damage.
Thoroughly drying the tiles is essential to avoid mold growth and ensure the longevity of their structural integrity and appearance.
By following this step-by-step guide, you can effectively maintain your ceiling tiles, keeping them clean and in good condition. Regular and appropriate cleaning will enhance the tiles’ durability and aesthetic appeal, contributing to the overall upkeep of the space.
Dealing with Stubborn Stains
Identifying Common Stains on Ceiling Tiles
Even with regular cleaning, ceiling tiles can accumulate stubborn stains from various sources. Common culprits include water damage, which often leaves unsightly yellow or brown marks, and marks from smoke or cooking grease in residential or commercial kitchens.
Stains from mildew or mold growth also occur in areas with high humidity levels, while ink, paint, or other accidental spillage may leave distinct spots on the tiles. Identifying the type of stain is crucial, as it dictates the most effective method for removal and the necessary precautions to avoid damaging the tiles.
Effective Stain Removal Techniques
To tackle stubborn stains effectively, follow these targeted methods based on the type of stain:

- Water Stains: Begin by mixing a solution of one part vinegar to three parts water. Dampen a mild sponge with the mixture and lightly dab the affected area. An oxygen bleach cleaner diluted according to the manufacturer’s instructions can be used for more persistent stains. Apply it sparingly with a soft cloth and wipe gently. Ensure immediate drying with a microfiber cloth to prevent further water damage.
- Smoke and Grease Stains: To remove smoke or grease marks, mix warm water with a few drops of mild degreasing dish soap. Apply the solution with a soft cloth and gently rub the stained area. Avoid using excessive force, as this can spread the stain or damage the tile surface. Follow with a clean, damp cloth to remove soap residues, and dry promptly.
- Mildew or Mold Stains: A solution of water and hydrogen peroxide in a 3:1 ratio can be effective against mildew or mold. Spray the solution onto the stained area and let it sit for a few minutes. Use a soft brush or cloth to scrub gently, then wipe away the residue with a damp cloth. Ensure the area is thoroughly dried to inhibit further mold growth.
- Ink, Paint, and Miscellaneous Stains: For ink or paint stains, apply a small amount of rubbing alcohol or a mild solvent-specific cleaner to a cotton swab or soft cloth. Gently dab at the stain, careful not to spread it further. Rinse the area with a damp cloth and dry immediately.
Avoiding Damage to Tiles While Removing Stains
While addressing stubborn stains, taking measures to prevent further damage to the tiles is vital.

Always start with the mildest cleaning solution and method. Test any cleaner on a small, inconspicuous area of the tile before applying it to the stain. Use minimal moisture, especially on porous materials like mineral fiber or fiberglass tiles, to avoid compromising their structure.
Avoid abrasive cleaners or scrubbing tools that can scratch or erode the tile surfaces. By using gentle techniques and appropriate cleaners, you can effectively remove stains while preserving the integrity and appearance of your ceiling tiles.
Maintenance Tips for Prolonged Cleanliness
Establishing a Regular Cleaning Schedule
Maintaining ceiling tiles in pristine condition requires a consistent and well-structured cleaning schedule. Regular maintenance helps extend the lifespan of the tiles and ensures a healthy and pleasant environment.
The cleaning frequency may vary depending on the location and the type of ceiling tiles. High-traffic areas, including kitchens and bathrooms or facilities with higher humidity levels, may necessitate more frequent cleaning, possibly every few months.
Conversely, spaces like living rooms or offices with minimal exposure to pollutants may only require biannual cleaning. Implementing a log or checklist can be beneficial to keep track of tasks and ensure that no aspect of maintenance is overlooked.
Preventive Measures to Minimize Dirt Buildup
Adopting preventive measures can significantly reduce the accumulation of dirt and grime on ceiling tiles. One of the most effective strategies is ensuring proper ventilation, particularly in areas prone to humidity or cooking fumes.
Installing exhaust fans in kitchens and bathrooms can help mitigate grease and moisture buildup. Additionally, using air purifiers in commercial or residential spaces can reduce airborne particles that can settle on ceiling tiles.
Regularly dusting the ceiling, even between major cleanings, with a microfiber duster will prevent dust and dirt particles from becoming stubborn stains. Protective coatings or sealants on ceiling tiles can also offer an extra defense against dirt and stains, making routine cleaning more manageable.
Monitoring and Addressing Potential Issues Promptly
Being vigilant about spotting early signs of stains, mold, or other issues is crucial for maintaining ceiling tiles. Periodically inspecting the ceiling can help catch potential problems before they become significant.
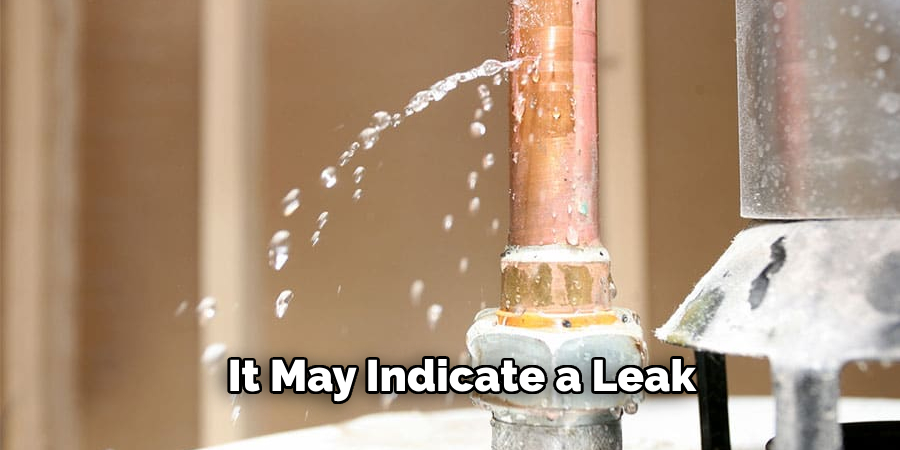
If water stains appear, it may indicate a leak; promptly addressing the leak’s source can prevent extensive damage. Similarly, signs of mold should be addressed immediately to prevent health risks and structural damage.
Consider setting aside time for frequent, targeted inspections in environments where ceiling tiles are at higher risk of staining. As outlined earlier, any identified issues should be tackled with the appropriate cleaning techniques to prevent the stain from setting in or causing further damage.
In conclusion, sustaining the cleanliness and integrity of ceiling tiles involves a strategic approach: establishing a routine cleaning schedule tailored to the specific environment, employing preventative measures to reduce dirt accumulation, and proactively identifying and addressing potential issues.
By following these maintenance tips, you can ensure that your ceiling tiles remain in excellent condition, contributing to the overall aesthetic and functionality of the space.
Conclusion
Maintaining clean suspended ceiling tiles is crucial for both aesthetic and health reasons. Dirty or stained ceiling tiles can detract from the appearance of any room, whether residential or commercial, and may also harbor allergens or mold that can affect indoor air quality. Ensuring that regularly cleaned and well-maintained ceiling tiles can prolong their lifespan and enhance the overall environment.
Throughout this guide, we have emphasized the importance of knowing how to clean suspended ceiling tiles effectively. Various strategies have been detailed, including using suitable cleaning solutions for different types of stains and preventing damage during cleaning.
Establishing a consistent cleaning schedule tailored to specific needs, such as more frequent cleanings in high-humidity areas like kitchens and bathrooms, is vital. Additionally, preventive measures, such as proper ventilation and routinely dusting ceiling tiles, significantly minimize dirt buildup.
In summary, the key to maintaining clean suspended ceiling tiles lies in a strategic approach: regular cleaning routines, diligent preventive measures, and prompt attention to potential issues like mold or water stains. Incorporating these practices into your maintenance routine will keep your ceiling tiles looking pristine and support a healthier living or working space.
By understanding how to clean suspended ceiling tiles properly and prioritizing cleanliness, you can preserve the integrity and appeal of your ceiling tiles for years to come. Embrace these tips and commit to regular maintenance to enjoy the lasting benefits of spotless ceiling tiles.