As a parent, keeping your child’s stroller clean and looking its best is important. After all, your target=”_blank” wants to provide your little one with a safe and comfortable environment while they are out exploring the world alongside you. But taking apart (disassembling) Chicco Bravo Strollers can be tricky for first-timers, so we’re here to guide you through the entire process!

Chicco Bravo Strollers are designed with convenience and ease of use in mind, including when it comes to cleaning. And while the stroller may look complex at first glance, it can be easily disassembled for a thorough wash.
From what tools to use to how many steps it takes – this blog will give you all the information on how to take apart chicco bravo stroller to wash it safely for you to have everything cleaned up in no time.
What is the Importance of Washing a Stroller?
Before we dive into the disassembling process, it’s important to understand why washing your child’s stroller is necessary. Strollers are in constant contact with various surfaces and can quickly become dirty from spills, crumbs, dirt, and other debris. Regular cleaning helps prevent bacteria growth and keeps your child safe from potential health hazards.
Regular washing also helps maintain the stroller’s appearance and ensures its longevity. Stains and build-up can damage the fabric and other components of the stroller if not cleaned properly, leading to a shorter lifespan.
What Will You Need?
To successfully disassemble your Chicco Bravo Stroller for washing, you’ll need a few basic tools:
- A screwdriver (either flathead or Phillips, depending on the specific model)
- A soft cloth
- Warm water and mild soap
- A large tub or sink to soak the fabric parts
Once you have these items ready, you’re all set to begin the process.
10 Easy Steps on How to Take Apart Chicco Bravo Stroller to Wash
Now, let’s get into the nitty-gritty of disassembling your stroller. Follow these simple steps and you’ll have your stroller ready for a fresh wash in no time:
Step 1. Remove the Canopy:
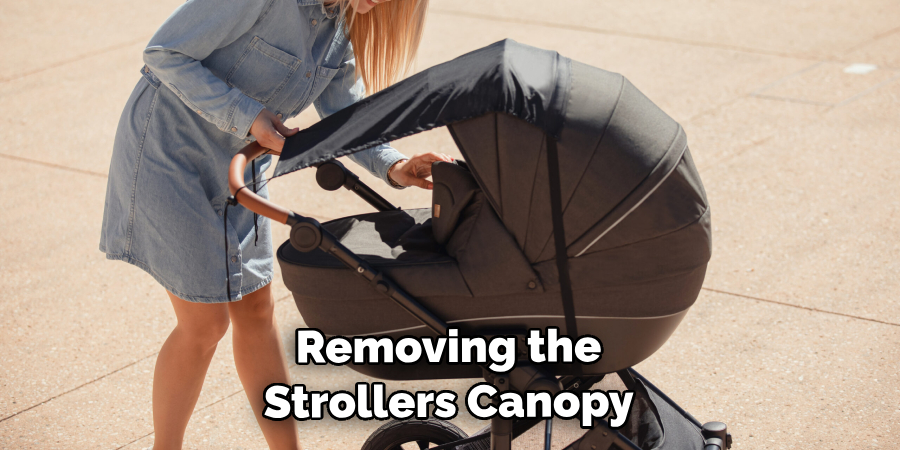
Start by removing the stroller’s canopy. It should be attached to the frame via clips or snaps that you can easily unhook. Make sure to handle these parts gently to avoid any damage. Once the canopy is detached, set it aside.
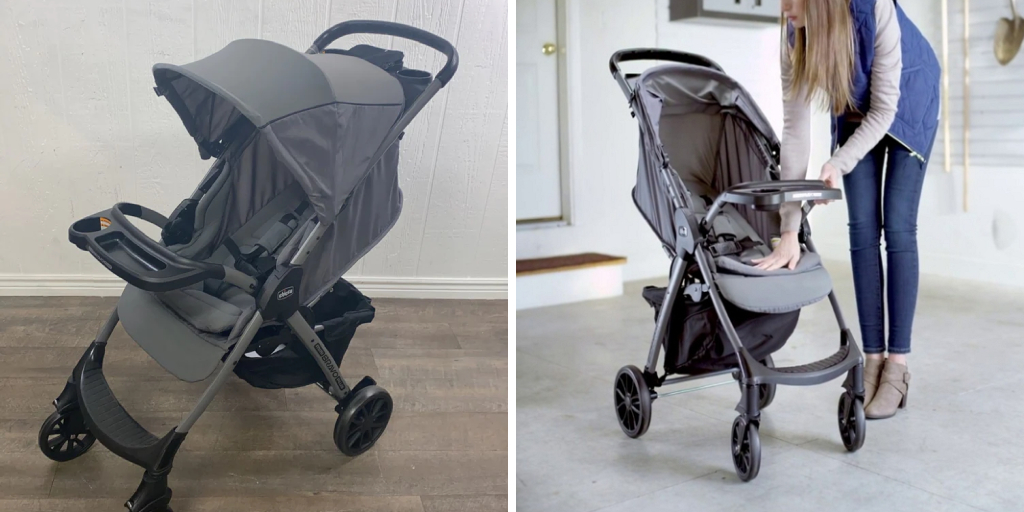
Step 2. Detach the Seat:
The next step is to remove the seat from the stroller frame. Look for any clips, snaps, or screws that are holding the seat in place. Using your screwdriver, gently unscrew any necessary parts and then lift the seat away from the frame. Remember to keep all removed screws or parts in a safe location so they aren’t lost. Once removed, set the seat aside for washing.
Step 3. Unfasten the Fabric:
Once the seat is detached, the next step is unfurling the fabric from the frame. Carefully unfasten all snaps, zippers, or Velcro that attach the fabric to the metal frame. Be cautious here as the fabric is typically sensitive and prone to wear. After it’s detached, set the fabric aside for washing.
Step 4. Remove the Basket:
The storage basket located under the seat of the stroller also needs to be removed. It’s typically secured with a number of hooks or snaps which you can easily unlatch. Be sure to empty the basket before removing it. Once removed, set the basket aside for washing.
Step 5. Detach the Wheels:
Now, it’s time to remove the stroller’s wheels. Most Chicco Bravo Strollers have a simple push-button mechanism to release the wheels. Press the button and pull the wheel away from the frame. Repeat this for all wheels and set them aside. Note that the wheels usually don’t require washing, but they can be wiped down with a damp cloth.
Step 6. Clean the Fabric:
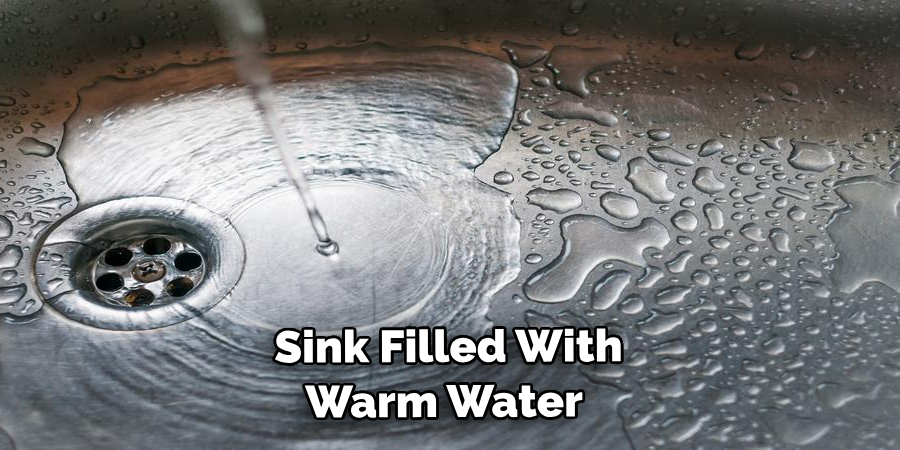
Take all of the fabric pieces you’ve removed (the canopy, the seat, and the basket) and place them in a large tub or sink filled with warm water and mild soap. Agitate the fabric gently with your hands to remove any dirt and then leave it to soak for a while.
After soaking, rinse the fabric thoroughly under running water until all soap is removed. Do not wring out the fabric harshly, as it can damage the material. Instead, press the water out gently and let the pieces air-dry completely before reassembly.
Step 7. Wipe Down the Frame:
While your fabric components are drying, take this time to clean the stroller frame. Using a soft cloth dampened with warm, soapy water, wipe down the entire frame, making sure to reach any hidden nooks and crannies where dirt can accumulate.
Pay special attention to the handlebars and areas your child might frequently touch. Once you’ve thoroughly cleaned the frame, rinse it with clean water and dry it off with a clean towel to prevent any water spots or rusting.
Step 8. Recheck the Hardware:
Before you reassemble the stroller, it’s a good idea to check all the screws, bolts, and buttons for any signs of wear or damage. Make sure that everything is in good working order. If you notice any parts needing replacing, contact the manufacturer or an authorized dealer for replacements. Ensuring that all parts function properly is essential for the stroller’s safety and functionality.
Step 9. Reassemble the Stroller:
After confirming that all hardware is in good order and the fabric parts are arid, it’s time to reassemble the stroller. Begin by reattaching the wheels to the frame using the same push-button mechanism. Then, refasten the fabric to the frame, ensuring that all snaps, zippers, or Velcro.
Attach the basket back onto the frame under the seat. Refit the seat, ensuring all screws are tightened and secure. Finally, reattach the canopy to the frame. Ensure all parts are firmly in place and there are no loose screws or clips.
Step 10. Final Inspection:

For the final step, give your stroller a thorough once-over. Check that all components are securely attached, and the stroller is stable. Test the folding mechanism to make sure it works smoothly. It’s important to do a final inspection to ensure everything is in place for your child’s safety. Now, your Chicco Bravo Stroller is clean, fresh, and ready for your next outing!
By following these simple steps, you can maintain the appearance and functionality of your Chicco Bravo Stroller and extend its lifespan. Remember to clean your stroller regularly, especially after messy outdoor adventures, to keep it in top shape for your little one’s comfort.
5 Additional Tips and Tricks
- Keep Track of Your Parts: As you disassemble your Chicco Bravo stroller, keep all parts safe. This will ensure you keep all essential components during the washing process.
- Document the Process: Consider taking photos during the disassembly process to make reassembly easier. This way, you can refer back to these images if you need help determining where a certain part goes.
- Use Mild Detergent: When washing the stroller fabric parts, use a gentle, child-safe detergent to avoid any allergic reactions or skin irritations for your baby.
- Air-dry the Components: After washing, let the fabric parts air dry instead of using a dryer. This prevents any possible shrinkage or distortion of the fabric.
- Lubricate the Wheels: After washing and reassembling, apply a small amount of lubricant. This helps keep them spinning smoothly and extends the stroller’s lifespan.
With these additional tips and tricks, you can thoroughly clean your Chicco Bravo stroller while maintaining its quality and functionality.
5 Things You Should Avoid
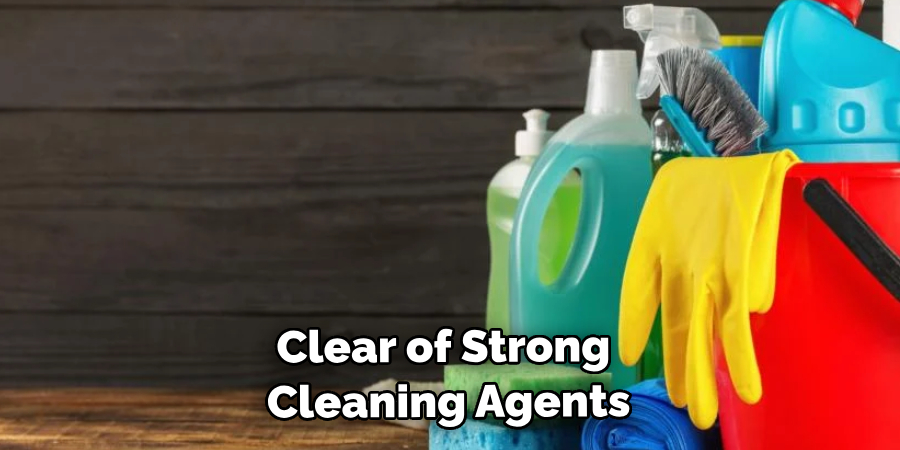
- Avoid Using Harsh Chemicals: Steer clear of strong cleaning agents and bleaches as they can harm the stroller’s fabric or color. Stick with a mild, child-safe detergent.
- Don’t Force Parts Apart: When disassembling the stroller, avoid using excessive force as it may result in damage. If a part seems stuck, gently wiggle it free.
- Keep Away From Extreme Heat: Don’t leave the stroller or its parts to dry in direct sunlight or near heat sources. Extreme heat can warp plastic parts and fade the fabric.
- Avoid Water on Wheel Mechanisms: Keep water away from the wheel mechanisms as much as possible. Water can cause rust, affecting the stroller’s movement.
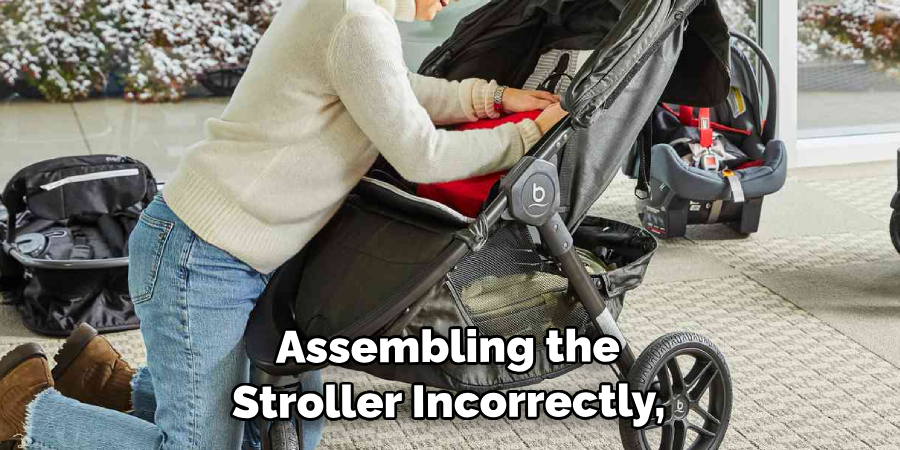
- Don’t Rush The Reassembly: Ensure everything is dehydrated before reassembly. Rushing might lead to assembling the stroller incorrectly, which could compromise its safety and function.
By avoiding these common mistakes, you can ensure a successful and safe washing process for your Chicco Bravo stroller. Remember to take your time and be gentle when handling the parts, and your stroller will come out looking brand new.
How Do You Put a Chicco Bravo Stroller Back Together?
Once you have completed washing all the fabric parts and cleaning the frame, it’s time to put your Chicco Bravo stroller back together. Here are some tips to make reassembly a smooth process:
- Refer to the Manual: If you still have the manual that came with your stroller, refer to it for guidance on properly assembling it.
- Start With the Frame: Begin by attaching the wheels to the frame and then adding other components like the basket and canopy according to the manual’s instructions.
- Attach Fabric Parts Last: Once you have assembled the frame, attach the clean, dry fabric parts back onto the stroller. Make sure they are securely fastened in place.
- Double-check for Safety: Before using the stroller again, ensure all parts are properly attached and secure. Give it a test run to ensure everything is functioning smoothly.
Following these steps will help you put your Chicco Bravo stroller back together correctly while maintaining its quality and safety standards. Feel free to refer to the manual or seek professional help. With proper care and maintenance, your stroller will continue to be a reliable and convenient mode of transport for your little one.
Can You Fly With a Chicco Bravo Stroller?
Yes, you can fly with the Chicco Bravo stroller. It is designed to be lightweight and compact, making it easy to travel. However, there are a few things to keep in mind when flying with your stroller:
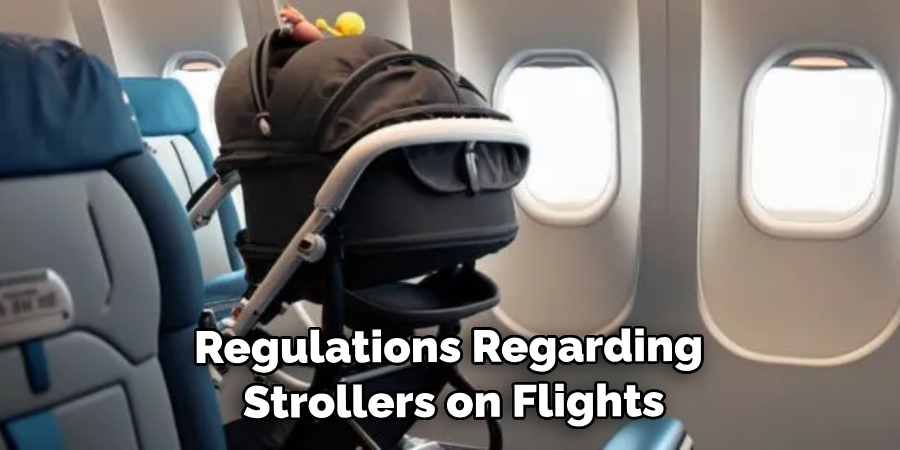
- Call the Airline Beforehand: Different airlines have different policies and regulations regarding strollers on flights. Call ahead and confirm if you can bring your stroller on board.
- Check the Stroller’s Weight and Size: Most airlines restrict the weight and size of strollers allowed on board. Ensure your Chicco Bravo stroller falls within these limits to avoid any issues.
- Use a Travel Bag: Investing in a protective travel bag for your stroller can prevent damage during transportation. It also makes it easier to carry around the airport.
- Gate-check the Stroller: Instead of checking in your stroller with your luggage, consider gate-checking it. This way, you can use it until boarding and have it waiting for you as soon as you exit the plane.
Traveling with a Chicco Bravo stroller is convenient and hassle-free if you plan and follow these tips. Your stroller will continue to be a reliable companion for your travels, ensuring your little one’s comfort and security.
Conclusion
Taking apart and washing your Chicco Bravo stroller should be a manageable task. You can do this simple job with the basic tools and components you already have in your home. Carefully disassemble each piece, taking care to mark where each screw goes for easy re-assembly. Hand wash any fabric parts with a mild detergent, ensuring that they are completely dry before returning them to the stroller. Finally, give all of the smaller pieces a good scrub and rinse them out thoroughly before returning them to their respective places.
Hopefully, the article on how to take apart chicco bravo stroller to wash has given you the confidence and knowledge to tackle this task easily. With these tips and tricks, you can keep your stroller clean and safe for your little one to enjoy their rides in comfort.
By following our guidelines above, you can clean your Chicco Bravo Stroller with ease – so you and your little one can get back to enjoying fun adventures!
You Can Check It Out to Cover Metal Bed Frame