Are you looking for a creative way to update your living environment? Installing a raised floor over an existing concrete slab is one of the most efficient and effective ways of adding a new level of charm and elegance to any room. Not only does it upgrade the aesthetics of a space, but it can also help keep your utility bills down by helping maintain or improve energy efficiency levels.
In this blog post, we’ll cover everything you need to know about constructing raised floors over concrete slabs—from the cost and materials required to how much work is involved in setting them up. Keep reading for all the tips and tricks on how to build a raised floor over concrete slab needed to create your very own elevated sanctuary!
Necessary Items and Tools
Before you begin your DIY project, gathering all the necessary items and tools is important. The good news is that building a raised floor over a concrete slab requires minimal materials and tools. Here are some essential items you’ll need:
- Subfloor panels
- Vapor barrier
- Pressure-treated lumber
- Screws and nails
- Leveling compound (if needed)
- Power drill
- Circular Saw
- Trowel or notched trowel
When it comes to choosing subfloor panels, there are a few options available. Oriented Strand Board (OSB) is the most cost-effective choice, while plywood provides a smoother and more durable surface. Choose a vapor barrier with high puncture resistance to protect your raised floor from any moisture or mold issues.
10 Steps on How to Build a Raised Floor Over Concrete Slab
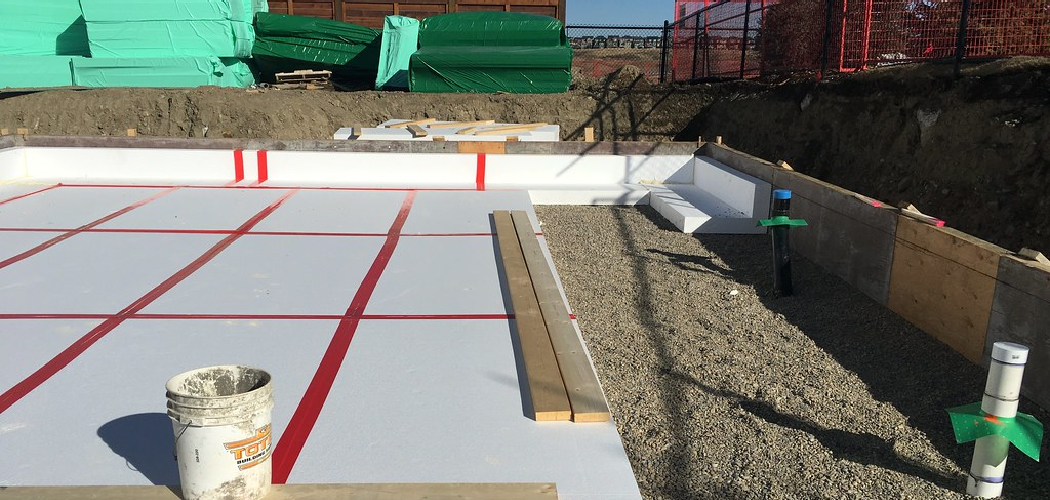
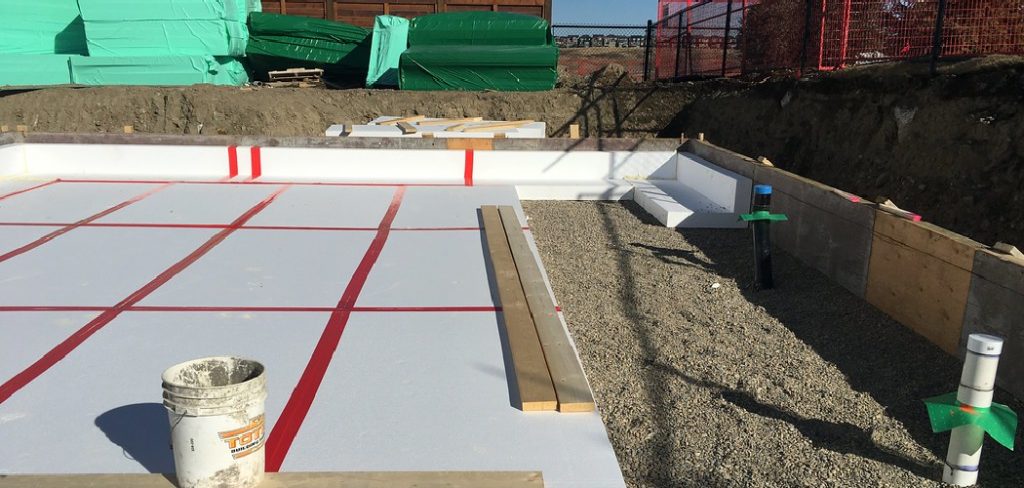
1. Prepare the Concrete Slab
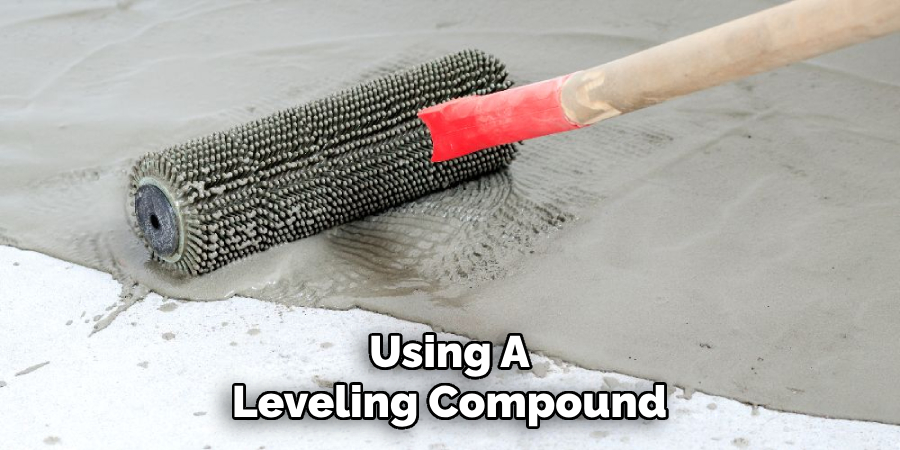
Before building, ensure your concrete slab is clean, dry, and level. Any cracks or uneven areas should be fixed using a leveling compound.
2. Plan the Layout
Using a tape measure and chalk line, mark where your raised floor will be on the concrete slab. This will help guide you when installing the subfloor panels.
3. Install Vapor Barrier
Lay down the vapor barrier over your marked area, overlapping each section by at least 6 inches. Secure the barrier with tape or staples.
4. Cut Pressure-Treated Lumber
Using your circular saw, cut pressure-treated lumber to the desired length and width of your raised floor. These will serve as the framing for your subfloor panels.
5. Lay Out Framing
Place the cut lumber on top of the vapor barrier, leaving a small gap between each piece for expansion. Use a level to make sure everything is even and adjust as needed.
6. Secure Framing
Using screws or nails, attach the framing boards to the concrete slab in the marked areas. This will ensure that your raised floor stays in place.
7. Install Subfloor Panels
Lay down the subfloor panels at one end of your raised floor. Make sure to stagger the seams between each panel for added strength.
8. Cut Panels as Needed
If you come across any obstacles, such as pipes or vents, use a circular saw to cut the panels and fit them around these areas.
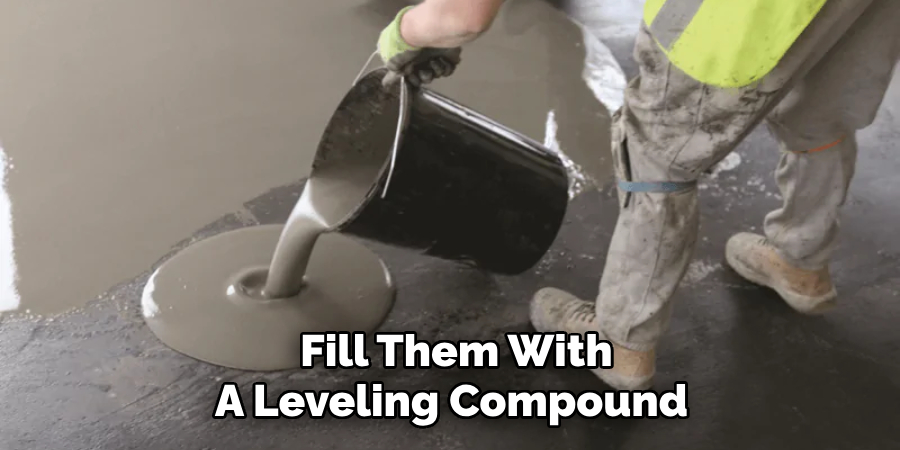
9. Fill Gaps with Leveling Compound (if needed)
If there are any gaps between the subfloor panels, fill them with a leveling compound to ensure a smooth and level surface for your flooring.
10. Add Your Desired Flooring
Once the subfloor is complete, you can add your desired flooring. Depending on your style and preferences, this could be anything from hardwood to carpeting.
With the necessary materials and tools at hand, along with the right steps carried out correctly, individuals can successfully build a raised floor without much difficulty. Depending on how advanced you want your project to be, there are various options in terms of the material for the frame itself.
Ultimately, however, simply following some instructions or watching a guide video on how one would go about building a raised floor will enable anyone to get right to work and create an effective space for their needs. It is important to remember that safety should always come first – ensuring that all required supplies are present and tools are properly used is essential to complete this task!
8 Benefits of Building a Raised Floor Over Concrete Slab
Building a raised floor over an existing concrete slab offers various benefits, including:
1. Improved Energy Efficiency
A raised floor helps insulate the space, keeping it warmer in the winter and cooler in the summer. This can lead to lower energy bills and a more comfortable living environment.
2. Increased Home Value
Adding a raised floor can increase the value of your home by creating an additional level of living space.
3. Enhanced Aesthetics
A raised floor adds visual interest to a room and allows for creative flooring options that may not have been possible on a concrete slab.
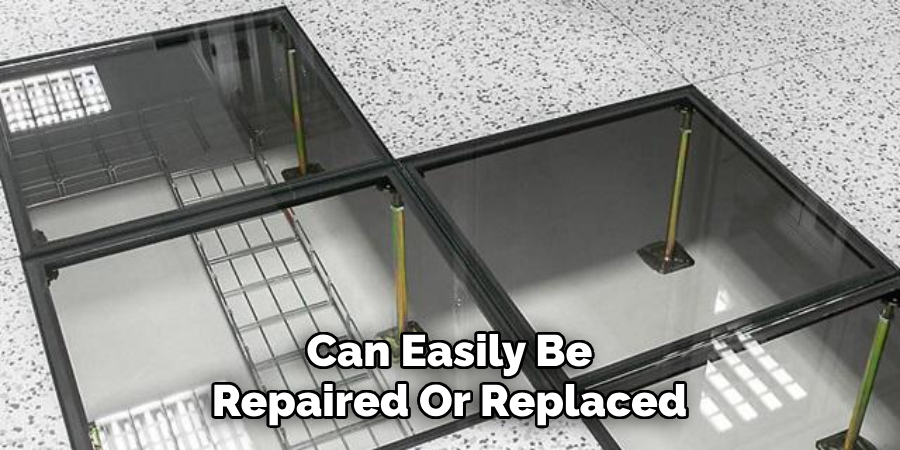
4. Easy to Repair or Replace
If any damage occurs to the flooring on top of your raised floor, it can easily be repaired or replaced without affecting the structural integrity of your home.
5. Customizable Height
Building a raised floor allows you to customize the height of your flooring, which can be beneficial for various reasons, such as hiding unsightly pipes or creating storage space underneath.
6. Soundproofing
The additional subfloor layer and flooring on a raised floor can act as a sound barrier, reducing noise from foot traffic and other sources.
7. Moisture Protection
The vapor barrier used in constructing a raised floor helps protect against moisture and mold, ensuring the longevity of your flooring.
8. Easy to Install
Compared to other home renovation projects, building a raised floor over a concrete slab is relatively easy and can be completed in just a few simple steps.
Building a raised floor over an existing concrete slab is a cost-effective and efficient way to add function and beauty to your living space. With the right materials, tools, and steps on how to build a raised floor over a concrete slab, you can create your own elevated sanctuary in no time.
So why give it a try and see the difference it can make in your home? If you’re looking for a simple yet impactful home renovation project, consider building a raised floor over your concrete slab. Not only does it offer various practical benefits, but it also adds visual interest and can increase the value of your home.
Frequently Asked Question
on Building a Raised Floor Over Concrete Slab
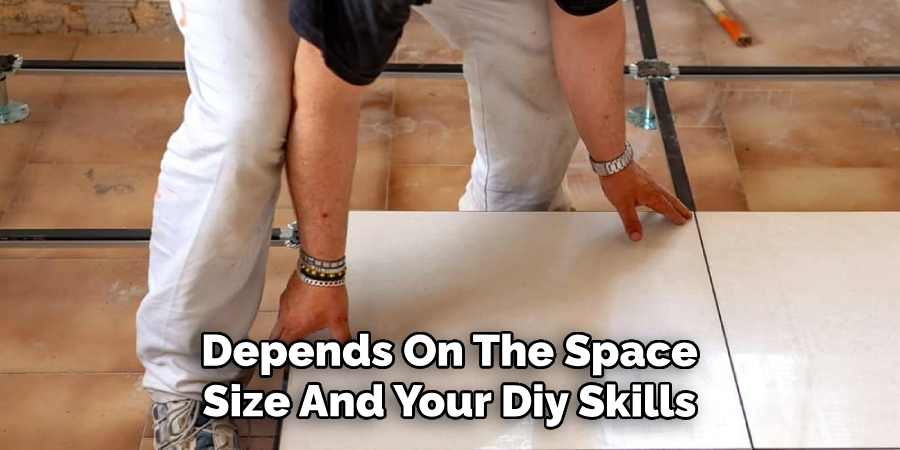
How Long Does It Take to Build a Raised Floor Over Concrete Slab?
The time it takes to build a raised floor depends on the space size and your DIY skills. Generally, it can be completed in 1-2 days with proper planning and preparation.
Can I Build a Raised Floor in Any Room?
A raised floor can be built in any room that has a concrete slab as its base. However, it’s important to consult with a professional if you have any concerns about the structural integrity of your home.
Do I Need Permits to Build a Raised Floor?
Usually, building a raised floor over an existing concrete slab does not require a permit. However, checking with your local building codes and regulations is always best before beginning any home renovation project.
Can I Remove the Raised Floor if I Change My Mind?
Yes, a raised floor can be easily removed without causing damage to your concrete slab. This makes it a flexible option for those who want to change their flooring in the future.
Will Building a Raised Floor Raise My Property Taxes?
In most cases, adding a raised floor to your home will not increase your property taxes. However, if there are any significant changes to the structure or size of your home, it’s best to check with your local tax office.
Overall, building a raised floor over a concrete slab is an affordable and practical way to add value and functionality to your home. Whether for aesthetic reasons or to combat moisture issues, this DIY project is a great option for homeowners looking to improve their living space. With proper planning and execution, you can have a beautiful raised floor that will last for years to come.
Conclusion
A raised floor over an existing concrete slab is an excellent way to provide a better area for installing electrical wiring, plumbing fixtures, and other types of equipment that require an intolerance to moisture. Furthermore, constructing a raised floor can also create additional storage space if desired. Building a raised floor over a concrete slab can be achieved relatively quickly.
It would provide additional insulation and sound absorption; the raised floor design also allows for more opportunities when adding electrical wiring or plumbing to your home. Following the guidelines on how to build a raised floor over concrete slab outlined in our blog post today will allow you to create an attractive and functional raised floor that adds value to your home.
Consider all factors before taking on this project, including understanding local building regulations. With the correct planning and preparation, you can build a solid and long-lasting raised floor with relative ease. We hope this blog post has provided you with helpful information to move forward with your project confidently!