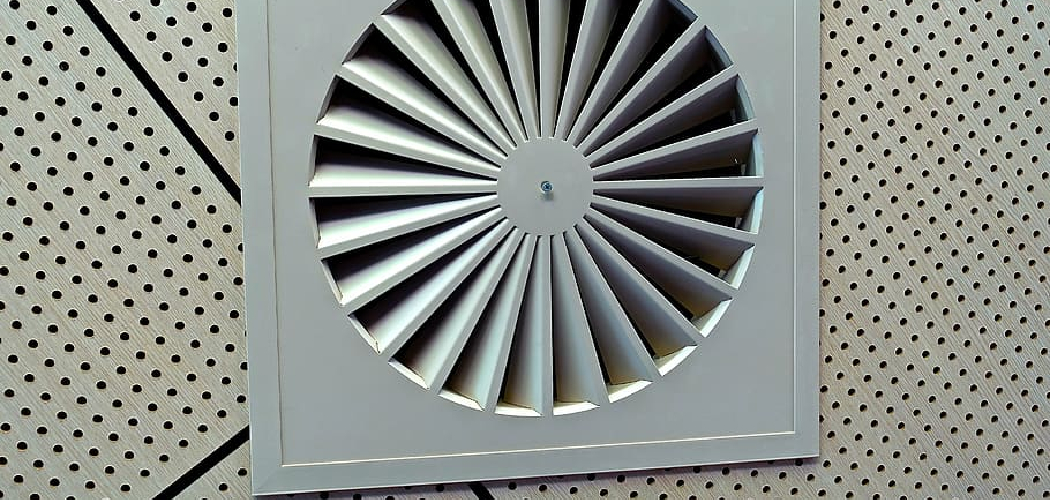
Cleaning the ceiling around your vents can be daunting, especially if you’ve been ignoring it for a while. dust and dirt can form an ugly coat on the ceiling, obscuring its natural beauty and also posing some potential health concerns.
If that’s true of your home or office, don’t despair – there are easy steps you can take to get your ceiling looking like new again without having to break out the hard hats and protective gear.
In this blog post, we’ll share our tips on how to clean ceiling around vents quickly and easily. Find out how simply wiping off accumulated debris followed by regular maintenance cleaning will help keep your ceilings looking their best!
Supplies You Will Need to Clean Ceiling Around Vents
- Vacuum cleaner
- Ladder (if vents are high up and out of reach)
- Sponge or soft cloth
- Bucket
- All-purpose cleaner
- Water
Step-by-step Guidelines on How to Clean Ceiling Around Vents
Step 1: Prepare the Area
Before you start cleaning, make sure the area around the vents is clear of any furniture or objects. If there are any light fixtures or ceiling fans nearby, ensure that they are turned off to avoid any accidents. Preparing the area beforehand will allow you to move around freely and clean more efficiently.
Step 2: Protect Yourself
Wearing protective gear, such as a mask and goggles, is important when cleaning your ceiling. This will help prevent any particles from falling into your eyes or mouth. You can also wear an old hat to protect your hair from dust and debris. You can never be too cautious when it comes to your health. Make sure to also wear clothing that covers your skin.
Step 3: Vacuum the Area
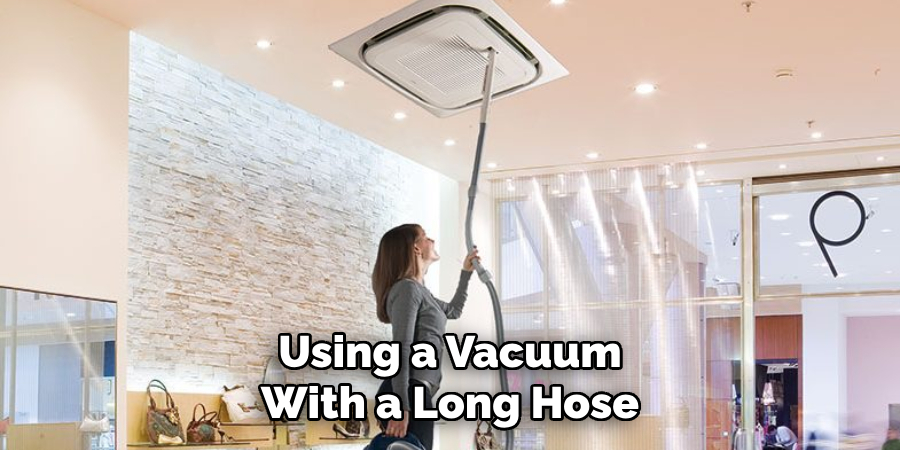
Using a vacuum with a long hose attachment, gently vacuum around the vents and ceiling. This will help remove any loose dust and debris before you begin wiping. If possible, use a vacuum with a HEPA filter to prevent particles from being released back into the air. This step will also help reduce the amount of dust you’ll be wiping off later.
Step 4: Wipe the Area
With a bucket of warm water and an all-purpose cleaner, dip your sponge or cloth into the solution and wring out any excess before gently wiping around the vents. Make sure to reach all corners and edges, removing any visible dirt or grime. For hard-to-reach areas, use a ladder but make sure it is securely placed. If necessary, you can also use a soft bristle brush to gently scrub off any stubborn stains.
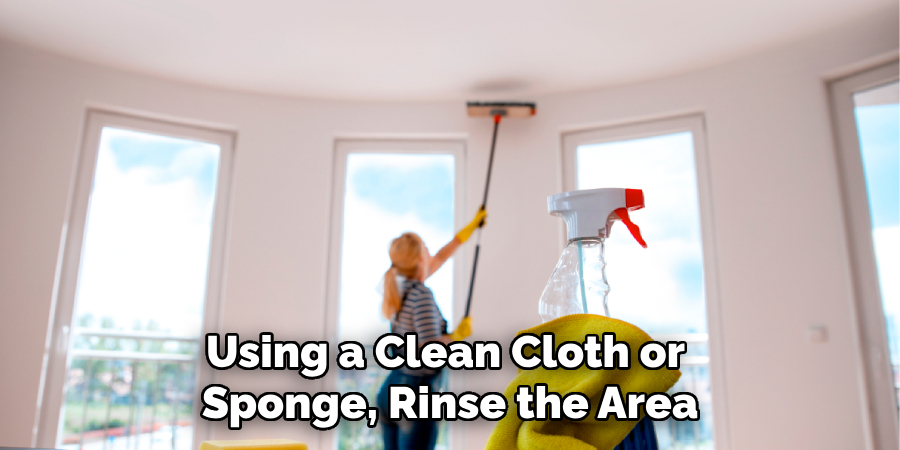
Step 5: Rinse and Dry
Using a clean cloth or sponge, rinse the area with clean water to remove any remaining cleaner. Make sure not to oversaturate the ceiling with water, as this can cause damage. After rinsing, use a dry cloth or towel to pat the area dry. This will help prevent water spots and streaks.
Following these steps will help you clean your ceiling around vents without too much hassle. Make sure to regularly maintain your ceiling by vacuuming and wiping down the area to prevent excessive buildup. With a little bit of effort, your ceilings will stay looking like new all year round! Happy cleaning!
Additional Tips and Tricks to Clean Ceiling Around Vents
- If you notice any discoloration or mold around your vents, it’s important to address the issue immediately. Mold can be harmful to your health and should be removed by a professional.
- For tougher stains, you can use a mixture of warm water and white vinegar as a natural cleaning solution.
- You can also use a microfiber duster or cloth to quickly remove any dust from your ceiling between cleanings. This will help reduce the frequency of deep cleaning.
- If you have textured ceilings, be extra gentle when cleaning to avoid damaging the surface.
- Make sure to properly dispose of any debris and cleaner after you’re finished cleaning. This will prevent any potential hazards from lingering in your home or office.
By following these tips and tricks, you can easily maintain a clean and healthy ceiling around your vents. Remember, regular cleaning will help prevent excessive buildup and make deep cleaning much easier in the long run. Happy cleaning!
Things You Should Consider to Clean Ceiling Around Vents
- Wear safety gear such as gloves and masks to protect yourself from dust and debris that may come off during the cleaning process.
- Use a ladder or other stable equipment to reach the vents comfortably.
- Make sure the power to your HVAC system is turned off before starting any cleaning activities.
- Remove any furniture or objects that are placed under the vents, as they may get dirty during the cleaning process.
- Use a vacuum cleaner with an attachment to remove any loose dust, dirt, or debris from the vents and their surrounding area.
- For tougher stains or buildup, mix equal parts of water and white vinegar in a spray bottle and spray it onto the surface. Let it sit for a few minutes before wiping it off with a clean cloth.
- Another effective solution for cleaning vents is using dish soap and warm water. Mix a few drops of dish soap in a bucket of warm water and use a sponge or cloth to clean the vents.
- For hard-to-reach areas, you can use a long-handled brush with soft bristles to gently scrub the surface.
- If there is any visible mold or mildew growth, use a solution of bleach and water to clean the area. Make sure to wear gloves and avoid any contact with your skin.

Following these considerations will not only ensure a clean ceiling around vents but also maintain the efficiency and proper functioning of your HVAC system. It is recommended to clean the vents at least once every six months to prevent any buildup and potential health hazards.
Regular cleaning will also improve air quality in your home and reduce energy costs. Stay on top of this simple maintenance task to keep your house healthy and comfortable. So, make sure to schedule the cleaning of your ceiling vents in your regular household chores list. Happy cleaning!
Precautions Need to Follow for Cleaning Ceiling Around Vents
- Before starting to clean the ceiling around vents, you need to switch off the power supply, so that there is no risk of electrocution. This step is important because you will be using a ladder and working close to electrical wiring. Safety should always be your top priority.
- To protect yourself and keep the dirt and debris from falling on you, it is recommended to wear protective gear such as goggles, gloves, and a mask. This will also prevent any potential allergic reactions to dust or mold.
- Remove any furniture or objects that are placed below the vents before you begin cleaning. This will ensure that nothing gets damaged or dirty during the cleaning process.
- If you are using a ladder, make sure it is stable and secured in place before climbing up. It’s always better to have someone hold the ladder for added safety.
- Use a damp cloth or sponge to wipe away any dust, dirt, or grime from the vent covers and surrounding areas. Avoid using any abrasive cleaning products as they may damage the surface.
- For tougher stains or build-up, a mixture of warm water and mild soap can be used. Dip a cloth into the solution and gently scrub away the dirt. Make sure to rinse the area with clean water and dry it thoroughly afterward.
- After cleaning, remember to sanitize the vent covers by wiping them with a disinfectant. This will help eliminate any bacteria and germs that may have accumulated.
- Once the cleaning is complete, allow the area to dry completely before turning the power back on and replacing any furniture or objects.
Following these precautions will ensure that you can clean your ceiling around vents safely and effectively, leaving your home a healthier and more comfortable space to live in. Remember to also schedule regular maintenance and cleaning to prevent any build-up or potential issues with your vents. So, it is important to keep these tips in mind for maintaining a clean and healthy environment in your home.
Conclusion
Cleaning ceiling vents can be a tedious and tricky task, however, the right tools and plenty of patience always pay off. From using damp cloths, mops, and steam cleaners to scrubbing with cleaners or an angle brush appropriately combined with different cleaning methods – all these steps are sure to make the job easier.
A bonus is that the results will speak for themselves. Having mastered the basics of cleaning ceiling around vents, you’ll find yourself armed with confidence knowing that any unsightly rust stains will no longer be an issue.
Taking on this challenge makes for a bold statement of determination and admirable initiative! You owe it to your sense of pride and your home’s aesthetic appeal; take a deep breath and go forth in tackling this difficult yet rewarding endeavor! So what are you waiting for – get started now on learning How to Clean Ceiling Around Vents!