
Have you ever looked at your front door and wished it had a bit more life to it? Adding color with a stain is the perfect way to get the look of wood while still giving your entryway added vibrancy.
Whether you are after an inviting and cozy look or want something more contemporary, staining your front door will give you options to customize based on the style of your home. Keep reading for some helpful tips on how easy it can be to transform your front door with a fresh coat of stain!
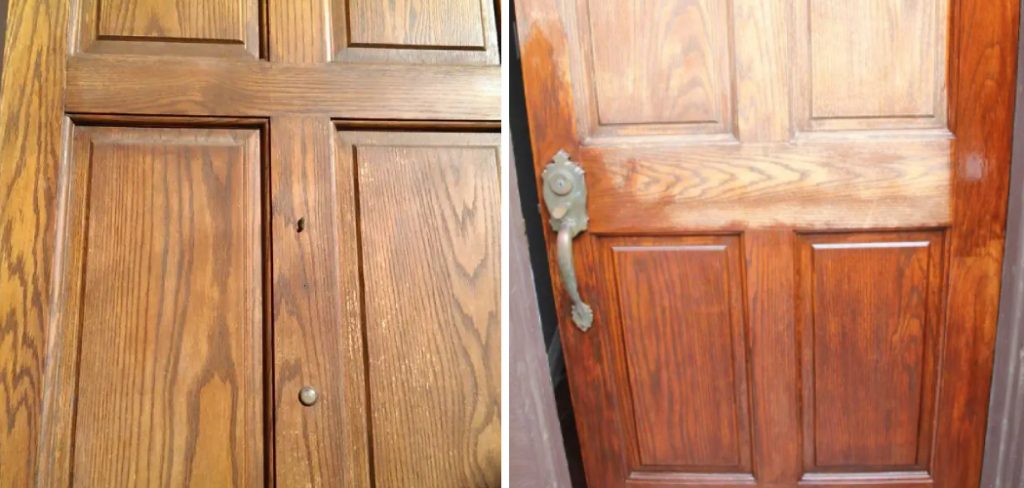
Transform the exterior of your home in an instant with a fresh new stain job on that front door! Whether you’re looking for an updated look, want to match the existing outdoor decor, or bring some character to a plain surface – staining is one of the best options available.
With just a few supplies and steps to follow, we’ll show you how easy it is to bring your vision of beauty and protection to life. Follow along as we walk through this simple guide on how to stain a front door like a pro!
Why You Want to Stain a Front Door?
1 . To Protect the Wood
Staining your front door can be a great way to protect it from the elements. A stain will help keep moisture and other damaging forces away from the wood, which can help keep it from rotting or warping over time.
2 . To Add Beauty to Your Home
A freshly stained front door can add beauty to an otherwise bland entryway. The added color and texture can make a big difference, giving your home a unique look and feel. Plus, if you choose to go with wood stain instead of paint, you won’t have to worry about chipping or fading over time.
3 . To Make Your Home More Aggressively Marketable
If you’re looking to put your home on the market, a freshly stained front door can be just the thing to draw potential buyers in. A well-maintained entryway can make all the difference when you’re trying to attract prospective buyers.
How to Stain a Front Door in 6 Easy Steps
Step 1: Gather All The Tools
The very first step is to gather all the necessary tools and supplies. To successfully stain a front door, you’ll need: A paint scraper or sandpaper, Sanding block or electric sander (if desired), Paintbrush for applying stain, Drill and drill bit(s) (if needed to add hardware such as hinges), Rag or cloths, and of course the stain.
Step 2: Prepare the Surface
Next, it’s time to prepare the surface of your front door. Start by removing any old paint or varnish from the door with a scraper or sandpaper. Then, once all traces of paint are removed, use a sanding block or electric sander to smooth the surface.

Step 3: Add Hardware (If Desired)
If you’d like to add hardware such as hinges, door knockers, or doorbells, now is the time to do so. Use a drill and bit(s) if necessary. Also, make sure the hardware is securely fastened.
Step 4: Apply The Stain
Once all preparation stages are complete, it’s time to apply the stain. Dip a clean paintbrush into the can of stain and begin applying it evenly across the door surface. Work in sections starting from top-to-bottom and left to right, then go back over for a second coat.
Step 5: Allow to Dry
Allow the stain to dry according to the instructions on the can. This can take anywhere from a few hours to a full day, depending on the type of stain you’ve chosen and environmental conditions.
Step 6: Double Check Quality
Once the stain is completely dry, do a final check to make sure it looks even and uniform. If you’re satisfied with how it turned out, your front door is ready for use! Also be sure to store any extra stains in a cool, dry place for future use.
10 Extra Tips to Stain a Front Door
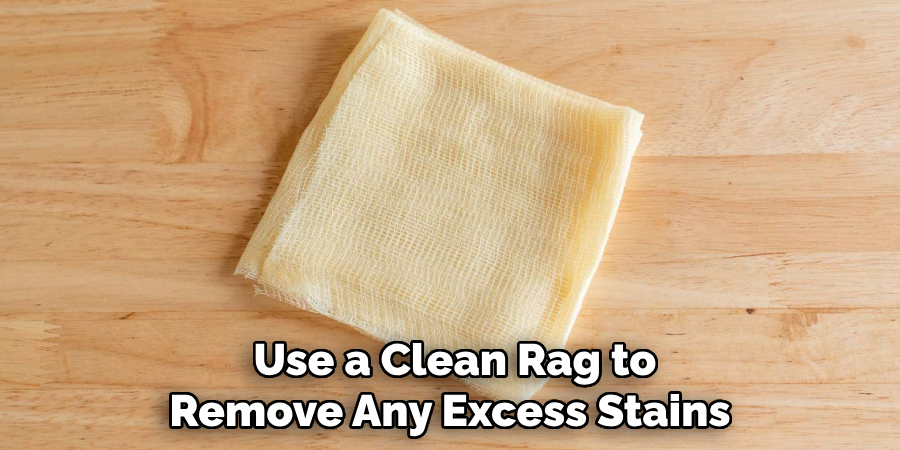
1 . Do Not Let the Stain Pool
Applying too much stain can cause it to pool in certain places, creating an unnatural look. To ensure even coverage, work in small sections and use a clean rag to remove any excess stains.
2 . Work with the Grain of the Wood
To achieve the best results, always apply your stain with the grain of the wood. This will help to create a beautiful, even finish with fewer brush strokes.
3 . Test Your Stain on a Piece of Scrap Wood
Before you begin staining the front door, it is important to test your stain color and technique on a scrap piece of wood. This way, you can make adjustments if needed before applying the stain to the door.

4 . Protect Your Doors From UV Damage
Once your stain is dry, it is important to protect your doors from damaging UV rays. To do this, simply apply a coat of polyurethane or varnish for an extra layer of protection. Also make sure to use an outdoor finish that is specifically designed for exterior doors.
5 . Avoid Over-sanding the Wood
When sanding your door prior to staining, be sure not to overdo it. Too much sanding can weaken the wood and make it difficult to achieve a uniform look with your stain. Make sure to use medium-grit sandpaper and work in the direction of the wood grain.
6 . Use Non-abrasive Cleaners
Before you start staining, be sure to clean your door with a non-abrasive cleaner. This will help remove any dirt or grime from the surface and ensure that your stain adheres properly.
7 . Give Yourself Enough Time
When applying stain, it is important to give yourself plenty of time to finish the job. Oftentimes, staining a door can take several hours or even days depending on the size of your door and the complexity of the task. Don’t rush through this process as it will lead to a less-than-ideal finish.
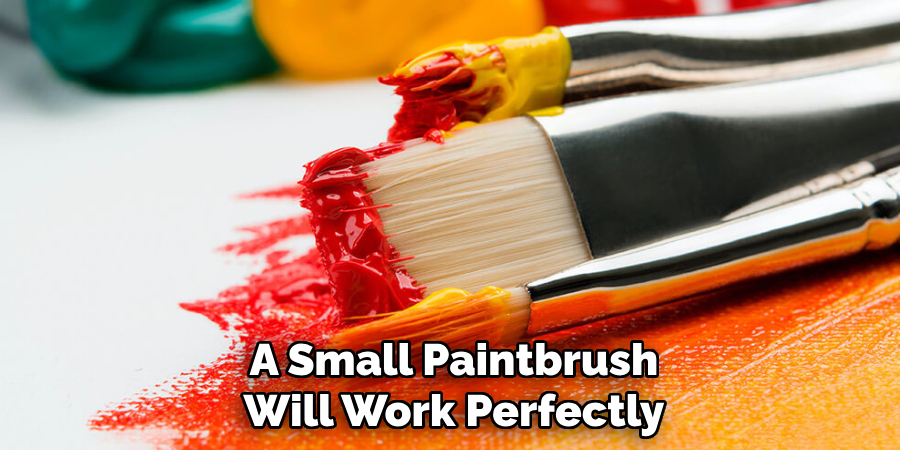
8 . Use the Right Brush
When staining, make sure to use the right brush for the job. A small paintbrush will work perfectly for smaller areas and tight corners while a larger brush is better suited for larger surface areas.
9 . Sand Between Each Coat of Stain
Sanding between each coat of stain will help to create a smoother, more even finish. Make sure to use fine-grit sandpaper and work in the direction of the wood grain for best results.
10 . Consider a Professional Touch
If you are not confident that you can achieve the desired look on your own, it may be worth considering a professional to do the job. A professional will have access to higher grade supplies and techniques which may help you achieve a better finish than if you were to do it yourself.
Frequently Asked Question
What Precautions Should I Take When Staining a Front Door?
It is important to wear protective gear such as safety glasses and gloves when staining your front door. There are also certain chemicals in some wood stains that can be harmful, so make sure you read the label carefully before beginning any project.
How Can I Protect My Front Door From UV Damage?
Once your stain is dry, you can protect it from UV damage by applying a coat of polyurethane or varnish. Make sure to use an outdoor finish that is specifically designed for exterior doors to ensure the best protection.
What Is the Best Way to Achieve an Even Finish?
To achieve an even finish, be sure to work with the grain of the wood and use a clean rag to remove any excess stains—additionally, sand between each coat of stain for best results. Also, consider testing your stain and technique on a piece of scrap wood before you begin staining the door.
How Long Does It Take to Stain a Front Door?
The amount of time it takes to stain a front door depends on the size and complexity of the job. Generally speaking, staining can take several hours or even days depending on how much work needs to be done. It is important to give yourself enough time to do the job properly and not rush through it.
Conclusion
It is always worthwhile to take the time to spruce up the front door with a fresh coat of paint. With a little patience and effort, you can make your home’s entrance truly stunning. Now that you have learned how to effectively stain a front door, you should be able to add instant curb appeal on your own! Good luck, and happy staining! As the proverb says: “Paint adds color to your life” — or in this case, also to your front door.
You know how to stain a front door! Now that it has been brought back to life, enjoy its new shine every day as it greets you with warmth and brightness upon entering your home. Finally, never forget when staining a front door to use proper safety footwear and gloves – for both yourself and any bystanders! While this may seem like additional work, it will go far in protecting them for years into the future from dirt and grime.