
Have you been looking for a quick and easy home decor project that is sure to make a statement? You are in luck because today, we’ll be delving into the art of wrapping door mats! Creating your very own custom doormat can be super fun and rewarding – plus it is incredibly easy. In this blog post, you will learn all the tips and tricks necessary to create an eye-catching rug in no time at all.
If you’re looking for an easy, affordable way to add a unique touch to your home décor then wrapping a doormat is the perfect project for you!
From picking the perfect fabric print that matches your style and budget to following simple steps on how to wrap a door mat– this DIY door mat project will be sure to revamp any of your interior spaces in no time. Whether you’re looking for something modern or prefer more of a rustic look, we are here to help turn any ordinary doormat into something extraordinary. So let’s get started!
Why May You Want to Wrap a Door Mat?
1 . To Protect Your Floor
Wrapping a doormat can be an effective way to protect your floor from dirt, spills, and other materials that may get tracked in. It’s also great for keeping moisture away from the underside of the doormat, which can help prolong its life. By having a layer of protection between the doormat and your floor, you’ll be able to keep your floor looking like new for much longer.
2 . To Give Your Home an Updated Look
Wrapping a doormat in a stylish fabric can give your home an updated look without breaking the bank. Whether you choose a bright color or something more muted, wrapping the doormat is an easy way to add texture and interest to your entryway. Plus, if you ever want to switch up the look of your doormat, it’s as easy as changing out the fabric cover.
3 . To Personalize Your Entryway
If you’re looking for something truly unique, wrapping a doormat is an ideal solution. You can choose from a variety of fabrics and colors to find something that matches your style. Or, you can even get creative and design your own fabric cover for a truly personalized look.

No matter what your reason is for wrapping a doormat, the process is relatively simple. Follow these steps and you’ll have a new look in no time!
How to Wrap a Door Mat in 5 Easy Steps
Step 1: Gather Your Supplies
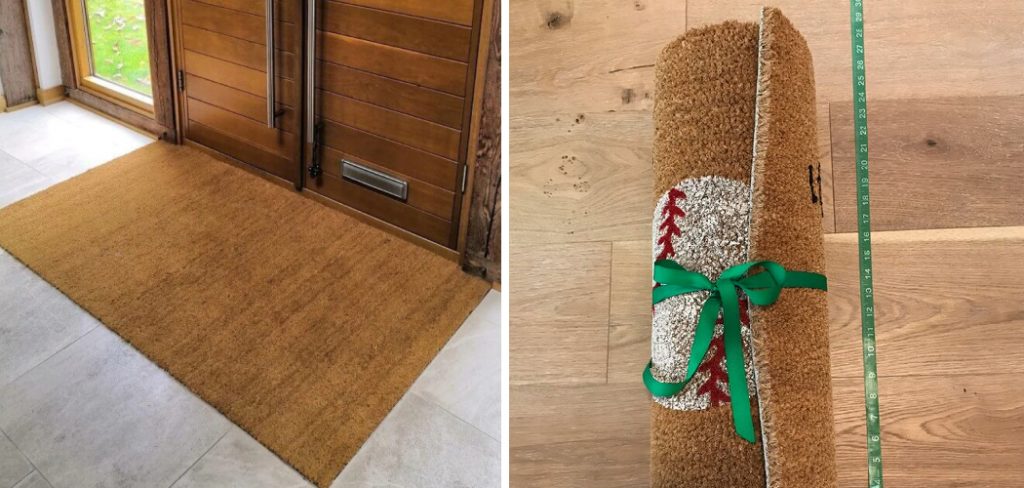
The supplies you’ll need are simple and easy to find. All you’ll need is a doormat, fabric (or an old pillowcase or sheets), scissors, and duct tape. Also make sure you have a surface to work on, like a table or the floor.
Step 2: Measure and Cut the Fabric
Lay your fabric flat on the surface and measure it out so that it’s slightly bigger than your doormat in both length and width. Then cut off any excess fabric, allowing for about an inch of overhang around all four sides.
Step 3: Secure the Fabric to the Doormat
Place the doormat on top of the fabric and use duct tape to secure it in place. Make sure you evenly space out the pieces of tape and that they don’t overlap each other, as this can cause a lumpy effect when you wrap it up.
Step 4: Wrap and Secure
Take the two sides of the fabric that are closest to each other and fold them over the doormat. Then, take the remaining two sides and fold them inwards so that they overlap each other. Secure all four corners with duct tape to secure the fabric around the doormat.
Step 5: Trim the Excess
If there is excess fabric hanging off the ends, trim it away with your scissors. Once you’re happy with how it looks, you can move on to tucking in any loose edges or adjusting the fabric to make sure everything is sitting flush against the doormat.
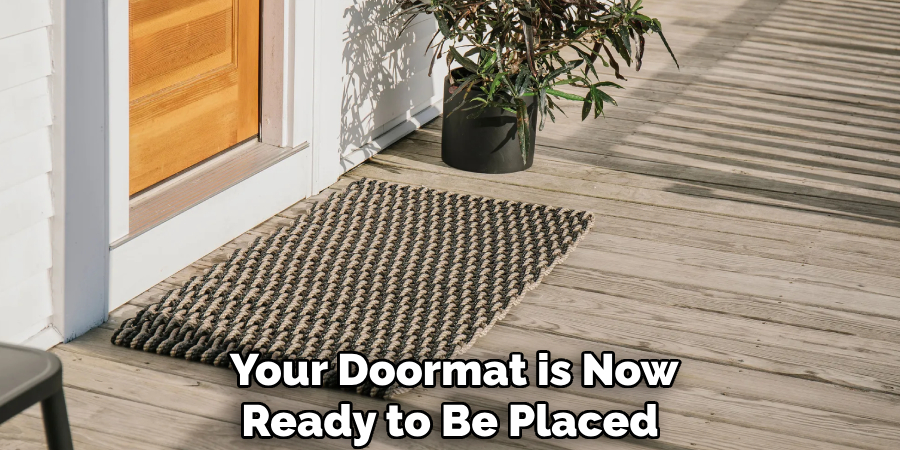
And that’s it! Your doormat is now ready to be placed in your entryway. Give yourself a pat on the back for a job well done!
Tips for Wrapping Your Doormat
When wrapping your doormat, there are a few tips you can keep in mind to ensure that it comes out looking its best.
1 . Choose Durable Fabric
When selecting fabric for wrapping your doormat, it’s important to choose something that is durable and can withstand wear and tear. Lighter fabrics like cotton or linen may look beautiful but they won’t be able to hold up against the elements as well as heavier fabrics like canvas or denim.
2 . Pre-Wash Your Fabric
If your fabric is prone to shrinking, make sure you pre-wash it before wrapping the doormat. This will help ensure that it fits snugly around the mat and won’t shrink after you’ve put in all the effort of wrapping it up.
3 . Add a Border to Your Fabric
Adding a border or seam allowance to your fabric can help give it a more polished look and make sure that all the edges sit flush against the doormat. To add a border, just mark out an inch or two around the perimeter of the fabric and cut along those lines before wrapping.
Wrapping a doormat is an easy and inexpensive way to spruce up your entryway. With just a few simple steps, you can easily give your home an updated look without spending a fortune. So don’t be afraid to get creative and show off your style!
Frequently Asked Question
What Precautions Should I Take When Wrapping a Door Mat?
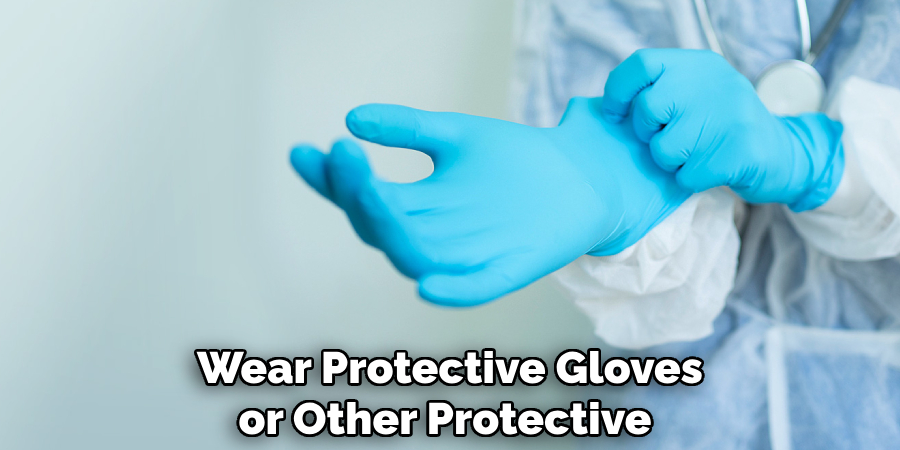
When wrapping a doormat, it’s important to take proper safety precautions. Make sure the area is clear of any tripping hazards and that you have enough space to maneuver around your mat without hitting anything. Wear protective gloves or other protective apparel when handling materials such as wire or rope.
Be aware of any potential sharp edges in the material you’re using and use caution when handling. Also, make sure to read through the instructions for your particular doormat before getting started. This will help ensure that you are following all necessary steps correctly and safely.
How Do I Securely Wrap a Door Mat?
To securely wrap a doormat, you will need to use a strong cord or wire. Start by looping it around the top of the door mat, then pull it tight and secure it at the bottom. If possible, make two loops on each side for added strength. There are other methods for securing a doormat as well such as using grommets or staples. Whichever method you choose, make sure that it is secure enough to stay in place even when the doormat is being used.
What Type of Material Should I Use to Wrap a Doormat?
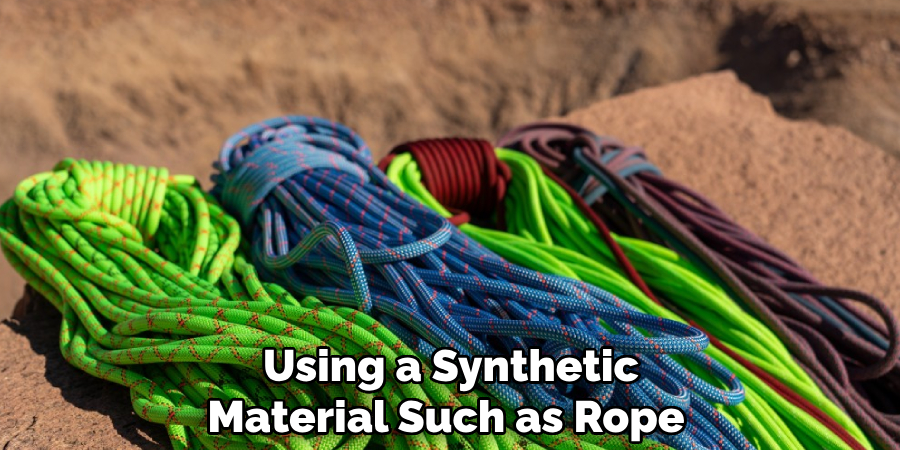
When selecting a material for wrapping your doormat, make sure it’s durable and won’t fray easily. Natural fibers such as hemp or jute are good options, as they are both strong and long-lasting. You can also use synthetic materials such as rope or twine. If you’re using a wire or chain, be sure to select one that won’t rust over time.
What Tools Do I Need to Wrap a Door Mat?
The tools needed to wrap a door mat will depend on the type of material you are using. If you’re using a rope or twine, all you need is a pair of scissors to cut it to size. For wires and chains, you may need pliers to secure them tightly around the mat. Grommets can be installed with a grommet tool or hammer and anvil.
How Often Should I Wrap My Door Mat?
Ideally, you should wrap your door mat every time it is used. This will help prevent it from becoming loose or frayed and ensure that it remains securely in place. If you’re using a synthetic material such as rope or twine, you may need to re-wrap the door mat more frequently. If you’re using a wire or chain, however, it should be good for several uses before needing to be replaced.
Conclusion
Wrapping a door mat is an easy, straightforward task that will give your home a welcoming look. With the options of fabric and ribbons to choose from, you can customize your own creative design that is unique and personalized. So don’t be afraid to wrap your door mat and make a statement!
Now you know how to wrap a door mat! Whether it’s a bright floral pattern to delight guests or some cheery holiday-themed ribbon for the special occasion, add some flair to your entryway with thoughtful craftsmanship and see the transformation! It really doesn’t take much time, effort or material but goes a long way in making that warm first impression. And with these tips in mind, there’s no reason not to give it an upgrade today!