Restoration Hardware cribs are renowned for their elegant design and robust construction, making them a favored choice among parents seeking both style and functionality for their nursery. One notable feature of these cribs is their adjustable mattress support system, allowing parents to modify the crib’s height according to their baby’s growth stages. This feature ensures that the crib can be lowered safely as the baby develops to prevent potential falls.
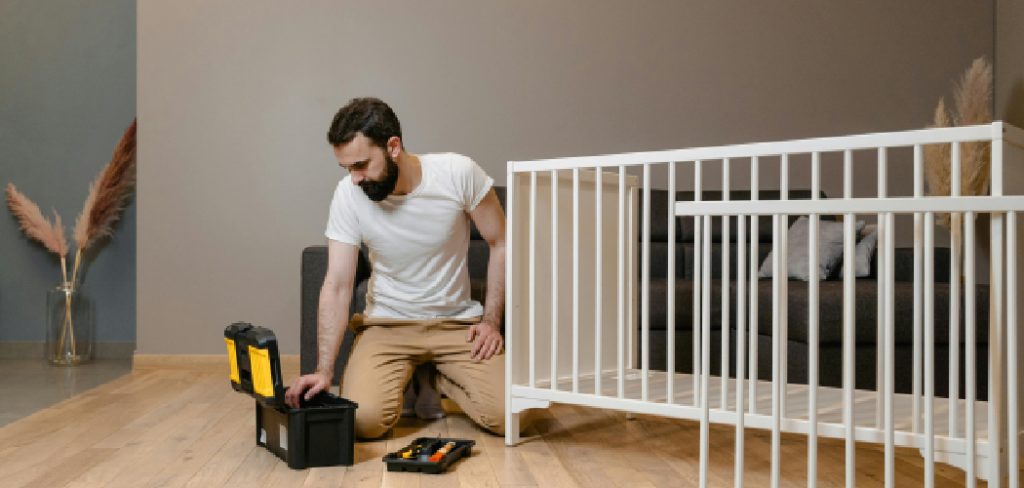
Understanding how to lower Restoration Hardware crib is essential as it provides flexibility to accommodate the baby’s developmental milestones. Parents should consider lowering the crib when their baby begins to pull up or sit up independently, indicating increased mobility. Adjusting the crib in a timely manner ensures a safe sleeping environment, minimizing the risk of accidents. This adaptability maintains safety and prolongs the crib’s usability by ensuring safety at various stages of the baby’s early life.
Understanding the Restoration Hardware Crib
Crib Design Features
Restoration Hardware cribs are crafted to blend aesthetic appeal with functionality, boasting timeless designs that seamlessly fit into any nursery decor. These cribs often feature convertible models, which can be transformed from a baby crib into a toddler bed, daybed, or even a full-sized bed, extending their usage as the child grows. A significant feature of these cribs is their adjustable mattress height, usually offering multiple levels to accommodate different stages of a baby’s development. This versatility ensures that the crib remains a practical furniture piece throughout the early years of a child’s life.
Safety Standards
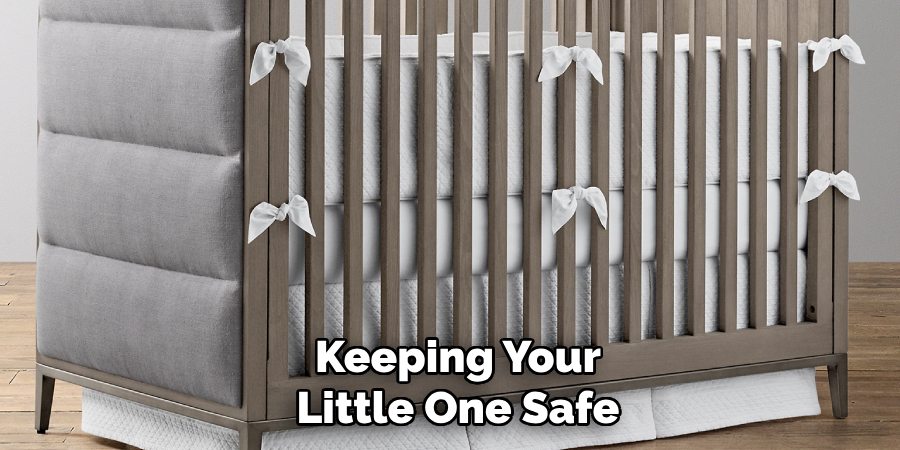
Adherence to stringent safety standards is a hallmark of Restoration Hardware cribs. These cribs are designed to meet or exceed safety regulations set by governing bodies, which dictate rigorous testing for stability, durability, and build quality. A critical safety consideration is the ability to adjust the crib’s mattress height. As babies become more mobile and start to attempt climbing, lowering the mattress reduces the risk of climbing accidents, keeping your little one safe.
Crib Adjustability
The adjustable mattress feature is an essential aspect of crib safety and usability. Restoration Hardware cribs typically offer three to four levels of mattress heights, which can be modified as the child grows from a non-mobile infant to an active toddler. Lowering the mattress provides a deeper, more secure enclosure, thereby preventing falls as the baby learns to stand and pull themselves up. This adjustability ensures safety and enhances the crib’s functionality, making it a wise investment for growing families.
Tools and Preparation for Lowering the Crib
Tools Required
Before attempting to lower your Restoration Hardware crib, gather the necessary tools to ensure a smooth process. Typically, you will need:
- Screwdriver
- Allen wrench
- Any specific tools that came with your crib
Preparation Steps
- Empty the Crib: Begin by removing all bedding, toys, and accessories from the crib to allow easy access to its frame.
- Remove the Mattress: Carefully lift and remove the mattress to prevent any damage during the height adjustment process.
- Consult the Manual: It is crucial to check the crib’s manual for any specific instructions or precautions related to your particular model. This includes identifying which bolts or screws to loosen and any recommended safety checks after adjustment.
- Check Stability: Once adjusted, ensure all components are securely fastened to maintain crib stability, confirming the crib is safely reassembled for continued use.
How to Lower Restoration Hardware Crib: Step-by-Step Guide
Step 1: Identify the Mattress Support Mechanism
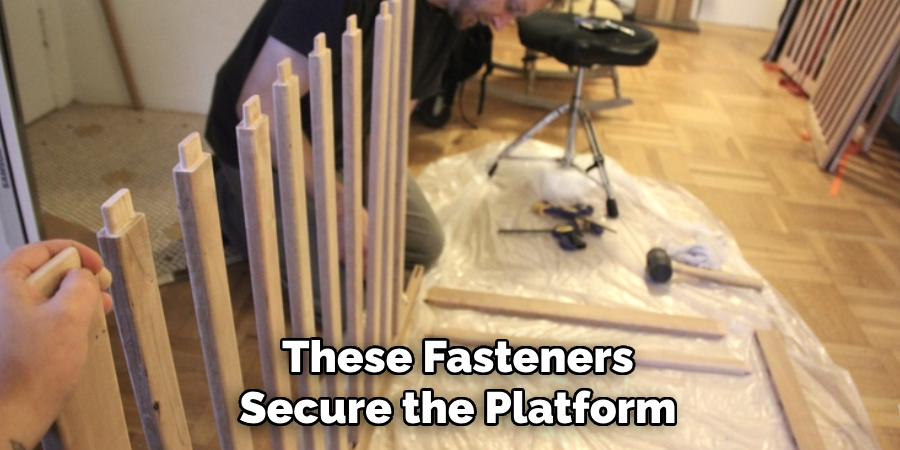
Begin lowering your crib’s mattress by identifying the mattress support mechanism. Restoration Hardware cribs may use either a metal spring platform or wooden slats to hold the mattress. Carefully inspect the underside of the crib to determine which type of support you have. Look for screws or bolts that connect the mattress support to the crib’s frame. These fasteners secure the platform, so locating them is essential for adjusting the crib’s height.
Step 2: Remove the Mattress
Once you have located the mattress support mechanism, the next step is to remove the mattress completely from the crib. Gently lift the mattress out of the crib, being cautious not to damage the material. Set it aside in a safe location where it won’t be stepped on or dirtied. Removing the mattress exposes the support system, allowing easier access to areas where adjustments are needed.
Step 3: Loosen the Bolts or Screws
Now, with the support mechanism exposed, begin loosening the bolts or screws that hold the mattress support at its current position. Use the appropriate tool, such as a screwdriver or an Allen wrench, to turn each fastener counterclockwise. Be sure to loosen them carefully without fully removing them, as this could lead to misplacement or potential damage to the crib’s frame. Loosening the bolts enough allows the mattress platform to be adjusted to a lower setting.
Step 4: Lower the Mattress Support
With the fasteners loosened, cautiously lower the mattress support to the desired level. Ensure the support platform is aligned with the corresponding holes on the crib’s frame for a secure fit. To prevent tilting or uneven placement, check that the support is level on all sides. Adjust as necessary to ensure a stable foundation for the mattress, which is critical for the child’s safety.
Step 5: Secure the Mattress Support
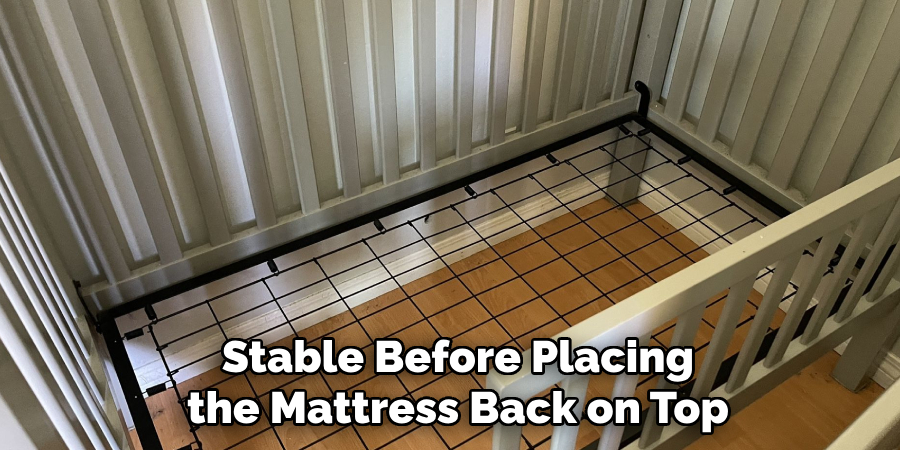
After adjusting to the new height, tighten the screws or bolts to securely fasten the mattress support in place. Using the same tools, turn each fastener clockwise until they are tight. Double-check that every bolt or screw is firmly secured to eliminate any potential wobbling or instability. It is important that the mattress platform is completely stable before placing the mattress back on top.
Step 6: Replace the Mattress
Finally, carefully lift the mattress back onto the lowered support platform. Ensure that the mattress fits snugly within the crib, checking that there are no gaps between the mattress and the sides of the crib. This step is crucial to maintain a safe sleep environment for the baby. Once the mattress is securely positioned, the crib is ready for continued use with its newly adjusted height.
Safety Considerations After Lowering the Crib
Checking for Stability:
After adjusting the mattress height, it’s essential to thoroughly check the crib for any wobbling or instability. This involves carefully inspecting all connections to ensure that screws, bolts, and other fasteners are tightened properly. Failure to secure these components can compromise crib safety, increasing the risk of accidents.
Mattress Height and Baby’s Mobility:
Determining the correct mattress height based on the baby’s current mobility is crucial. Pediatricians and safety organizations advise keeping the mattress at its lowest setting once a baby starts showing signs of standing or pulling up. This position minimizes the baby’s risk of climbing out or falling, offering a safer environment as they explore newfound mobility.
Avoiding Additional Items in the Crib:
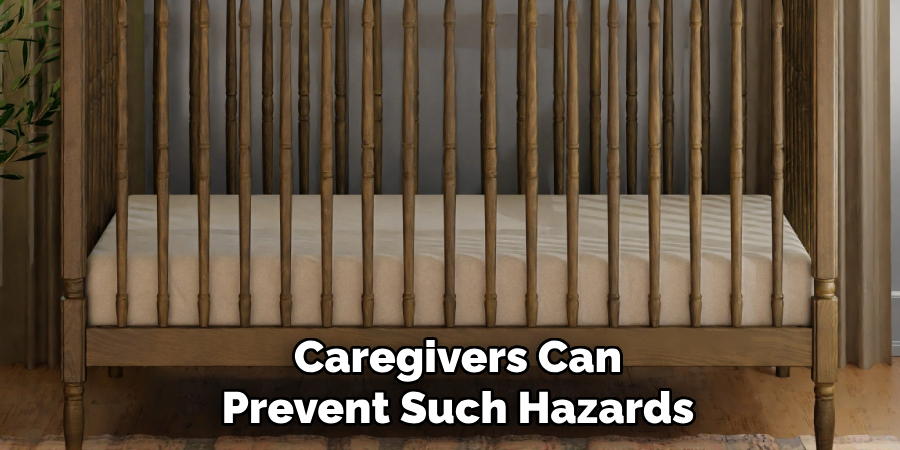
It’s important to maintain an uncluttered crib setting. Extra items like bumpers, pillows, and stuffed animals should not be placed in the crib. These objects could serve as climbing aids, enabling the baby to potentially escape the crib, posing significant safety risks. Caregivers can prevent such hazards by maintaining a minimalist crib space and ensure a safer sleep environment.
Troubleshooting Common Issues
Issue 1: Difficulty Loosening Bolts or Screws
One common issue encountered is difficulty in loosening the bolts or screws during the adjustment process. This may be due to the screws being too tight or the tools used not fitting properly. To address this, ensure you are using the correct tool size; a well-fitted screwdriver or Allen wrench is essential for grip and leverage. If the screws remain stubborn, consider applying a bit of lubricant to the tight bolts. This can help ease the removal process by reducing friction and allowing the screws to turn more smoothly.
Issue 2: Mattress Support Doesn’t Align Properly
Another challenge can be the mattress support not aligning correctly with the crib’s frame. This misalignment is often caused by uneven screws or obstructions within the crib structure. To resolve this, reposition the mattress support carefully, ensuring it matches the alignment holes in the crib. Double-check the screws for evenness, as misalignment may occur if one is tighter than the others. Refer to the crib’s manual for specific alignment tips to aid in correct placement and secure the mattress support system properly.
Issue 3: Crib Wobbles After Adjustment
If the crib wobbles after adjusting the mattress, it typically indicates instability due to loose screws or uneven support. To fix this, recheck all screws and bolts, tightening them fully to ensure they are secure. Additionally, verify that the crib is level by giving it a gentle shake to identify any wobbling. A properly leveled crib is vital for the baby’s safety, ensuring a stable and secure sleeping environment.
Conclusion
Lowering a crib is a crucial adjustment in your child’s safety and comfort, and when learning “how to lower restoration hardware crib,” the process must be approached with care and attention to detail. Begin by removing the mattress to expose the internal support system. Loosen the bolts or screws carefully, ensuring you’re prepared to realign and lower the mattress support smoothly. Once aligned, securely fasten the mattress platform, being mindful of potential instability or misalignment issues. Replace the mattress, confirming there’s no gap between it and the crib sides.
Finally, carefully inspect the crib’s stability, especially as your child gains new mobility skills like standing or pulling up. Regularly check and adjust the crib as necessary, in line with your baby’s growth and development. Following these steps ensures the crib remains a safe environment, accommodating your child’s changing needs.
