Creating a kitchen island out of base cabinets is a cost-effective and customizable way to enhance your kitchen’s functionality and aesthetic.
Whether you want to add more storage, expand your countertop space, or create a gathering spot for family and friends, transforming base cabinets into a kitchen island is an accessible DIY project for many homeowners. This process involves selecting suitable cabinets, positioning them correctly, and finishing them with a suitable countertop and fixtures. With some planning and creativity, you can craft a kitchen island that perfectly suits your space and lifestyle needs.
In the following sections, we’ll guide you through the steps on how to make a kitchen island out of base cabinets.
What Will You Need?
Before you get started, having all the necessary materials and tools is essential. Here is a list of items you’ll need to make a kitchen island out of base cabinets:
- Base Cabinets: These are the main building blocks for your kitchen island. You can purchase pre-made ones from a home improvement store or use old ones from your existing kitchen.
- Screws and Screwdriver: To secure the cabinets together and attach them to the floor.
- Wood Glue: For added stability and durability.
- Countertop: This will serve as the surface of your kitchen island. Choose one that complements your existing countertops or adds contrast for visual interest.
- Power Drill: To drill holes for screws and attachments.
- Saw: Cut the countertop to fit your desired dimensions.
- Measuring Tape: To ensure accurate measurements and proper fitting.
- Painter’s Tape: To mark where you want your island to sit and avoid damaging your floors.
- Level: To ensure that the cabinets and countertop are even and level.
- Paint or Stain (Optional): This is the time to change the color of your base cabinets. You can also keep the natural wood finish for a more rustic look.
- Hardware (Optional): To add a finishing touch, you can install hardware on your cabinets, such as knobs or handles.
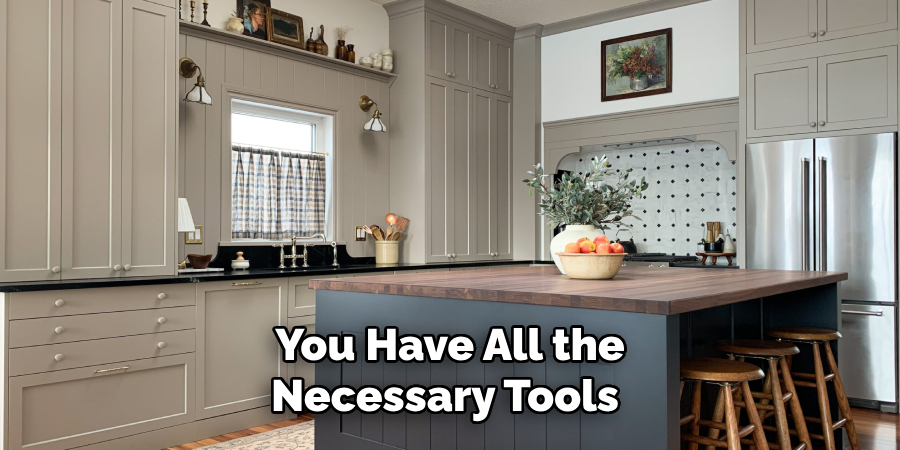
Now that you have all the necessary tools and materials, it’s time to build your kitchen island!
10 Easy Steps on How to Make a Kitchen Island Out of Base Cabinets
Step 1: Plan and Measure
The first step in making a kitchen island out of base cabinets is to plan and measure your space. Start by determining where you want your island to sit in your kitchen. Ensure there is enough room for people to move around comfortably and that it doesn’t obstruct any major traffic areas. Next, measure the dimensions of your chosen base cabinets and the desired size of your island. This will help you determine if you need to adjust or cut the cabinets or countertop.
Step 2: Purchase and Assemble Cabinets
Once you have your measurements, it’s time to purchase the base cabinets that will form the foundation of your kitchen island. You can select cabinets that match or complement the existing cabinetry in your kitchen. Assemble the cabinets according to the manufacturer’s instructions, ensuring that all components are securely attached and stable. If you’re using repurposed cabinets, inspect them for any damage and repair as necessary before assembly. This will ensure a durable and functional kitchen island setup.
Step 3: Position and Secure Cabinets
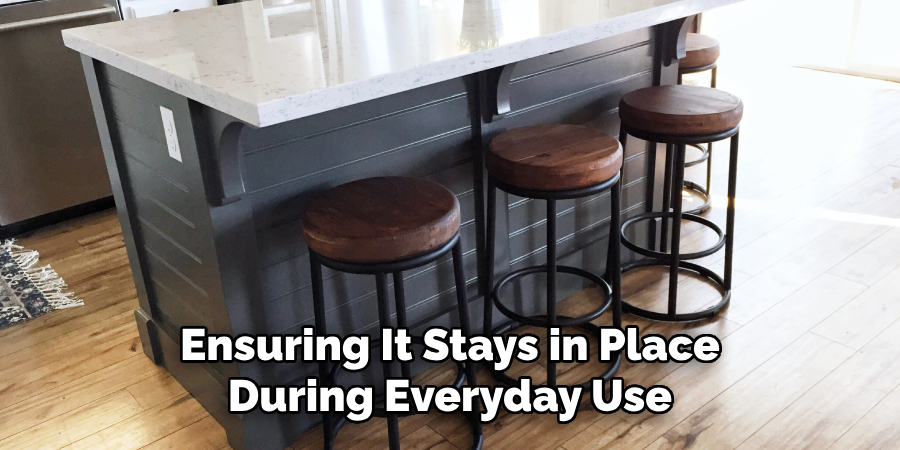
With the cabinets assembled, it’s time to position them in your kitchen. Use painter’s tape to mark the footprint of your island on the floor and ensure it’s aligned with your design plans. Carefully move the cabinets into place, checking with a level to ensure they are even. Once in position, use screws and a power drill to attach the cabinets securely and to the floor if required. This will provide a stable base for your kitchen island, ensuring it stays in place during everyday use.
Step 4: Cut and Install the Countertop
Once your base cabinets are securely positioned, it’s time to focus on the countertop. Measure the cabinets’ dimensions to determine the size needed for the countertop. Using a saw, carefully cut the countertop material to fit over the cabinets, allowing for an overhang if desired. This overhang can provide additional seating space on one or more sides of the island. Once cut, carefully position the countertop onto the cabinets, checking for a proper fit. Secure the countertop using screws and wood glue where needed, ensuring it is firmly attached for a smooth and stable surface. Double-check with a level to ensure the countertop is even before proceeding to the next steps in your kitchen island transformation.
Step 5: Add Finishing Touches
With the countertop securely in place, it’s time to add the finishing touches to your kitchen island. If you’ve chosen to paint or stain the base cabinets, now is the time to apply the finish. Make sure the cabinets are clean and sanded down if necessary to ensure the paint or stain adheres properly. Apply the finish evenly and let it dry completely before using the island. Once the cabinets are dry, you can install any hardware, such as knobs or handles, to add functionality and style. These finishing touches enhance the aesthetic appeal of your kitchen island and ensure it aligns with your kitchen’s overall design.
Step 6: Ensure Stability and Safety
Before you start using your new kitchen island, it’s crucial to ensure its stability and safety. Check all screws and connections to make sure everything is secure and firmly attached. Walk around the island and gently push on each side to see if it remains steady. If you notice any wobbling or movement, reinforce the connections with additional screws or brackets if necessary. For added safety, consider installing anti-tip brackets or hardware, mainly if your island will be heavily used or subjected to greater forces. Ensuring stability and safety is essential not only for the longevity of your kitchen island but also for the safety of everyone who uses it.
Step 7: Integrate Additional Features
To enhance the functionality of your new kitchen island, consider integrating additional features that cater to your specific needs. You might add electrical outlets to power small appliances or chargers, ensuring they are safely installed and comply with local building codes. Another useful addition is a built-in wine rack or shelving underneath the countertop for extra storage and convenience. If your island serves as a social hub for dining or gathering, consider adding bar stools to the side with an overhang to create a comfortable seating area. These enhancements can elevate the practicality of your kitchen island, making it a centerpiece that offers both utility and style.

Step 8: Incorporate Lighting Solutions
The functionality and ambiance of your kitchen island can be enhanced by incorporating appropriate lighting solutions. Consider installing pendant lights or under-cabinet lighting to illuminate the workspace effectively. Pendant lights add a decorative element above the island and provide focused lighting that can be essential for meal preparation and cooking tasks.
Alternatively, under-cabinet lighting can be helpful for highlighting features such as shelving or creating a warm, welcoming environment for social gatherings. When choosing your lighting, ensure that it complements your kitchen’s overall design and meets local electrical codes for safety. By thoughtfully selecting lighting solutions, you can transform your kitchen island into a vibrant and versatile space.
Step 9: Personalize the Island Decor
Now that the functional elements of your kitchen island are complete, it’s time to personalize the decor to make it a true reflection of your style. This could involve adding decorative items such as vases, fruit bowls, or cookbooks to give the island character and charm. Consider using a mix of textures and materials, like a runner made of natural fibers or metal accents, to create visual interest. Seasonal decor can also be a fun way to keep your kitchen island fresh and inviting throughout the year.
Step 10: Maintain Your Kitchen Island
Proper maintenance is key to ensuring the longevity and appeal of your kitchen island. Regularly clean the surface with suitable cleaners to prevent stains and wear, paying particular attention to spills that might damage the finish. Periodically check the stability and integrity of the island, tightening screws or brackets as necessary to maintain its robust construction. If your island has a wooden countertop or base, consider applying a protective sealant yearly to preserve its finish and shield it from moisture and scratches. By incorporating simple maintenance routines into your cleaning schedule, you can keep your kitchen island looking new and functioning well for years.
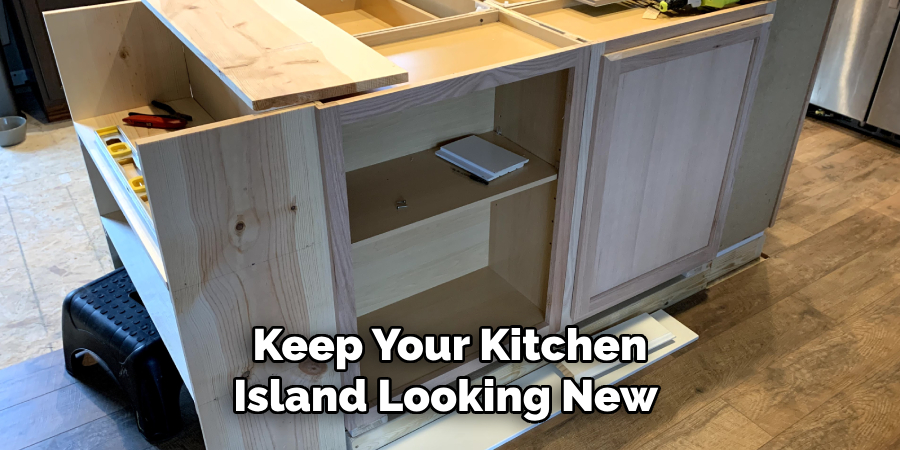
By following these steps, you can transform your kitchen island into a functional and stylish centerpiece that adds value to your home.
Conclusion
How to make a kitchen island out of base cabinets is an excellent way to enhance both the functionality and aesthetic of your kitchen space.
By following a series of practical steps—from selecting and securing the countertop to adding personalized decor—you can craft an island that complements your kitchen’s design and meets your specific needs. The process involves careful planning and attention to detail, ensuring stability, safety, and a polished finish.
Additionally, incorporating customizable features like electrical outlets, lighting, and storage solutions can greatly enhance the utility of your island. With regular maintenance, this custom kitchen island will remain a valuable feature for years, offering a perfect balance of style and practicality.
