Are you tired of your TV stand’s same-old look? Do you want to give it a fresh new look without spending much money?
How to paint a TV stand can be a rewarding DIY project that not only refreshes the look of your living space but also adds a personal touch to your furniture. Painting is a cost-effective solution whether you’re looking to update an old stand or bring a pop of color to your room. Before you begin, it’s essential to prepare adequately, ensuring that you have all the necessary materials and a clear plan. Following a few simple steps, you can transform your TV stand into a stunning focal point that complements your home decor.

In this guide, we will walk you through the process, offering tips and tricks to achieve a professional-looking finish.
What Will You Need?
Before you begin, ensure you have all the necessary materials and tools. Here’s a list of items that you’ll need for this project:
- Sandpaper or sander
- Primer
- Paintbrushes
- Paint rollers
- Painter’s tape
- Drop cloths or old newspapers to protect your floors
- A bucket of soapy water and a cloth for cleaning
Once you have all these materials, you can get started on transforming your TV stand.
10 Easy Steps on How to Paint a TV Stand
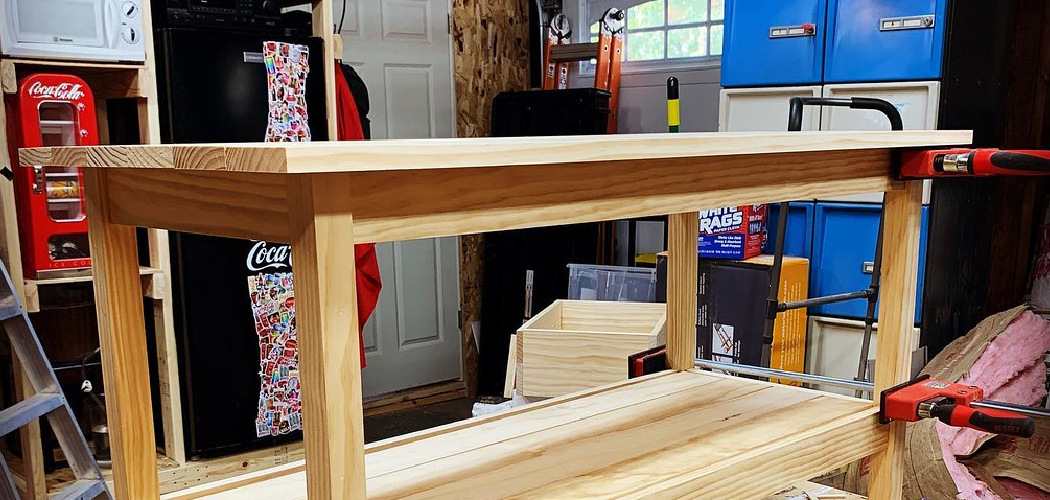
Step 1: Prepare the TV stand
The first step in painting your TV stand is properly preparing the surface. Start by removing any items from the stand and placing them in a safe area. Next, detach any removable parts, such as shelves or drawers, as this will make it easier to paint all areas evenly. Once the stand is cleared, use sandpaper or a sander to sand the entire surface lightly.
This helps create a rough surface, allowing the primer and paint to adhere better. Be thorough but careful to avoid sanding too deeply, which could damage the stand’s surface. After sanding, use a damp cloth with soapy water to clean off any dust and grime. A thorough cleaning ensures that no debris interferes with the painting process. Allow the stand to fully dry before moving on to the next step.
Step 2: Apply Primer
Once the TV stand is fully dry, the next step is to apply a coat of primer. Primer is essential because it helps the paint adhere to the surface and improves durability. Start by protecting the surrounding area with drop cloths or old newspapers to catch any drips. Use painter’s tape to cover any areas of the stand you don’t wish to paint, like hinges or glass. Using a brush or roller, apply a thin, even coat of primer to all surfaces of the TV stand.
Make sure to get into corners and any intricate details. Allow the primer to dry completely per the manufacturer’s instructions before proceeding to the painting step. Proper priming is crucial in achieving a professional and long-lasting finish.
Step 3: Choose Your Paint
With the primer applied and dried, it’s time to select the paint color and type best suited for your TV stand. This is a chance to get creative, so consider the overall decor of your room and how you want the stand to complement it. Opt for a high-quality paint with a finish that meets your needs—whether that’s matte, satin, or gloss. Each finish offers different benefits: matte provides a modern look that hides imperfections, satin offers a slight sheen with subtle luster, and gloss gives a shiny, vibrant appearance. You might also want to pick a paint designed for furniture, which can better withstand wear and tear.
Step 4: Apply the First Coat of Paint
Now that you’ve chosen your paint, it’s time to apply the first coat. Start by ensuring that your workspace is well-ventilated and all nearby surfaces are protected with drop cloths or newspapers. Stir the paint thoroughly before use to ensure consistency. Use a high-quality brush or roller to apply a light, even coat of paint over the primed surfaces of the TV stand. Be careful to avoid drips and streaks, particularly in corners and detailed areas.
Apply the paint in long, smooth strokes, and cover all areas, including any shelves or separate pieces you removed earlier. After applying the first coat, allow it to dry completely as per the manufacturer’s instructions. This initial layer sets the foundation for subsequent coats, ensuring an even and vibrant finish.
Step 5: Sand Between Coats
Once the first coat of paint is completely dry, it’s essential to sand the surface lightly once more. Using fine-grit sandpaper, gently sand the painted surfaces to remove any bumps, brush marks, or imperfections. This step ensures that the final paint coats will have a smooth and professional appearance. Make sure to wipe away any resulting dust with a clean, damp cloth. Be patient and thorough, as this additional sanding process enhances the overall quality of the finished product and sets the stage for subsequent coats.
Step 6: Apply the Second Coat of Paint
With the surface smooth and clean, you’re ready to apply the second coat of paint. Like the first coat, ensure that your paint is well-stirred and your workspace is protected. Apply the second coat using a brush or roller, following the same methodical process of long, even strokes to cover the entire surface of the TV stand. This layer should build upon the color and coverage achieved in the first coat, enhancing the depth and richness of the finish.

Allow this coat to dry completely, per the manufacturer’s instructions for specific drying times. Depending on your desired finish, a third coat may be applied following the same procedure, ensuring ultimate coverage and consistency.
Step 7: Inspect and Touch Up
After the second coat of paint has thoroughly dried, closely inspect the TV stand for any areas requiring touch-ups. Look for uneven patches, missed spots, or any imperfections that might have been overlooked. Use a fine brush to make adjustments, blending the paint carefully to ensure a seamless finish. Touch-ups are essential to achieving a polished, professional look. Allow these adjustments to dry completely before proceeding to the final stages.
Step 8: Apply a Protective Sealant
With the painting complete and touch-ups finished, it’s essential to apply a protective sealant to extend the life of your work. Sealants such as polyurethane or wax can provide a clear layer of protection against scratches, stains, and UV damage. Choose a sealant that matches your desired finish, whether that is matte, satin, or gloss. Apply a thin, even coat using a clean brush, following the grain of the wood to minimize streaks.
Allow the sealant to dry thoroughly, which may take several hours or overnight, depending on the product used and environmental conditions. This final step not only enhances the durability of the paint but also adds a polished sheen to the TV stand, ensuring it remains beautiful and resilient over time.
Step 9: Reassemble and Enjoy
Once the sealant is fully cured and the TV stand is completely dry, it’s time to reassemble any parts that were removed earlier. Carefully reattach any shelves, doors, or hardware, ensuring everything is secure and properly aligned. With everything in place, clean the surrounding area and remove any protective coverings, such as drop cloths or tape.
Your newly painted TV stand is now ready to enhance your living space. Arrange your electronics and decorative items on or around the stand as desired. Stand back and admire your handiwork—a personalized and refreshed piece of furniture that complements your room beautifully. Enjoy the transformation and the satisfaction of a job well done!
Step 10: Maintain Your Painted TV Stand
To ensure the longevity and beauty of your newly painted TV stand, it’s crucial to adopt regular maintenance practices. Begin by dusting the stand weekly with a soft, lint-free cloth to keep the surface clean and free from allergens or debris. Avoid using harsh chemicals or abrasive cleaners, which can damage the paint and sealant. Instead, opt for gentle, furniture-safe cleaning solutions if necessary. Additionally, periodically check the stand for any signs of wear or damage, mainly if it’s in a high-traffic area. To maintain a pristine appearance, address minor scratches or chips promptly with touch-up paint.
By following these steps and taking the time to paint and maintain your TV stand properly, you can transform an ordinary piece of furniture into a personalized statement that adds value and style to your living space.
Conclusion
How to paint a tv stand is a rewarding DIY project that allows you to refresh and personalize your furniture with your style.
By following the comprehensive steps provided, from preparation to final touches, you ensure the process is practical and efficient. Taking the time to carefully sand, prime, paint, and seal your TV stand enhances its aesthetic appeal and extends its durability. Regular maintenance afterward preserves your hard work and keeps the furniture looking new. Whether achieving a sleek modern look or a rustic vintage feel, a well-painted TV stand can become a striking centerpiece in your living room.
Enjoy the results of your creative endeavor and take pride in transforming a simple piece into something that reflects your taste.