Are you tired of your TV being too short for your liking? Do you find yourself constantly hunching over to watch your favorite shows? If so, it may be time to adjust and raise your TV stand to a more comfortable height.
When your TV stand isn’t quite at the ideal height for comfortable viewing, there are several creative solutions to raise it. Whether it’s for improved ergonomics or to better align with your room’s aesthetic, making your TV stand taller can significantly enhance your viewing experience.
This guide will walk you through various methods on how to make tv stand taller, from simple DIY options to more involved projects, ensuring that you choose a solution that fits both your budget and style preferences. Let’s get started!
What Will You Need?
Before you begin raising your TV stand, make sure you have the necessary tools and materials on hand. The exact items needed may vary depending on the method you choose, but here are a few general essentials that will come in handy:
- Measuring tape
- Saw or power drill
- Screws and bolts
- Wood or metal blocks
- Furniture risers
Once you have these basic tools, you can start exploring the different ways to make your TV stand taller.
10 Easy Steps on How to Make TV Stand Taller
Step 1: Measure Your Current Setup
Before making any modifications, measuring your existing TV setup accurately is crucial. Start by noting the height of your current TV stand from the floor to the base of the TV. This will serve as your baseline measurement. Additionally, consider measuring the overall height of the stand and the TV combined to understand how much height you need to add for comfortable viewing.
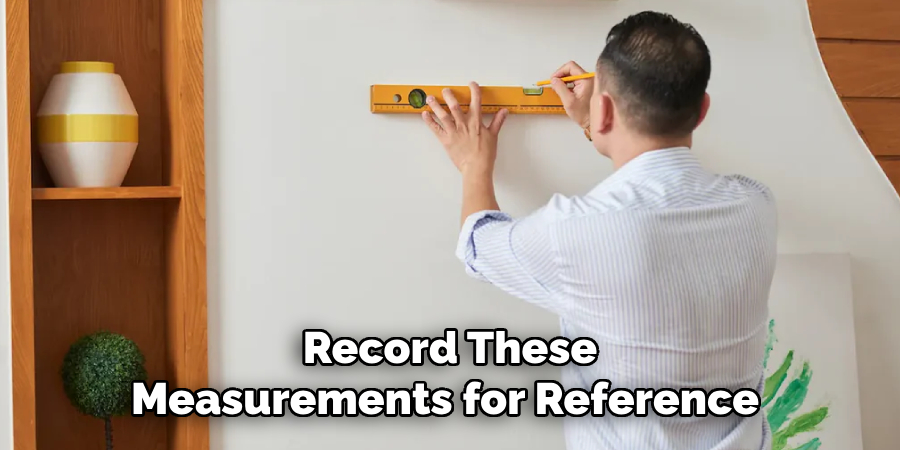
Use a measuring tape to get precise figures, and record these measurements for reference as you proceed. Understanding your current setup will help you determine the height adjustment necessary and assist in selecting the best method to raise your TV stand.
Step 2: Choose the Right Method
Once you have your measurements, the next step is deciding which method to use to raise your TV stand. There are a variety of options depending on your needs and resources. Some popular methods include using furniture risers, adding wood or metal blocks beneath the stand, or building a custom platform. Consider the style and materials matching your room’s decor and the lift you need. Be sure to think about the stability and security of your TV stand post-adjustment to prevent it from tipping over. Choose a method that provides the required elevation while ensuring your TV stays safe and steady.
Step 3: Gather Your Materials
After deciding on the method for raising your TV stand, it’s time to gather the necessary materials. Based on your chosen approach, ensure you have all the components ready. For furniture risers, check that you have risers that fit your stand’s base dimensions. If you’re adding wood or metal blocks, ensure you have the right size and type of blocks, along with screws or adhesive for secure attachment.
For a custom platform, prepare the required wood, screws, and tools to construct a sturdy base. Having all materials ready will streamline the process, making it easier to focus on building or installing the height adjustment with precision and care.
Step 4: Prepare the Workspace
Before you begin raising your TV stand, it’s essential to prepare your workspace to ensure efficiency and safety. Start by clearing the area around your TV stand, removing any obstacles that might hinder movement or pose a risk during the adjustment process. Lay down a protective covering, such as a blanket or piece of cardboard, on the floor to prevent damage to your flooring and the TV stand during the modification.
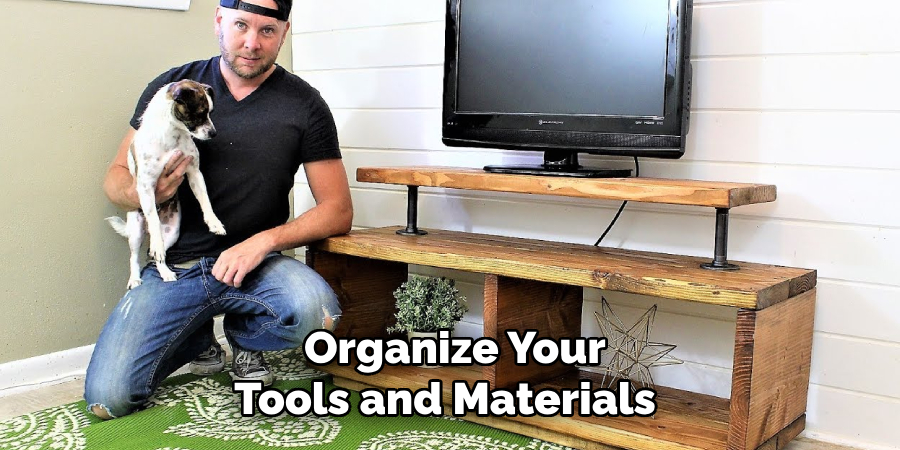
Additionally, organize your tools and materials within easy reach, ensuring you have good lighting to see clearly while working. Creating a tidy and safe workspace will allow you to focus on the task without unnecessary interruptions and help prevent accidents or mistakes.
Step 5: Detach the TV from the Stand
Once your workspace is ready, the next step is to detach the TV from the stand carefully. Start by unplugging all cables and connections, such as HDMI and power cords, from the back of the TV to prevent any unwanted tangling or damage. Next, with the help of another person, if needed, gently lift the TV off its stand, ensuring you support its weight and avoid damaging the screen.
Place the TV on a soft, stable surface, like a table or bed, in a location separate from your workspace. This precaution will protect the TV while giving you clear access to the stand for modification. Make a note of any specific connection ports or arrangements to ensure easy reinstallation after the stand has been adjusted to the desired height.
Step 6: Adjust the Height
With the TV safely set aside, you can now adjust the height of the TV stand using the method you’ve selected. Position furniture risers under each leg of the stand, ensuring they are stable and evenly placed. For wood or metal blocks, use screws or adhesive to attach the blocks to the bottom of the stand securely. If you construct a custom platform, carefully place it in position, ensuring its level and stability. As you make these adjustments, frequently check the alignment and sturdiness of the stand and verify the new height with your initial measurements.
Step 7: Secure the Adjustments
After adjusting the height of the TV stand, it’s crucial to ensure that all modifications are securely in place. Double-check that furniture risers, blocks, or platforms are stable and that there is no wobbling or imbalance. If you use screws or adhesive, ensure their tightness and bonding are intact. It’s essential to confirm that each part of the stand is stably anchored to prevent any accidental shifting or toppling, as this will protect both your TV and the surrounding area. Take the time to inspect the entire setup for any signs of instability and make any necessary adjustments to ensure it is firmly and safely assembled.
Step 8: Reattach the TV to the Stand
With the stand’s height safely secured, it’s time to reattach the TV. Carefully lift the TV back onto the stand, ensuring it aligns appropriately with brackets or supports. If necessary, involve a second person to assist so the TV is mounted safely and evenly. Once in place, reconnect all the cables and connections, such as HDMI, power cords, and any additional devices, ensuring that no cords are strained or susceptible to damage. Double-check the stability of the TV on the newly adjusted stand and confirm that it sits securely. Finally, all the connections are tested by powering on the TV and ensuring everything operates correctly.
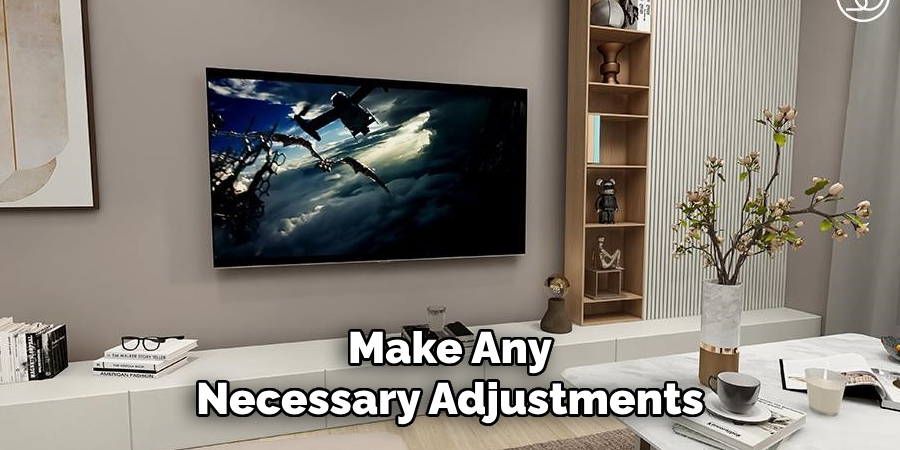
Step 9: Final Inspection and Adjustments
With your TV securely mounted and everything in place, it’s time for a final inspection to ensure everything works as it should. Begin by observing the TV from different angles in the room to confirm that it is leveled and centered for optimal viewing. Check that all cables are correctly connected and not under tension, which could potentially lead to premature wear or damage.
Test each connected device, such as speakers, gaming consoles, or streaming devices, to ensure they function correctly. This step allows you to make minor adjustments for both aesthetic and practical purposes, providing a neat presentation without any visible cables dangling. Finally, sit back and enjoy your perfectly adjusted setup, knowing that you have enhanced your viewing experience while ensuring safety and stability.
Step 10: Tidy Up the Workspace
After successfully adjusting your TV stand and completing all necessary inspections, it’s important to tidy up your workspace. Begin by collecting any leftover materials, such as screws, risers, or adhesive, and organizing them in a toolbox or storage area for future projects. Remove any protective coverings from the floor, ensuring the area is clear of debris to prevent trips or falls. Appropriate disposal of trash, such as packaging materials or old components. Finally, all tools should be returned to their storage locations, cleaned, and in good condition for subsequent use. By cleaning up the workspace, you close the project positively and ensure that your living space remains orderly and safe.

By following these steps, you can successfully adjust the height of your TV stand and create a more comfortable and enjoyable viewing experience.
Conclusion
How to make TV stand taller can significantly enhance your viewing experience by bringing the screen to your ideal eye level, reducing strain, and improving enjoyment.
Following the steps outlined above ensures that each adjustment is performed safely and effectively, from preparing your workspace to final inspections. Whether you choose to use furniture risers, blocks, or a custom platform, it’s crucial to emphasize security and stability at every step to prevent accidents.
Additionally, organizing your tools and cleaning up after a project contributes to a safe and efficient workspace. With careful planning and execution, you’ll achieve a customized setup tailored to your needs, providing aesthetic appeal and practicality.