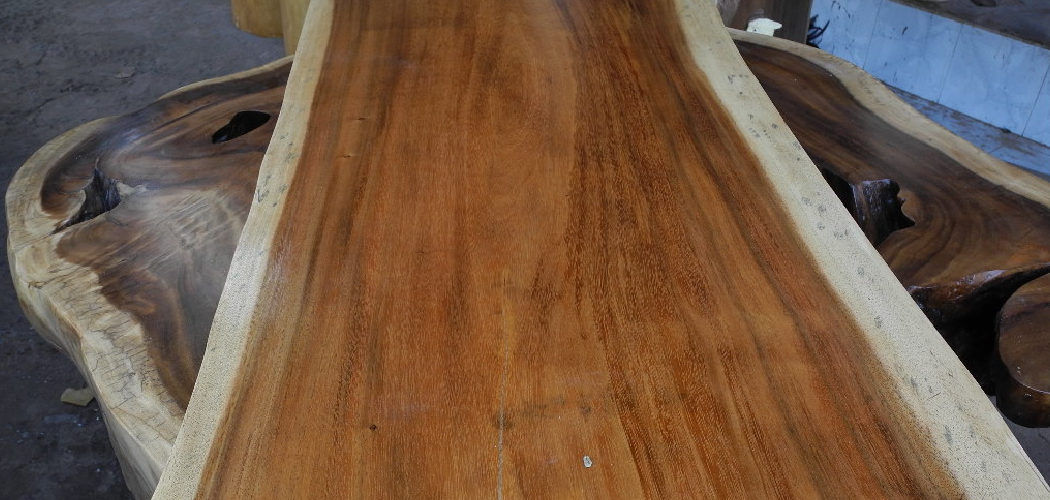
Are you in love with your veneer table, but has it started to lose its luster? Restoring a veneer table is easier than you think.
How to restore veneer table is a rewarding project that can breathe new life into a beloved piece of furniture. Veneer tables, known for their decorative wood surfaces, can suffer from wear and tear over time. Scratches, peeling veneer, or faded finishes are common concerns for these tables. However, with the proper techniques and materials, restoring a veneer table to its former glory is possible.
This guide provides step-by-step instructions on assessing damage, preparing the surface, choosing the right repair products, and applying finishes to achieve a smooth, polished look. Whether you’re a DIY enthusiast or a novice, this restoration process will help preserve the beauty and functionality of your table for years.
What Will You Need?
Before you begin the restoration process, gather all necessary materials. You can find most of them at your local hardware store or online. Here’s a checklist to get you started:
- Sandpaper (various grits)
- Wood filler
- Putty knife
- Mineral spirits
- Cloth or sponge
- Polyurethane finish
- Paintbrush or foam brush
- Protective gear (goggles, gloves, mask)
Once you have everything on hand, you’re ready to begin the restoration process.
10 Easy Steps on How to Restore Veneer Table
Step 1: Assess the Damage
Begin by carefully examining your veneer table for any signs of damage or wear. Look for scratches, peeling veneer, or any areas where the surface finish has faded. This step is crucial as it helps determine the specific repairs and treatments your table will need. Make notes of any severe damage that requires special attention. Understanding the extent of the damage will guide the subsequent steps in the restoration process and ensure you achieve the best possible results.

Step 2: Clean the Surface
Before you start any repair work, thoroughly clean the surface of your veneer table. Use a cloth or sponge dampened with mineral spirits to gently wipe away any dirt, dust, or grease that may have accumulated over time. Avoid soaking the veneer with liquid and instead opt for a light touch to prevent any water damage. This cleaning step ensures that the surface is free of residues that could hinder the adhesion of repair products and finishes, setting a solid foundation for the restoration process.
Step 3: Sand the Veneer
Once the table is clean, the next step is to prepare the surface for repair by sanding it thoroughly. Start with a medium-grit sandpaper, such as 120-grit, to gently sand the tabletop. This process will help remove any existing finish and smooth out minor scratches, making the surface more receptive to new finishes. Be sure to sand along the grain of the wood to avoid any additional scratches or damage.
If you encounter areas with significant damage or roughness, you may need to use a heavier grit initially, followed by a finer grit for a smooth finish. For the final touch, use 220-grit sandpaper to ensure the surface is perfectly soft and ready for refinishing. Always wear protective gear such as goggles and a mask to safeguard against dust inhalation and debris during sanding. Remember, taking the time to sand correctly will ensure a more even and professional-looking restoration.
Step 4: Repair Any Damage
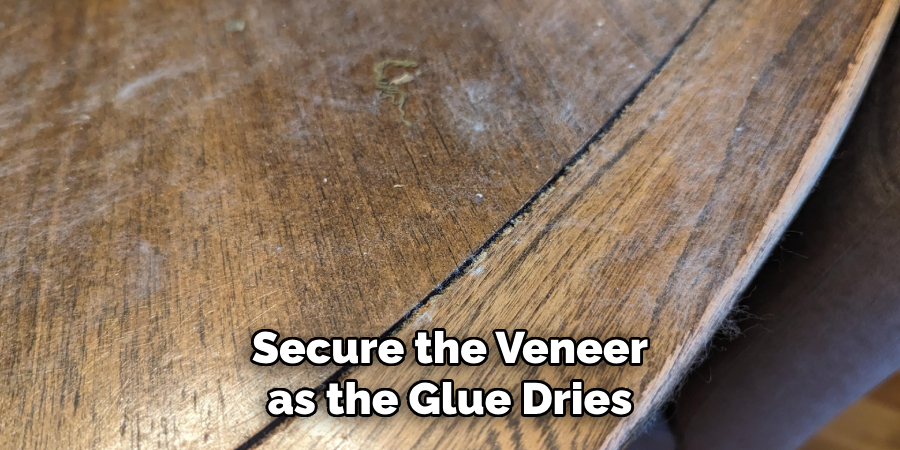
After sanding, it’s time to address any damage to the veneer. Examine the table for cracks, chips, or peeling sections that require attention. Use wood filler to repair minor scratches and gouges. Apply the filler with a putty knife, ensuring it is level with the table surface. For areas where the veneer is peeling, carefully apply wood glue beneath the lifted section and press it firmly into place until it adheres. Use clamps if necessary to secure the veneer as the glue dries.
Once all repairs are made, allow the wood filler and glue to cure according to the product instructions before moving to the next step. This crucial stage ensures that your table’s surface is solid and ready for refinishing.
Step 5: Apply the First Finish Coat
With the table surface repaired and ready, the next step is to apply the first finish coat. A polyurethane finish is recommended for its durability and ability to enhance the natural beauty of the wood veneer. Begin by stirring the polyurethane slowly to avoid introducing bubbles into the liquid. Using a clean paintbrush or foam brush, apply the finish in long, even strokes, following the wood grain to ensure a smooth application. Avoid applying too much finish at once, which can lead to drips and uneven surfaces. Allow the first coat to dry thoroughly, following the manufacturer’s drying time recommendations. Depending on the type and brand of polyurethane, drying can take several hours.
Once the first coat is dry, inspect the surface for imperfections or roughness. If necessary, lightly sand the surface with 220-grit sandpaper to smooth out any bumps or bubbles that may have formed during the initial application. This sanding should be gentle to prevent removing too much of the newly applied finish. Wipe away dust with a clean, dry cloth before proceeding with subsequent coats. Applying multiple thin coats rather than a single thick one will create a more even and durable finish.
Step 6: Apply Additional Coats
After the first coat has dried and the surface is prepared, additional coats of polyurethane are applied to achieve a more robust and aesthetically pleasing finish. Typically, two to three coats are recommended for optimal protection and sheen. Each coat should be applied in the same manner as the first, using long, even strokes and following the grain of the wood.
Allow each coat to dry thoroughly and lightly sand the surface with 220-grit sandpaper between coats to ensure smoothness. Be meticulous in removing any dust resulting from sanding before applying each new coat. As you build up the layers, the finish will become more resilient to scratches and stains, ultimately preserving the table’s beauty and durability.
Step 7: Buff and Polish the Surface
Once all the coats have dried and the finish is satisfied, the next step is to buff and polish the surface to enhance its shine and smoothness. Start using a soft, clean cloth or a buffing pad to gently rub the surface in a circular motion. This will help to remove any last traces of dust and achieve a uniform sheen. Apply a high-quality furniture polish or paste wax for an extra layer of protection and gloss.
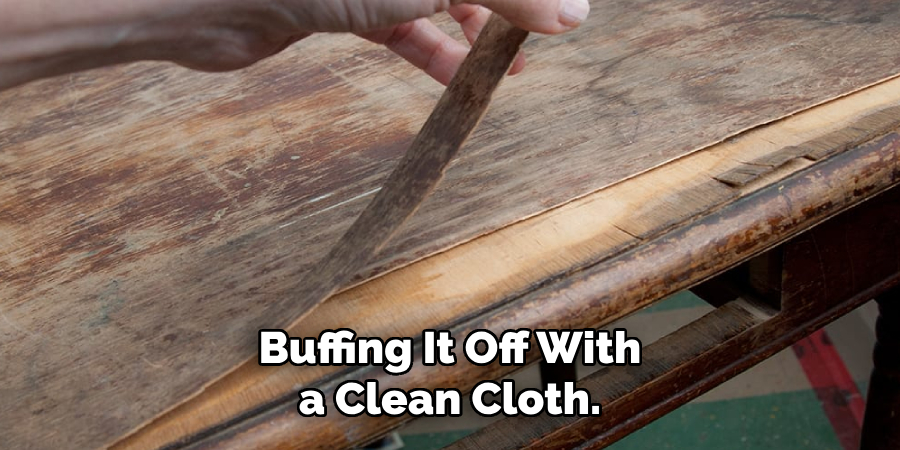
Follow the product instructions for application, typically allowing the polish to sit briefly before buffing it off with a clean cloth. This step enhances the finish and helps protect the veneer from everyday wear and tear, contributing to a long-lasting and beautiful restored table.
Step 8: Final Inspection and Maintenance Tips
After completing the refinishing process, conduct a thorough final inspection to ensure every part of the veneer table meets your expectations. Look for any missed spots, uneven areas, or dust particles trapped in the finish, and address them as necessary by lightly sanding and reapplying polish or finish if needed. Once satisfied, it’s essential to maintain your newly restored table properly. Place it away from direct sunlight and heat sources to prevent the veneer from warping or fading. Also, use coasters and placemats to protect the surface from scratches and spills.
Step 9: Caring for Your Veneer Table Long-Term
Proper care and maintenance will extend the life of your newly refinished veneer table and keep it looking as beautiful as the day you restored it. Develop a regular cleaning routine using a soft cloth to prevent dust buildup. Avoid harsh chemicals and abrasive cleaners, as they can damage the finish and veneer. Instead, opt for a gentle, wood-safe cleaner as needed. If spills occur, wipe them up immediately to prevent moisture damage. In addition, consider applying furniture oil a few times a year to replenish the wood’s natural oils, helping to maintain its vitality.
Step 10: Enjoy Your Restored Table
Now that your veneer table has been fully refinished and is in pristine condition, it’s time to enjoy the fruits of your labor. Admire your table’s renewed beauty and functionality, knowing that your careful attention and hard work have transformed it into a stunning centerpiece for your home. Invite friends and family to gather around it for meals, celebrations, or intimate conversations. With proper care, your table will continue to enhance your living space for many years, serving as a testament to the skill and dedication you put into its restoration.
By following these step-by-step instructions and maintaining your table, you can successfully refinish a veneer table and bring new life to an old piece of furniture.
Conclusion
How to restore veneer table is a rewarding process that not only revitalizes the furniture but also provides a sense of accomplishment.
By carefully following each step, from preparation to applying the final finish, you ensure the table is beautiful and durable. Paying attention to detail and using quality materials throughout the restoration contributes to a professional-looking result. Furthermore, adopting a consistent care routine post-restoration will prolong the life of your table, maintaining its elegance and craftsmanship for the future.
Whether you’re a DIY enthusiast or new to furniture refinishing, restoring a veneer table can transform an old piece into a cherished addition to your home.