Are you tired of your walls looking dull and lifeless? Are you ready for a change but don’t want to spend a fortune on renovation?
How to repaint textured walls can seem like a daunting task due to their uneven surfaces, which present unique challenges compared to flat walls. However, with the right tools and techniques, you can achieve a professional-looking finish that breathes new life into any room. This guide will walk you through the essential steps and considerations in repainting textured walls, from preparing the surface to choosing the appropriate paint and tools.
Whether you’re looking to refresh an outdated color or experiment with a bold new hue, understanding how to tackle textured walls will ensure a smooth and successful painting project.
What Will You Need?
Before you begin, ensure you have all the necessary tools and materials. Here’s a list of what you’ll need:
- Paint (latex or acrylic)
- Primer (if needed)
- Paint roller with thick nap (for textured surfaces)
- Paintbrushes (angled for cutting in corners)
- Drop cloths or plastic sheeting
- Painter’s tape
- Sandpaper or sanding block
- Tack cloth or damp cloth
- Protective gear (gloves, goggles, mask)
Once you have everything gathered, it’s time to get started!
10 Easy Steps on How to Repaint Textured Walls
Step 1: Prepare the Room
Preparing the room is an essential step to ensure a neat painting process. Begin by clearing out furniture to provide enough working space and avoid any accidental paint splashes. If moving furniture out of the room isn’t possible, cover them with plastic sheeting or drop cloths. Next, remove any wall decorations, such as pictures, nails, and outlet covers, to give you a clean and unobstructed surface to work on.
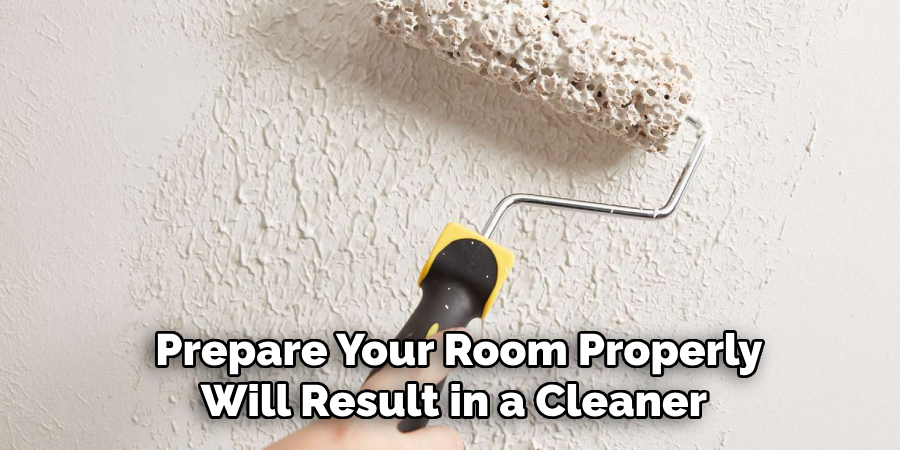
Be sure to protect the floors with drop cloths as well, securing them with painter’s tape to prevent slipping. Finally, use painter’s tape to mask off areas you don’t want to paint, such as baseboards, window frames, and door edges. Taking the time to prepare your room properly will result in a cleaner, more professional finish once your painting project is complete.
Step 2: Clean the Walls
Textured walls tend to accumulate dust and grime over time, making it crucial to clean them thoroughly before painting. Begin using a tack or damp cloth to remove any surface dust and dirt. For more stubborn stains or greasy areas, use a mild soap solution, ensuring not to saturate the walls with too much water. After cleaning, allow the walls to dry completely. Properly cleaned walls make the paint adhere better and enhance the final appearance, leading to a smooth and even finish.
Step 3: Sand the Surface
Although textured walls inherently have an uneven surface, it’s still essential to lightly sand any rough or bumpy spots to achieve a more uniform appearance. Use sandpaper or a sanding block to smooth out these areas carefully. Pay attention to any peeling paint or sharp surfaces that could affect the paint’s adhesion. Be sure to wear protective gear such as a mask and goggles while sanding to avoid inhaling dust particles. After sanding, use a tack cloth or damp cloth to wipe down the walls, removing any leftover dust or debris.
Step 4: Apply Primer
Applying a primer to your textured walls is a crucial step that should be noticed, especially if you’re making a significant color change or if the walls have been previously painted with a glossy finish. A primer acts as a base coat, helping the paint adhere better to the walls and ensuring the final color appears vibrant and uniform. Choose a primer suitable for textured surfaces and apply it using a paint roller with a thick nap. Use an angled brush to cut in around edges and corners. Allow the primer to dry completely before proceeding to the next step.
Step 5: Choose the Right Paint Type and Color
When repainting textured walls, selecting the right type of paint is essential to achieving an even and durable finish. Typically, latex or acrylic paints are recommended for their flexibility and ease of cleaning, which are especially beneficial for textured surfaces. Additionally, consider using a satin or eggshell finish as these finishes can help mask any minor imperfections on the walls while providing a subtle sheen that enhances the texture.
When choosing a color, opt for shades that complement the existing decor or experiment with bolder colors to create a striking focal point. Test a small area first to see how the color looks on your textured surface once dried, ensuring it meets your expectations before painting the entire wall.
Step 6: Start Painting the First Coat
Once you have chosen the right paint, it’s time to begin the exciting part of the project—applying the first coat. Equip yourself with a paint roller designed for textured surfaces, ensuring the nap is thick enough to cover all the irregularities effectively. Start from the top of the wall and work your way down, applying consistent and even pressure to distribute the paint uniformly.
Use an angled brush to handle corners, edges, and spaces around trim and outlets where the roller may not reach. Make sure to paint in smaller sections to prevent visible lap lines and maintain a wet edge. Allow this first coat to dry completely as the paint manufacturer recommends, before evaluating the coverage and deciding if a second coat is necessary.
Step 7: Apply the Second Coat
After the first coat of paint has dried completely and you have assessed the coverage, it’s time to apply a second coat to ensure an even, vibrant finish. This step is essential for any visible thin spots or color inconsistencies. Like with the first coat, use a paint roller with a thick nap to effectively cover the textured surfaces, working from the top of the wall downward.
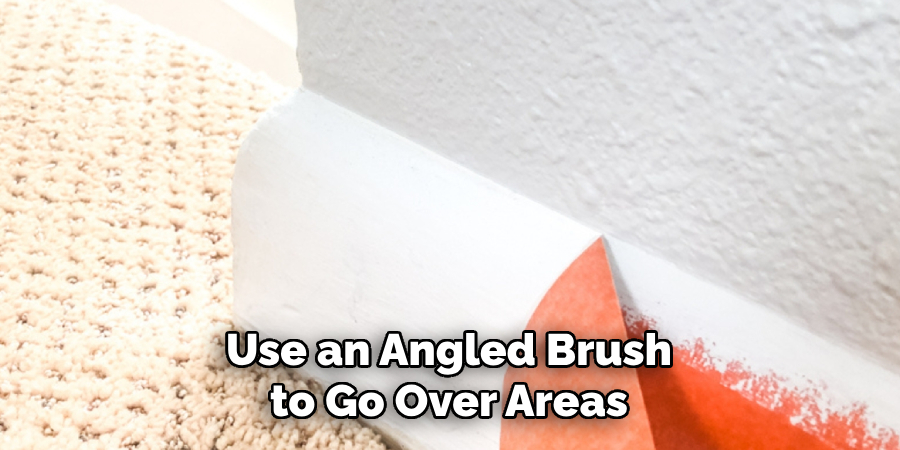
Be consistent with your pressure and roller strokes to avoid streaks or uneven areas. Use an angled brush to go over areas the roller can’t reach, such as corners, edges, and spaces around fixtures. Pay attention to maintaining a wet edge as you work, and allow the second coat to dry thoroughly according to the manufacturer’s instructions.
Step 8: Inspect and Touch Up
Once the second coat has dried completely, thoroughly inspect the painted walls. Check for any missed spots, uneven patches, or drips that may have occurred during the previous steps. Use a small brush to touch up these areas, ensuring you blend the paint edges smoothly with the surrounding surface. It’s essential to perform this step under adequate lighting to catch any imperfections that might be less visible in dimmer conditions.
Be patient and meticulous in addressing these details to achieve a flawless finish. Once satisfied with the result, allow the touch-up areas to dry completely before moving on to additional steps, such as cleanup or replacing any hardware or decorations. Taking the time to inspect and make final adjustments will ensure your painting project’s longevity and aesthetic quality.
Step 9: Clean Up
After completing the painting and touch-up phase, cleaning up your workspace and tools is essential. Start by carefully removing any painter’s tape from the walls and trim while the paint is still slightly tacky to avoid peeling. Next, clean your brushes and rollers thoroughly with warm water and mild soap if you’ve used latex paint or the appropriate cleaning solution if oil-based paint is applied. This will ensure your tools remain in good condition for future projects.
Dispose of any used paint cans and materials according to local regulations, and ensure the room is well-ventilated to allow any remaining fumes to dissipate. Finally, rearrange furniture and replace decor or hardware in the room only after the walls are completely dry.
Step 10: Enjoy Your Newly Painted Space
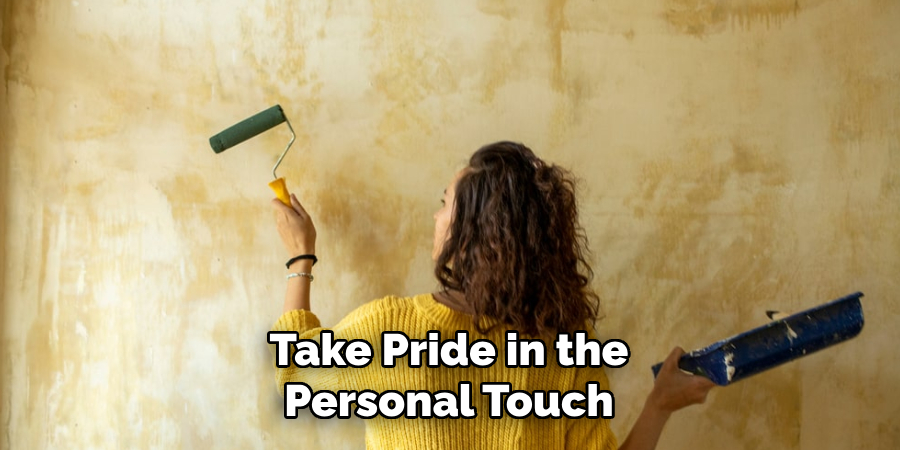
Once everything is back in order and the paint is thoroughly dry, it’s time to enjoy your newly painted textured walls. Take a moment to appreciate the fresh, updated look and the effort you invested in reaching this result. Whether you chose a bold statement color or a soothing neutral tone, the newly painted walls will indeed transform your space’s ambiance. Consider adding complementary decor or lighting to enhance the room’s appeal further. Invite friends and family over to admire your handiwork and take pride in the personal touch and care you put into your home improvement project.
By following these steps, you can confidently tackle repainting your textured walls and achieve a professional-looking finish that will enhance the overall aesthetic of your space.
Conclusion
How to repaint textured walls can seem daunting, but with the right preparation and process, it becomes a manageable task that brings new life to any room.
You can achieve a high-quality finish that stands the test of time by carefully choosing your supplies and applying each step meticulously—from the initial preparation and priming to the painting and touch-up phases. Whether you aim to update your space with modern colors or restore the vitality of your existing decor, the methods outlined ensure that your textured walls retain their charm without compromising style or quality.
Remember, patience and attention to detail are your allies throughout this project. As you enjoy the refreshed atmosphere your efforts have created, take pride in your ability to transform your living space with skill and creativity.