Decorative books have become an increasingly popular craze for enhancing home aesthetics without straining your budget. They effortlessly add a touch of sophistication and charm to any space, whether stacked neatly on a coffee table, artfully arranged on bookshelves, or used as elegant focal points on mantels. These versatile decor elements enhance the ambiance of a room while allowing homeowners to express their personal style.

This guide on how to make decor books will walk you through a variety of do-it-yourself techniques that are both simple and inspiring. We’ll discuss the essential materials you’ll need, from covers to embellishments, and explore different design ideas to personalize your decor books, such as painting, stenciling, and wrapping. Whether you seek a modern minimalist vibe or a vintage-inspired look, this guide covers you in crafting decor books that perfectly harmonize with your home’s interior style.
Materials and Tools Needed
Materials:
To create your own decor books, you’ll need a few key materials that transform ordinary books into unique decorative pieces. Start with old hardcover or paperback books—these can be sourced from your own collection or found at thrift stores. Look for books that are no longer needed for reading, as you’ll be repurposing them purely for aesthetic pursuits. For cover decoration, consider wrapping paper, craft paper, or fabric; each option provides a different texture and style to match your decor theme.
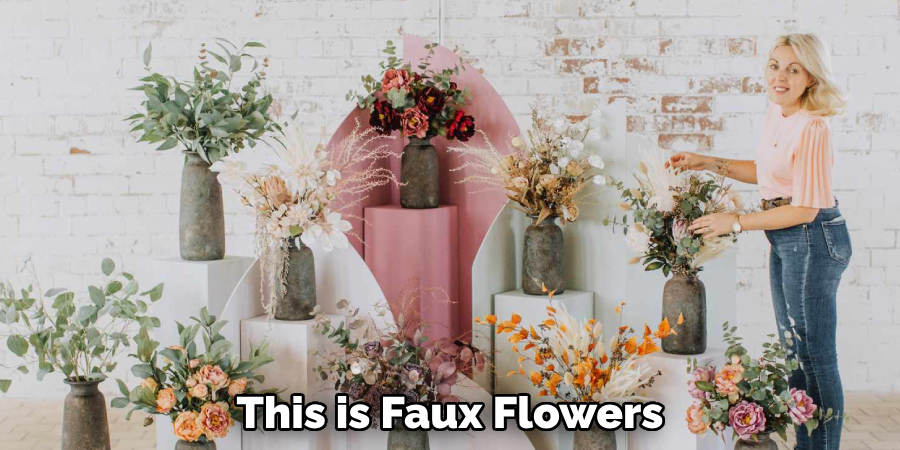
If you prefer a painted finish, select chalk paint or acrylic paint for a smooth, vibrant color application. To further embellish your decor books, gather stickers, stencils, and decorative labels, which can add intricate designs, motifs, or custom text to the covers. Explore additional embellishments like ribbon, twine, faux flowers, or dried leaves for that extra touch of creativity.
Tools:
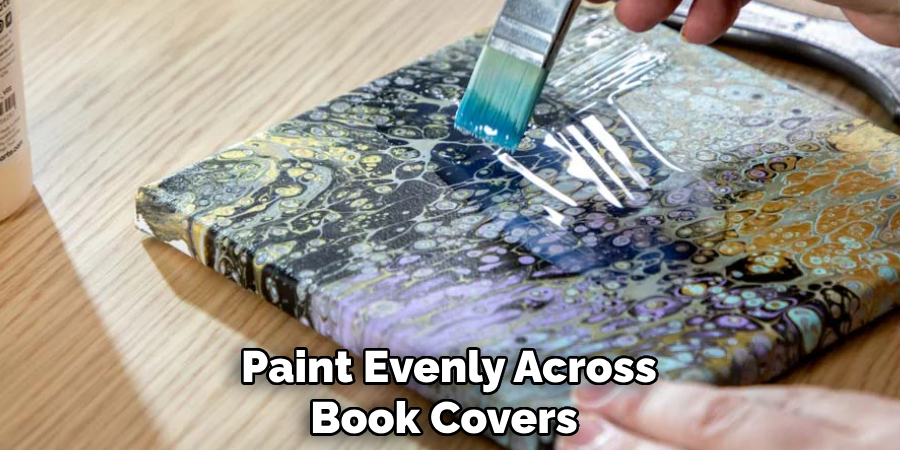
Equipping yourself with the right tools is essential for crafting your decor books. Have a pair of scissors and a craft knife handy for precise cutting and trimming of materials. Use glue that suits your chosen materials for effectively assembling and securing each layer. Paintbrushes or foam rollers will be necessary to apply the paint evenly across book covers to achieve your desired finish. Lastly, a ruler and pencil will come in handy for accurate measuring and marking, ensuring a professional-looking result tailored perfectly to fit each book. With these materials and tools, you’re ready to confidently embark on your decor book project.
Choosing the Right Books for Decoration
Step 1: Selecting Books by Size and Shape
When creating decor books, choosing books of varying sizes and thicknesses is crucial for adding visual interest to your arrangements. Books of differing dimensions stacked together create a dynamic contrast that draws the eye and enhances the decorative appeal. Consider selecting a mix of large, medium, and small books to form layered stacks or base and top combinations for a cohesive look. Additionally, ensure that the books you choose have sturdy covers, as they provide durability and stability when crafting. Sturdy covers also facilitate painting and embellishment, allowing for a professional finish that holds up over time.
Step 2: Choosing Books You Won’t Need for Reading
To ensure you’re not repurposing valuable reads, focus on using books that are outdated or damaged. These can still serve a purpose by becoming an aesthetic element in your home decor instead of contributing to waste. Consider secondhand books from thrift stores as they are often inexpensive and offer diverse options perfect for decorative projects. By selecting books destined for creative transformation, you contribute to a sustainable approach while beautifying your space with charming decor books.
How to Make Decor Books: Painting and Covering Books
Step 1: Preparing the Book for Painting or Covering
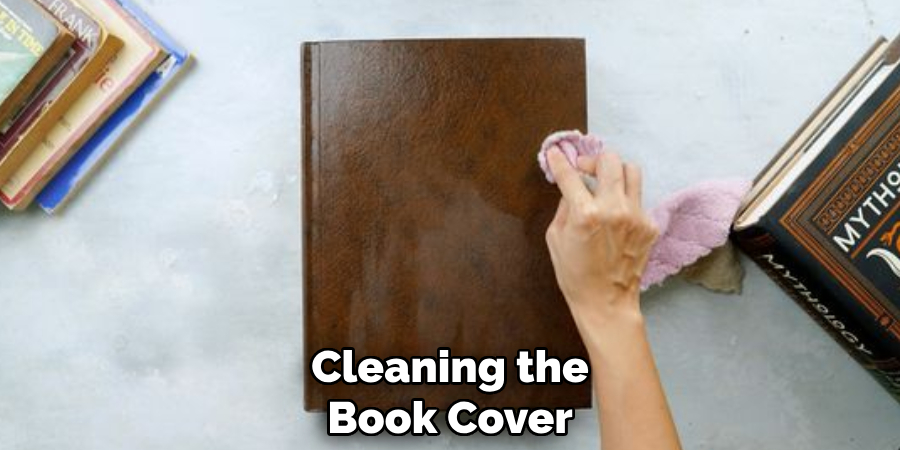
Before you begin transforming your books into decor pieces, preparing the surfaces properly is essential. Start by cleaning the book cover with a dry cloth to remove any dust and debris. This ensures a smooth application of paint or covers and helps the materials adhere better.
Next, use painter’s tape or masking tape to carefully tape off any areas that should remain untouched, such as spine labels or any decorative features you wish to preserve. This step will give your final product a clean, polished look while ensuring that paint or adhesive does not mar specific regions of your book.
Step 2: Painting the Book Cover
When painting your book covers, choose chalk paint or acrylic paint, depending on your preferred finish. Stir the paint well, then apply it evenly using a brush or foam roller. Start with a light, even coat, allowing it to dry fully before applying additional layers. Multiple coats may be necessary for full coverage, especially for darker book covers. Lightly sand the surface between coats with fine-grit sandpaper for a smooth, professional finish. Experiment with various painting techniques to add character to your decor books. For a vintage look, consider distressing the edges using sandpaper after painting. Alternatively, use metallic paints to give your books a contemporary feel, adding subtle shimmer and sophistication.
Step 3: Covering the Book with Paper or Fabric
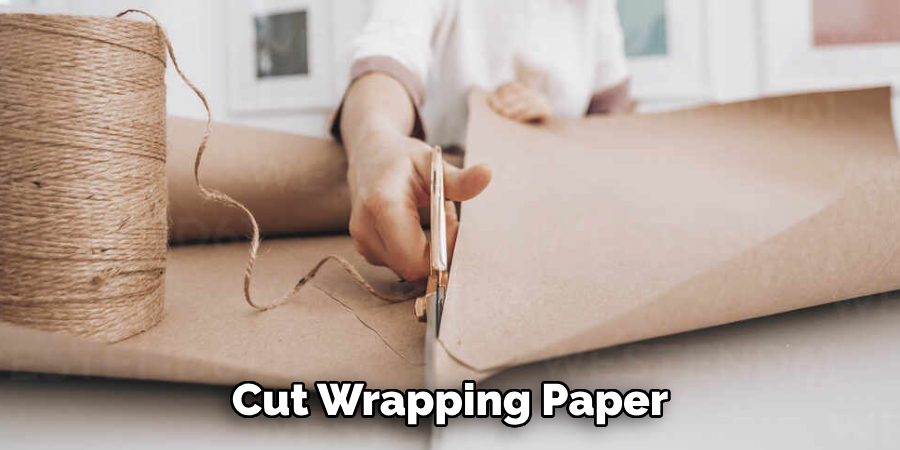
To cover your books with paper or fabric, start by measuring the book’s dimensions, including its width, height, and spine. Add an extra inch to these measurements on all sides to ensure the cover wraps around seamlessly. Cut your wrapping paper, craft paper, or fabric accordingly. Place the book at the center of your cut material and begin folding the edges over the book. Use a reliable adhesive, such as glue or double-sided tape, to secure the material in place.
Ensure you smooth out wrinkles or air bubbles as you go for a pristine appearance. Using decorative paper can give your decor books a refined and stylish finish while opting for textured fabric can introduce depth and tactile contrast. If you’re using patterned materials, align the pattern consistently across your stack for cohesiveness. By following these steps, you’ll craft decor books that add charm and elegance to any space they inhabit.
How to Make Decor Books: Adding Decorative Details
Step 1: Using Stencils and Stickers
Adding stenciled patterns, quotes, or designs to your decor books can significantly enhance their aesthetic appeal. Begin by selecting a stencil with a pattern or phrase that complements your theme. Place the stencil on the book cover, holding it firmly in place with painter’s tape. Use a stencil brush or sponge to apply paint or markers over the stencil, ensuring even coverage. Once done, carefully lift the stencil to reveal the design. For an even more personalized touch, apply decorative stickers or decals. Be sure to choose stickers that add to the book’s theme or color scheme. Place them aesthetically across the book cover, smoothing out any bubbles for a flawless finish.
Step 2: Labeling the Spine with Titles or Words
Labeling the spine with faux book titles or meaningful words can create a cohesive look. Use letter stickers or choose stencils with letters to form your desired words or phrases. If you prefer hand lettering, lightly sketch your plan with a pencil before painting or marking it with a fine-tipped pen. Consider aligning titles or words like “home,” “love,” or “family” to form a related collection. This method adds an artistic touch and allows you to create a thematic statement across several decor books, making them both unique decor elements and conversation pieces.
Step 3: Tying the Books with Ribbon or Twine
For a cohesive and styled look, tie your decor books together using ribbon, twine, or decorative string. Stack several books, ensuring they are aligned neatly. Wrap the ribbon or twine tightly around the stack, knotting it securely for stability. Choose a ribbon color that complements your overall color scheme or adds a pop of contrast for added elegance. Further personalize your books by including small embellishments like charms, dried flowers, or tags. These additions can evoke a sense of nostalgia or serve as delightful accents, enhancing the decorative appeal of your decor books.
Using Decorative Books in Home Décor
Step 1: Arranging Decorative Books on Coffee Tables
Stack decorative books to anchor other elements like candles or vases to create a visually appealing centerpiece on your coffee table. Vary the sizes of the books, placing the largest on the bottom and smaller ones on top to form a pyramid-like structure. This configuration provides height and dimension, allowing featured objects to stand out. Experiment with books of different textures and colors to add depth and interest. The interplay of varied surfaces creates a welcoming focal point in your living space.
Step 2: Styling Books on Shelves and Mantels
Styling books on shelves and mantels can transform a room, offering a dynamic, layered display. Arrange books both vertically, leaning on bookends, and horizontally for a balanced look. For mantels, position decorative books to create symmetry or contrast with other items like artwork or picture frames. Mix different forms and sizes, ensuring an overall harmonious look that complements the mantel’s theme.
Step 3: Combining Decorative Books with Other Accessories
Enhance your décor by pairing books with decorative objects such as trays, sculptures, or plants. Use trays to group items neatly, adding a streamlined effect. Matchbook colors and styles with other room elements for cohesiveness. Consider placing small sculptures or potted plants alongside stacks of books to introduce texture and a personal touch, elevating the overall aesthetic of your space.
Creating Themed Decorative Books
Step 1: Holiday-Themed Decorative Books
To create holiday-specific decorative books, begin by selecting materials that capture the season’s essence, such as lush reds and greens for Christmas or warm oranges and browns for Thanksgiving. Use patterned wrapping paper or fabric featuring holiday motifs like snowflakes or autumn leaves. Attach festive embellishments, such as glitter or felt cutouts, to evoke a sense of celebration. Personalize your books further by labeling the spines with seasonal phrases like “Merry,” “Joy,” or “Peace” for Christmas, and “Thankful” or “Grateful” for Thanksgiving. These touches will infuse your décor with the spirit of the season and create an inviting atmosphere.
Step 2: Customizing Books for Special Occasions
When crafting decorative books as personalized gifts, focus on the recipient’s tastes and the occasion’s significance. Consider using elegant paper or fabric that aligns with a wedding theme or bright, cheerful colors for a birthday.

Incorporate meaningful elements like favorite quotes, special dates, or initials on the covers or spines to add a personal touch. These thoughtful designs make the books unique gifts and cherished keepsakes that capture and commemorate the occasion beautifully.
Conclusion
In conclusion, “how to make decor books” is a simple yet creative process that can significantly enhance your home décor. You can personalize these books by experimenting with various materials, colors, and themes to reflect your unique taste and style. This approach allows for artistic expression and transforms any space by adding visual interest and a personal touch. Whether using stencils, decorative papers, or festive motifs, the possibilities are endless, empowering you to craft distinct elements that serve as both decorative and conversation pieces in your home.