
Disassembling furniture can often seem daunting, especially if you’re preparing for a move or looking to repurpose components. However, with the right tools and a structured approach, the process becomes much more manageable.
This guide aims to provide step-by-step instructions on how to disassemble furniture to help you safely and efficiently take apart various types of furniture, from beds and couches to tables and shelving units. Whether you’re a DIY enthusiast or a beginner, following these instructions will ensure you maintain the integrity of your furniture pieces while simplifying the disassembly process.
Needed Materials
Before starting the disassembly process, it’s important to have all the necessary materials on hand. These may include:
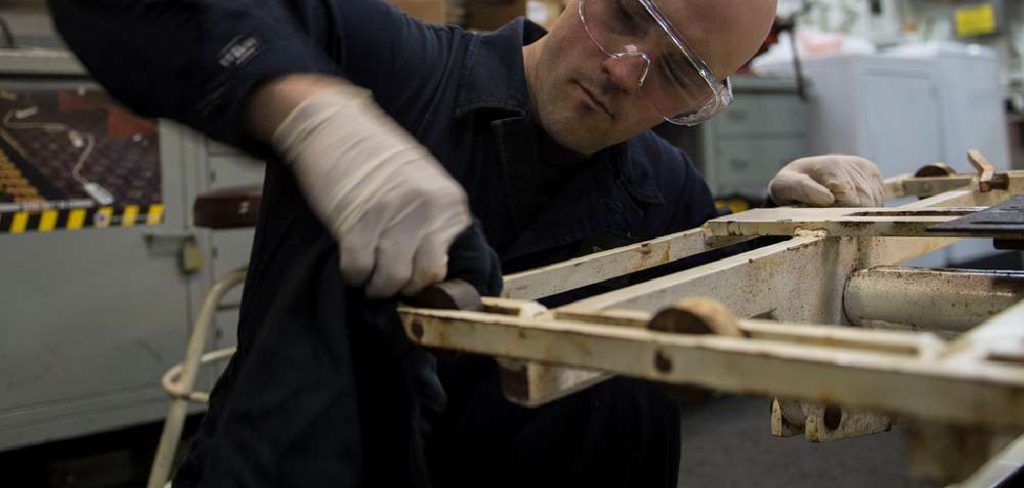
A Set of Basic Tools Such as Screwdrivers:
These tools will be essential in removing screws, bolts, and other fasteners. Make sure to have a variety of sizes and types (e.g., Phillips head and flathead) to accommodate different furniture pieces.
A Rubber Mallet or Hammer:
This tool can help you gently tap and loosen stubborn joints without damaging the furniture’s surface.
Pliers:
Pliers are useful for gripping small items such as nails or pins that may be difficult to remove with your fingers alone.
Allen Wrenches:
Many modern furniture pieces use Allen wrenches, also known as hex keys, to secure various components. Make sure you have the right size for your furniture’s specific needs.
9 Step-by-step Guidelines on How to Disassemble Furniture
Step 1: Prepare Your Workspace
The first step to disassembling furniture is to ensure you have a clean and spacious workspace. Begin by clearing the area around the piece of furniture you plan to disassemble. This prevents tripping hazards and provides enough room for you to maneuver as you work. Lay down a protective covering such as a tarp or old blanket to protect both the floor and the furniture from scratches.
Additionally, have a small container on hand to collect small parts like screws and bolts as you remove them, keeping everything organized and reducing the risk of losing any crucial components. Proper preparation of your workspace will set the foundation for a smooth and efficient disassembly process.
Step 2: Familiarize Yourself with the Furniture Piece
Before you start taking apart your furniture, it’s crucial to familiarize yourself with its construction. Look for any visible screws, bolts, or other fasteners that may need to be removed. Take note of how different components are connected and try to understand the overall structure of the furniture piece. This will help you in the later steps when it’s time to put everything back together.
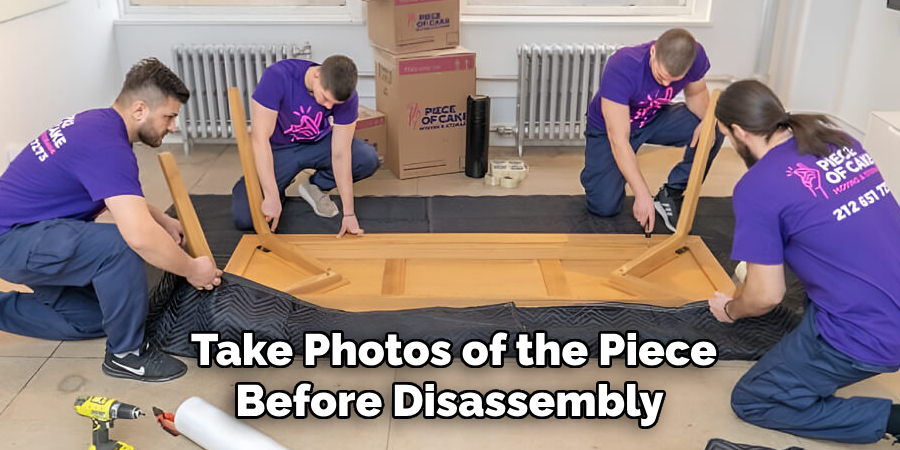
The best way to familiarize yourself with your furniture is by referring to the manufacturer’s instructions, if available. If not, take photos of the piece before disassembly to use as a reference later on.
Step 3: Begin Removing Fasteners
With a basic understanding of how your furniture is assembled, it’s time to start removing any screws, bolts or other fasteners that are holding it together. Use the appropriate tools for each type of fastener and work systematically to avoid confusion. It’s helpful to place fasteners in the small container you prepared earlier as you remove them so they don’t get lost.
It’s also important to keep track of which fasteners belong to which part of the furniture, so labeling them or grouping them accordingly can be helpful. If you come across any stubborn screws or bolts, try applying some lubricant such as WD-40 and give it a few minutes to loosen before attempting to remove it again.
Step 4: Take Apart Larger Components
Once all the fasteners are removed, start taking apart larger components such as shelves, drawers, or legs. Be sure to support these items as you disconnect them from the main body of the furniture. For shelves or drawers that are connected by wooden dowels, gently wiggle them while pulling them out to avoid breaking any pieces.
For furniture with intricate designs or multiple parts, it’s helpful to take photos as you go along to use as a reference when reassembling.
Step 5: Disassemble Joints and Connections
Next, focus on disassembling any joints or connections between larger components. This may require some gentle tapping with a rubber mallet or hammer to loosen the pieces. It’s essential to be careful during this step not to damage any pieces of the furniture in the process.
If you encounter any glued components, try using a heat gun or hairdryer on a low heat setting to soften the glue before attempting to separate them.
Step 6: Remove Upholstery or Fabric
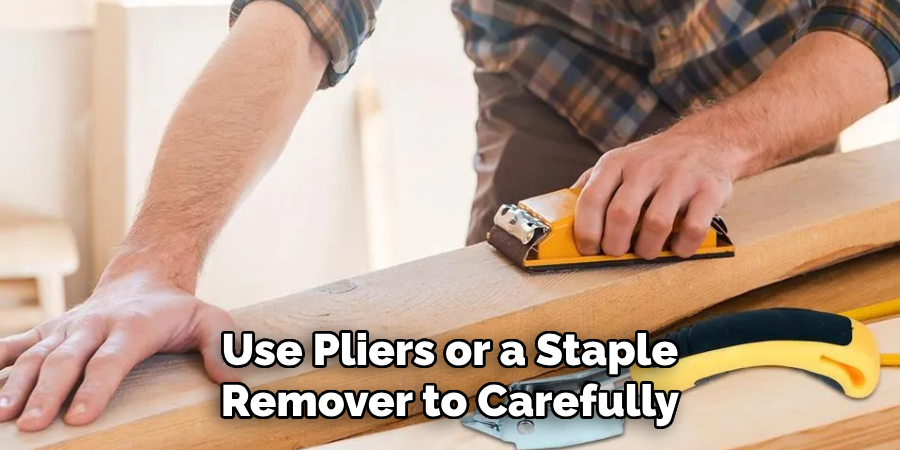
If your furniture piece has any upholstery or fabric, now is the time to remove it. This will make the disassembly process easier and prevent any damage to the material. Use pliers or a staple remover to carefully remove staples or nails holding the fabric in place.
But before removing any fabric, take note of its placement and how it attaches to the furniture. This will be helpful when reupholstering or putting everything back together.
Step 7: Separate Any Glued or Nailed Parts
Some parts of your furniture may be held together by glue or nails instead of screws or bolts. To separate these pieces, use a pry bar or flathead screwdriver to gently loosen them. Take your time and be patient as you want to avoid damaging the furniture during this step.
The use of a heat gun or hairdryer on low heat can also help soften the glue for easier separation.
Step 8: Continue Disassembling Remaining Components
As you work your way through the furniture piece, continue to remove any remaining components such as shelves, drawers, or legs. Take your time and be careful not to force anything apart. If necessary, refer back to your photos or labeled components if you’re unsure how something is connected.
You may also need to use a saw or drill to remove any stubborn pieces that are still attached. Again, take caution not to damage the furniture in the process.
Step 9: Organize and Store Components
Once all components have been disassembled, be sure to keep them organized and stored safely. This will make it easier when it’s time to put everything back together. Use clear plastic bags or containers for smaller parts like screws and bolts, and label them accordingly.
For larger components, consider storing them in a designated area where they won’t get damaged or misplaced. Keeping everything organized during the disassembly process will save you time and frustration when it’s time to reassemble your furniture.
Following these steps on how to disassemble furniture and taking your time will ensure a successful and stress-free disassembly process for any furniture piece. Remember to keep all necessary tools on hand, take photos for reference, and work carefully to avoid damaging the furniture in the process.

Frequently Asked Questions
Q: Do I Need Any Special Tools to Disassemble Furniture?
A: It depends on the type of furniture you’re disassembling, but having a basic set of screwdrivers, pliers, and a hammer should suffice. You may also need a rubber mallet or pry bar for some pieces. It’s always helpful to do some research beforehand and gather any necessary tools before starting the disassembly process.
Q: Can I Disassemble Any Type of Furniture?
A: While most furniture can be disassembled, it may not always be necessary or feasible. Some furniture, such as solid wood pieces, may be difficult to take apart without damaging it. Consider the material and construction of your furniture before attempting to disassemble it.
Q: How Do I Know Where Each Component Goes When Reassembling?
A: Taking photos as you go along and labeling components can help you remember how everything goes back together. It’s also a good idea to refer back to the manufacturer’s instructions if available.
If all else fails, you can always search for reassembly guides or tutorials online for your specific furniture piece. Once the furniture is disassembled into smaller parts, it’s also helpful to group them together by section or labeled bags/containers.
Q: Can I Disassemble Furniture Without Damaging It?
A: With careful and patient work, it is possible to disassemble furniture without causing any damage. However, depending on the construction and materials of the furniture, some pieces may be more difficult to take apart. In these cases, minor damage may occur during the disassembly process. If you’re unsure about how to safely disassemble a particular piece of furniture, it’s best to consult a professional for assistance.

Conclusion
Disassembling furniture can be a straightforward and rewarding process when approached with the right tools and techniques. By carefully following the outlined steps and taking necessary precautions, it is possible to dismantle your furniture efficiently without causing damage. Organizing components as you go ensures a smoother reassembly process when the time comes.
This guide on how to disassemble furniture serves as a handy reference to navigate the challenges of furniture disassembly, encouraging confidence in tackling home projects. Whether you’re moving, refurbishing, or simply reorganizing, the ability to disassemble furniture safely is a valuable skill that saves time and preserves the integrity of your furnishings.