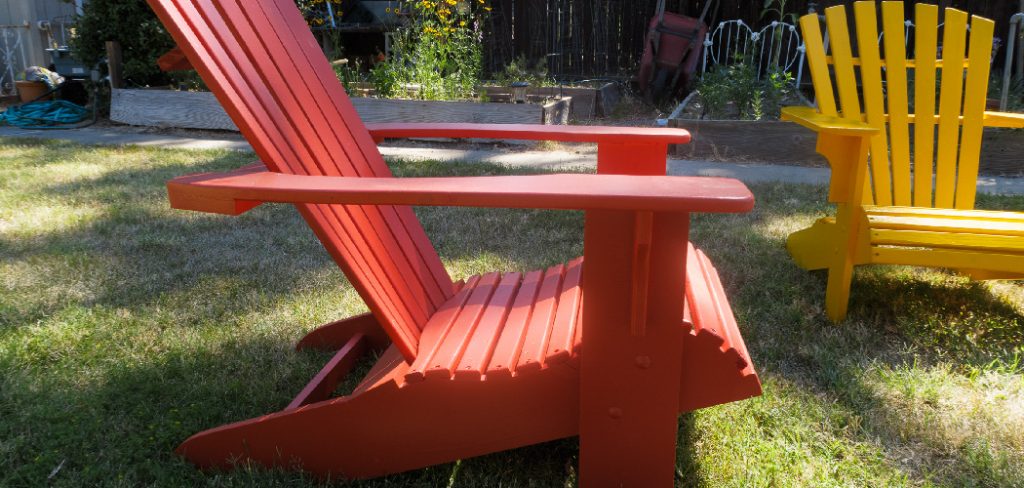
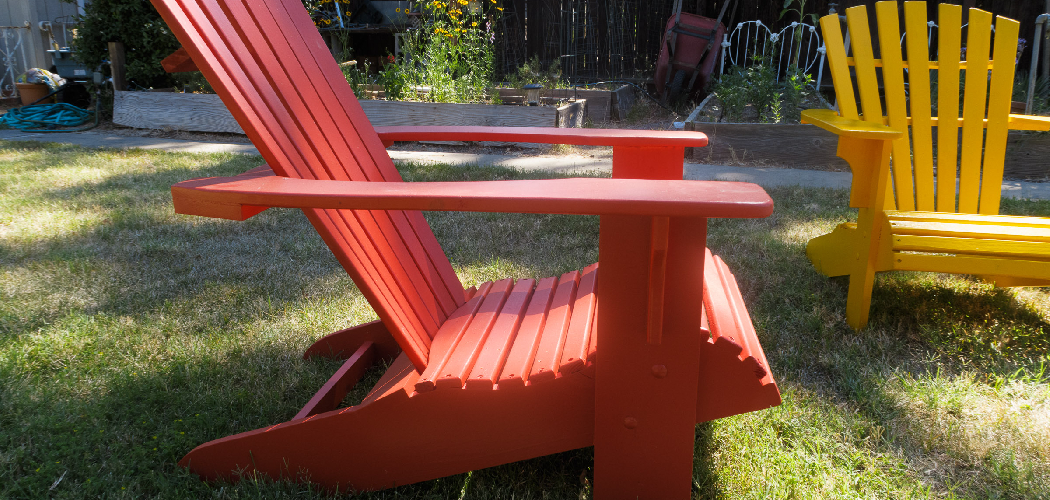
Refinishing Adirondack chairs is a rewarding project that breathes new life into these iconic pieces of outdoor furniture. Known for their wide armrests, slanted seats, and comfortable design, Adirondack chairs are a staple in many gardens and patios. Over time, however, exposure to the elements can cause the wood to fade, crack, or become discolored. Refinishing not only restores the chair’s beauty but also protects it from future damage, ensuring it remains a beloved part of your outdoor space for years to come.

This process involves how to refinish adirondack chairs, including thorough cleaning, sanding to remove old finishes and smooth the surface, applying wood conditioner for better stain absorption, and finally, staining or painting to achieve the desired look. In this article, we will guide you through each step in detail, offering tips on selecting the right materials and techniques to ensure a professional, long-lasting finish. With a bit of effort and attention to detail, you can transform your worn Adirondack chairs into stunning, durable pieces that enhance your outdoor living area.
Importance of Refinishing
Refinishing Adirondack chairs is not just about aesthetics; it plays a crucial role in preserving the integrity of the wood. With consistent exposure to sunlight, rain, and fluctuating temperatures, untreated or aging wood is susceptible to deterioration. By refinishing, you effectively seal the wood, protecting it from moisture that can lead to rot and from UV rays that can cause fading and weakening of the material.
Additionally, refinishing helps in identifying and addressing any splinters or cracks early on, preventing further damage. This process not only extends the life of your furniture but also maintains its comfort and safety, ensuring that you can continue to enjoy your Adirondack chairs for many seasons to come.
10 Methods How to Refinish Adirondack Chairs
1. Assessing the Condition of the Adirondack Chairs
Before beginning the refinishing process, it’s crucial to thoroughly assess the condition of your Adirondack chairs. Look for any signs of damage such as cracks, splits, loose joints, or rot. Pay special attention to areas that are most exposed to the elements, as these will likely have the most wear and tear.

If the wood is structurally compromised, you might need to replace certain parts or use wood filler to repair minor damages. Tighten any loose screws or bolts to ensure the chair is stable. This initial assessment helps you understand the scope of the refinishing project and prepares you for the subsequent steps.
2. Cleaning the Chairs
Proper cleaning is an essential step in refinishing Adirondack chairs. Dirt, mildew, and old finishes need to be removed to create a clean surface for sanding and applying new finishes. Begin by scrubbing the chairs with a mixture of mild detergent and water using a stiff brush.
This will help remove surface grime and mildew. For more stubborn stains or mildew, you can use a mixture of one part bleach to three parts water. Rinse thoroughly with clean water and allow the chairs to dry completely. This process ensures that the surface is clean and free from contaminants that could affect the refinishing process.
3. Removing the Old Finish
Stripping off the old finish is a critical step in the refinishing process. Depending on the type of finish, you may need to use a chemical stripper or simply sand the surface. Chemical strippers are effective for removing paint and varnish. Apply the stripper according to the manufacturer’s instructions, allow it to sit for the recommended time, and then use a scraper to remove the softened finish.
Alternatively, if the old finish is minimal, you can use coarse-grit sandpaper to sand it off. This step prepares the wood for a new finish by removing any remnants of the old coating, ensuring better adhesion for the new products.
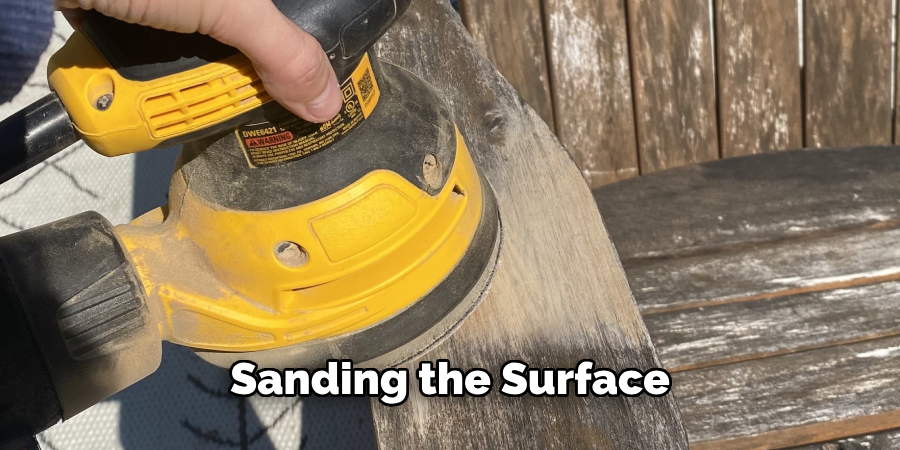
4. Sanding the Surface
Sanding is crucial for creating a smooth and even surface on your Adirondack chairs. Start with a coarse-grit sandpaper (such as 80-grit) to remove any remaining finish and smooth out rough spots. Progress to a medium-grit sandpaper (such as 120-grit) to refine the surface, and finish with a fine-grit sandpaper (such as 220-grit) to achieve a smooth finish. Sand along the grain of the wood to avoid scratches. Pay extra attention to corners and detailed areas, ensuring they are as smooth as the flat surfaces. After sanding, wipe down the chairs with a tack cloth to remove any dust and debris. This thorough sanding process is essential for a professional-looking refinishing job.

5. Repairing Any Damage
After sanding, inspect the Adirondack chairs again for any damage that needs repairing. Use wood filler to fill in any cracks, holes, or gaps. Apply the filler with a putty knife, pressing it firmly into the damaged area. Allow the filler to dry completely, then sand it smooth with fine-grit sandpaper.
For larger structural repairs, such as replacing broken slats or reinforcing weak joints, use wood glue and clamps to secure the repairs until the glue dries. Replacing screws or nails with stainless steel ones can help prevent future rust and deterioration. Properly repairing any damage ensures that your Adirondack chairs are not only beautiful but also sturdy and safe to use.
6. Applying a Wood Conditioner
Applying a wood conditioner is an optional but highly recommended step, especially if you plan to stain the Adirondack chairs. Wood conditioner helps the wood absorb the stain more evenly, preventing blotchiness and enhancing the final appearance. Choose a conditioner appropriate for the type of wood you are working with. Apply it evenly with a brush or cloth, following the manufacturer’s instructions. Allow the conditioner to penetrate the wood for the recommended time before wiping off any excess. This step is particularly important for softwoods and helps ensure a more uniform and professional-looking finish.
7. Staining the Wood
Staining adds color and highlights the natural beauty of the wood grain. Choose a stain that complements your outdoor decor and provides the desired level of protection. Apply the stain with a brush or cloth, working in the direction of the grain. Use long, even strokes to ensure an even application.
Allow the stain to penetrate the wood for the recommended time, usually about 5-15 minutes, then wipe off any excess with a clean cloth. For a darker color, you can apply additional coats, allowing each to dry before applying the next. Staining not only enhances the aesthetic appeal of your Adirondack chairs but also adds a layer of protection against the elements.

8. Sealing with a Protective Finish
Sealing your Adirondack chairs with a protective finish is crucial for ensuring durability and weather resistance. Polyurethane, varnish, or an outdoor wood sealant are good options. Choose a finish that offers UV protection and is suitable for outdoor use. Apply the finish with a high-quality brush, following the direction of the grain. Use thin, even coats to avoid drips and bubbles. Allow each coat to dry thoroughly before lightly sanding with fine-grit sandpaper and applying the next coat. Typically, two to three coats are sufficient for adequate protection. This sealing step protects the wood from moisture, UV rays, and wear, ensuring your Adirondack chairs look great for years to come.
9. Reassembling and Touching Up
After the final coat of protective finish has dried, it’s time to reassemble any parts that were removed or taken apart for the refinishing process. Ensure all screws and bolts are tightened securely, and check that the chair is stable and balanced. If any areas need touch-ups, use a small brush to apply additional stain or finish as needed. Inspect the chairs for any missed spots or imperfections and address them promptly. This final step ensures that your Adirondack chairs are fully restored, with every detail carefully attended to. Reassembling and touching up completes the transformation, leaving you with chairs that are not only beautiful but also functional.
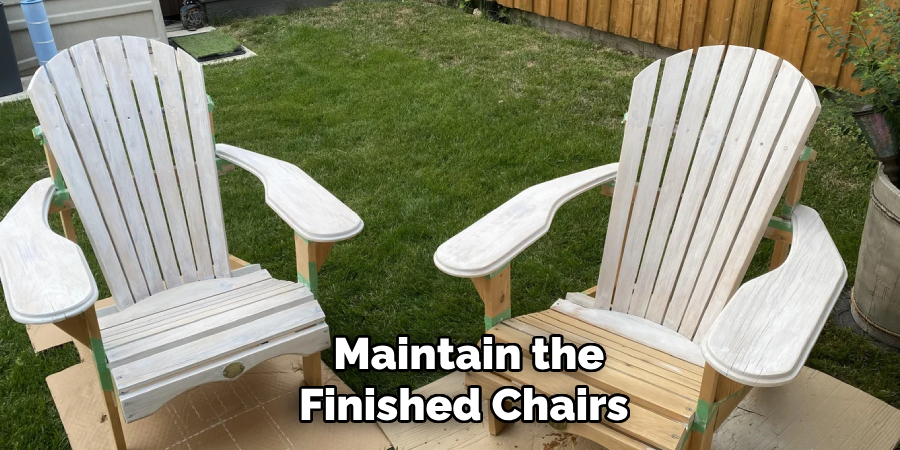
10. Maintaining the Finished Chairs
To keep your refinished Adirondack chairs looking their best, regular maintenance is essential. Clean the chairs periodically with a mild soap solution and water to remove dirt and grime. Avoid using harsh chemicals or abrasive cleaners that can damage the finish. Inspect the chairs regularly for any signs of wear or damage, and address issues promptly to prevent further deterioration.
Reapply a protective finish every few years, or as needed, to maintain the wood’s protection against the elements. Covering the chairs during the off-season or storing them indoors can also help extend their lifespan. With proper care and maintenance, your refinished Adirondack chairs will remain a beautiful and functional part of your outdoor space for many years.

Conclusion
Refinishing your Adirondack chairs can be a rewarding project that breathes new life into your outdoor furniture. By following a careful and methodical process from preparation to maintenance, you can ensure that your chairs not only look stunning but also remain durable and functional for years to come.
Each step, from sanding and repairing to staining and sealing, plays a crucial role in achieving a professional finish. Remember that regular upkeep is key to preserving the beauty and longevity of your refinished chairs. With attention to detail and proper care, your Adirondack chairs will continue to enhance your outdoor living space season after season. Thanks for reading, and we hope this has given you some inspiration on how to refinish adirondack chairs!
