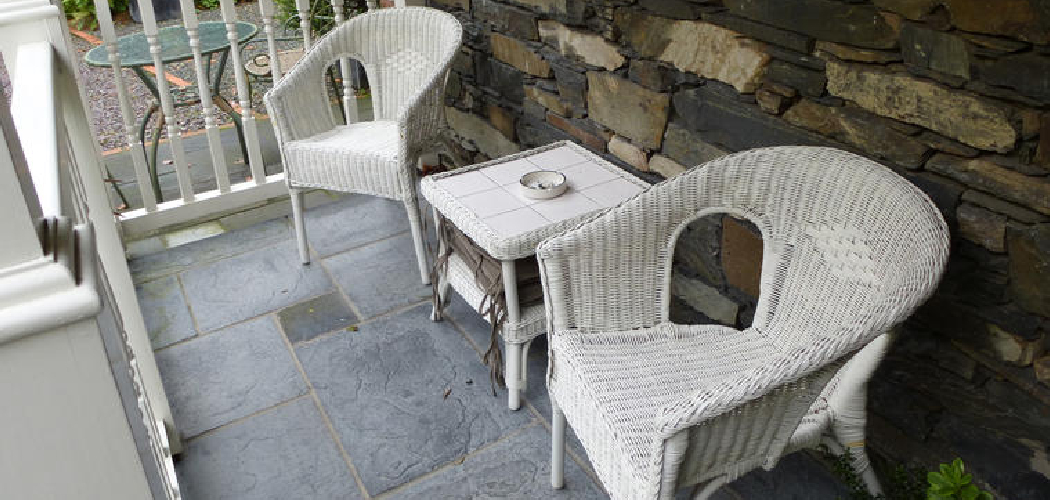
Are you tired of the traditional wood furniture in your home and looking for a way to give it a fresh, rustic look? Look no further!
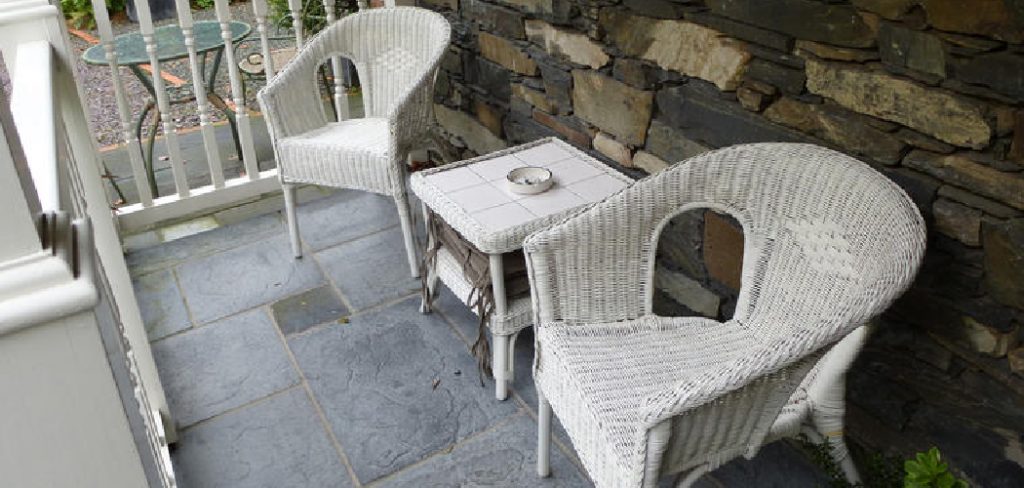
Creating a rustic white look for your furniture can transform ordinary pieces into charming, vintage-inspired decor that adds character and warmth to any space. This effect is achieved through a combination of painting and distressed techniques that give the furniture a weathered, antique appearance. Whether you’re aiming to refresh an old dresser, a dining table, or some wooden chairs, the rustic white finish can seamlessly blend into various interior design styles, from farmhouse to shabby chic.
In this guide, we’ll walk you through the steps and materials needed on how to make furniture look rustic white, ensuring your furniture pieces exude both rustic charm and sophisticated elegance.
What Will You Need?
Before getting started, it’s essential to gather all the necessary materials and tools. Here’s a list of what you’ll need:
- Furniture piece(s) to be painted
- Sandpaper (medium grit)
- Tack cloth or damp rag
- Primer
- White paint (matte finish)
- Paintbrushes (wide bristle brush and smaller detail
Once you have everything ready, it’s time to get started on transforming your furniture into rustic white pieces.
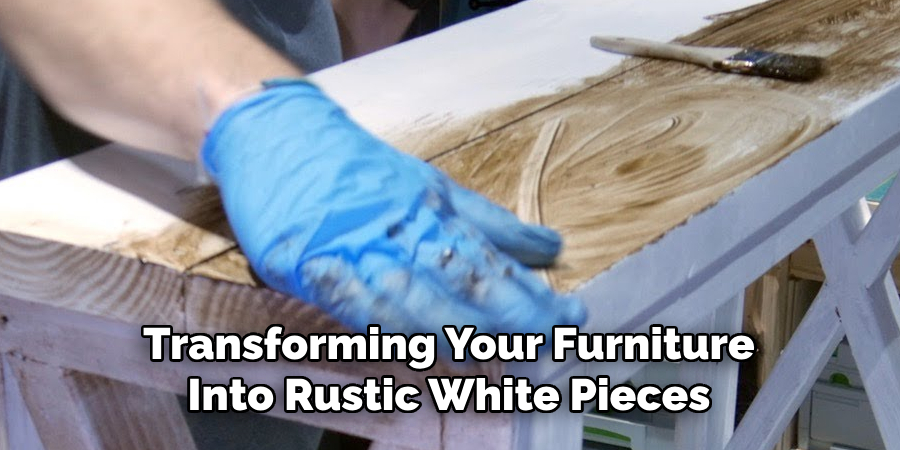
9 Easy Steps on How to Make Furniture Look Rustic White
Step 1: Prepare the Furniture
The first step towards achieving a rustic white finish is to properly prepare the furniture piece. This includes cleaning and sanding the surface to ensure that the paint adheres well and creates a smooth, even finish.
Start by wiping down the piece with a damp rag or tack cloth to remove any dust or debris. Then, use medium grit sandpaper to gently roughen up the surface of the furniture. This will help the primer and paint adhere better.
Step 2: Apply Primer
Applying a primer is a crucial step in the process, as it ensures that the paint adheres more effectively and provides a solid base for the rustic white finish. Select a high-quality primer suitable for wood surfaces. Shake the primer thoroughly before opening it to mix the contents well. Using a wide bristle brush, apply a thin, even coat of primer to the furniture piece. Be sure to work in long, smooth strokes and cover all visible areas, including any intricate details or corners.
Allow the primer to dry completely according to the manufacturer’s instructions; this usually takes a few hours. Drying times can vary depending on the product and environmental conditions, so be patient. If the primer appears uneven or thin in some spots after the first coat has dried, apply a second coat to ensure full coverage. Once the primer is dry and has created a solid base, lightly sand the surface with fine-grit sandpaper to achieve a smooth finish.
Step 3: Paint the First Coat of White Paint
With the furniture piece primed and ready, it’s time to apply the first coat of white paint. For this project, a matte finish paint is recommended to achieve an authentic rustic look. Begin by stirring the paint thoroughly to ensure the color is well-mixed. Using a wide bristle brush, apply a thin, even coat of white paint to the entire surface of the furniture.
Work in long, smooth strokes, following the grain of the wood to create a natural finish. Pay extra attention to any intricate details or corners, making sure they are fully covered. Allow the first coat of paint to dry completely according to the manufacturer’s instructions. Drying times will vary based on the type of paint and environmental conditions.
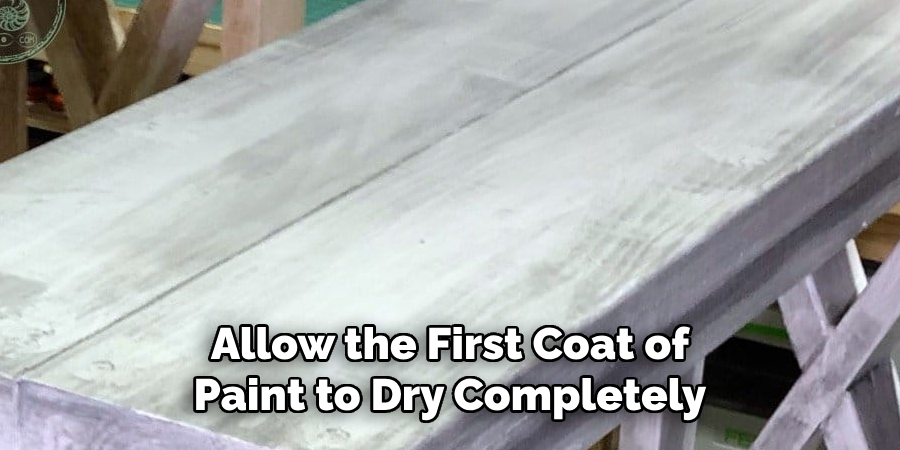
If necessary, apply a second coat to achieve the desired coverage and depth of color. Once the paint is fully dry, lightly sand the surface with fine-grit sandpaper to smooth out any brush strokes or uneven areas.
Step 4: Distress the Furniture
Once the paint is fully dry, it’s time to create the distressed, weathered look that gives rustic white furniture its unique charm. Using medium-grit sandpaper, gently sand certain areas of the painted surface to reveal the wood or primer underneath. Focus on edges, corners, and any raised details, as these are the parts that would naturally show wear over time.
Work slowly and with a light hand to avoid overspending. You want the effect to look natural and not too uniform. Distress the piece until you’re satisfied with the level of wear. Remember, you can always go back and sand more if needed, but it’s harder to fix if you remove too much paint.
Step 5: Apply a Wax or Sealant
Apply a clear wax or sealant to protect your newly transformed furniture and enhance its rustic white appearance. This step not only safeguards the paint and distressed areas but also gives the piece a subtle sheen and a finished look. Choose a wax or sealant that suits your desired finish—matte for a more natural look or glossy for a bit more shine.
Using a clean, soft cloth or brush, gently apply the wax or sealant in thin, even layers, following the manufacturer’s instructions. Make sure to cover all surfaces evenly, paying special attention to the distressed areas. Allow the wax or sealant to dry and cure as directed, typically for a few hours to overnight. Once dry, if you opt for wax, buff the surface with a clean cloth to enhance the shine and smooth out any streaks.
Step 6: Reassemble and Style
After your wax or sealant has fully dried and been buffed to your liking, it’s time to reassemble and style your piece of furniture. If you have removed any hardware like knobs or handles, reattach them carefully. Choose hardware that complements the rustic aesthetic, such as vintage or distressed pieces, for an added touch of elegance.
Place your newly transformed rustic white furniture in its designated spot and style it with complementary decor items—think neutral-toned accessories, soft textiles, or antique pieces. This will enhance the overall cozy, inviting feel of your space and allow your DIY project to shine.
With these steps, you have successfully created a beautiful rustic white finish on your furniture, adding charm and character to your home decor.

Step 7: Add Decorative Details
To further enhance the rustic charm of your furniture, consider adding some decorative details. This could include stenciling a simple pattern using a contrasting color, adding decorative molding or trim, or even incorporating additional distressed elements like faux wormholes or small dents. If you choose to stencil, ensure the paint is completely dry before starting, and use painter’s tape to secure your stencil in place.
Lightly apply paint in the stencil openings with a small brush or sponge, then carefully remove the stencil while the paint is still wet to avoid smudges. For additional distressing, use tools like a screwdriver or hammer to gently create small imperfections that mimic the look of aged wood. Remember to stand back and assess your progress regularly, ensuring the added details enhance the piece without overwhelming its natural beauty.
Step 8: Final Touches and Maintenance
With your rustic white furniture now complete, it’s time for the finishing touches to ensure longevity and continued appeal. First, examine the piece thoroughly for any areas that might need additional waxing, sealing, or touch-up paint. Ensuring that every detail is perfect will help maintain the rustic charm over time.
Consider adding felt pads to the bottom of your furniture legs to protect your flooring and ease movement. If your piece includes drawers, apply a small amount of wax along the sliding edges to ensure smooth operation. For ongoing maintenance, dust the furniture regularly with a soft, dry cloth to preserve the finish. Avoid placing heavy or sharp objects directly on the surface to prevent scratches and dents.
Step 9: Enjoy Your DIY Rustic White Furniture
With all the hard work completed, it’s time to sit back and enjoy your newly transformed rustic white furniture. Admire the unique character and charm you’ve added to your space, and take pride in the personal touch you’ve brought to your home decor. Invite friends and family over to showcase your handiwork and perhaps inspire them to undertake their own DIY projects. Your refreshed piece is not just a functional item but a reflection of your creativity and dedication.
As you use and enjoy your furniture, remember the steps you took to achieve this look. This knowledge will be invaluable for future projects and for maintaining your rustic white pieces. Enjoy the cozy, inviting atmosphere your transformed furniture brings to your home, and continue to find joy in DIY craftsmanship and personalizing your living spaces.
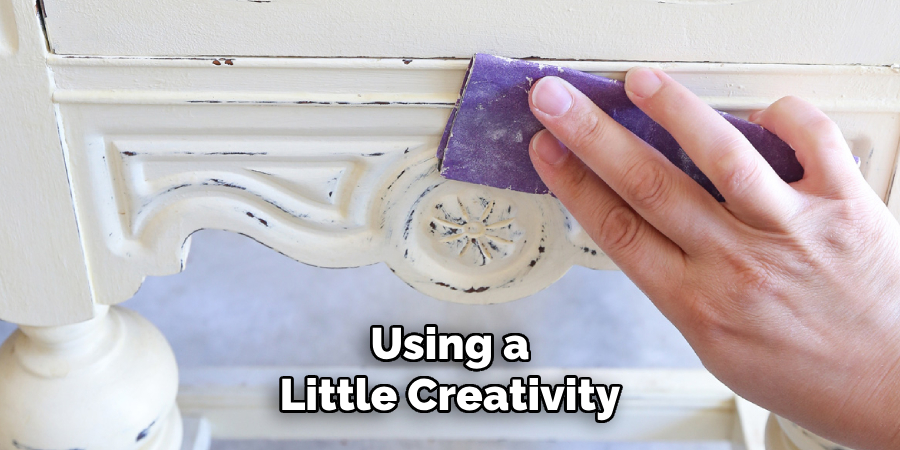
By following these steps and using a little creativity, you can easily add rustic charm to any piece of furniture in your home.
Conclusion
How to make furniture look rustic white is a rewarding and enriching DIY project that can breathe new life into your home decor. By following the meticulously detailed steps, from surface preparation to the final touches, you’ll be able to create a piece that exudes both elegance and timeless charm.
The process not only enhances the aesthetic appeal of your furniture but also allows you to infuse your personal style into every detail. Whether you’re working with new or existing furniture, the rustic white finish offers versatility and a cozy, welcoming atmosphere.
Remember to take your time with each step to ensure the best results, from sanding and painting to distressing and sealing. The beauty of rustic furniture lies in its imperfections, so don’t be afraid to experiment with different techniques to achieve the desired look. With patience and practice, you’ll develop a keen eye for detail and an appreciation for the craftsmanship involved in creating a rustic finish.
Ultimately, the transformation of your furniture showcases your creativity and dedication, turning ordinary pieces into unique works of art that tell a story.
