Are you looking for a new way to update the look of your home? Instead of opting for traditional paint, why not try making your own stain-like finish? With this technique, you can achieve the rich and warm appearance of stained wood while still having the versatility and durability of paint.
Making paint look like stain is a creative and cost-effective method to rejuvenate your home’s appearance. This technique combines the best of both worlds: the classic, sophisticated look of stained wood with the practical benefits of paint. Whether you are refreshing old furniture, doors, or trim, this approach can bring a luxurious finish without the need for expensive materials or specialized skills.
In the following sections, we will guide you through the process step-by-step on how to make paint look like stain. Get ready to transform your space with this innovative and artistic method.
What Will You Need?
To make the paint look like a stain, you will need a few basic materials that can be easily found at any hardware store or online. These include:
- Paint the color of your choice
- Water-based glaze
- Tinted polyurethane in a similar color to your paint
- Quality paintbrushes and rags for application
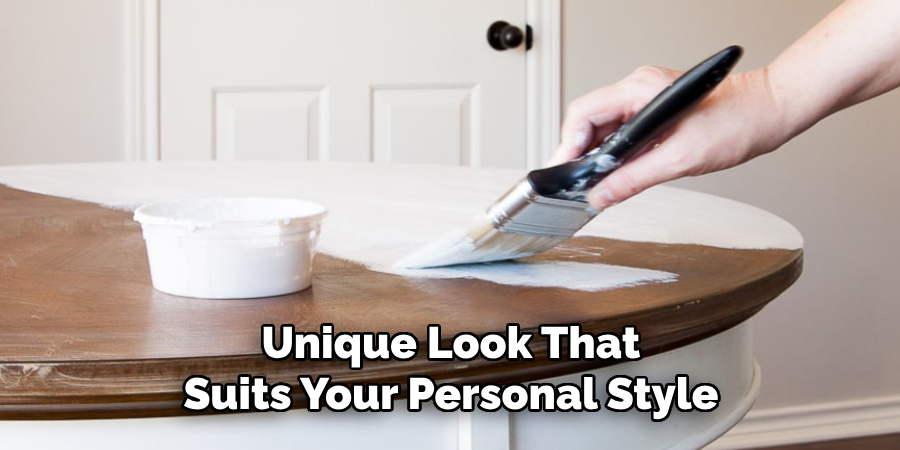
It is essential to ensure that your paint and polyurethane colors are compatible to achieve a natural-looking finish. You can also experiment with different combinations for a unique look that suits your personal style.
10 Easy Steps on How to Make Paint Look Like Stain
Step 1. Prep the Surface:
Start by ensuring the surface you are working on is clean and smooth. Sand the surface with medium-grit sandpaper to remove any old paint, varnish, or dirt. This will help create a clean slate for the new finish. Wipe away any dust or debris with a damp cloth and allow the surface to dry completely. If there are any imperfections or holes, fill them with wood filler and sand again once the filler has dried. A well-prepped surface is crucial for achieving a flawless finish.
Step 2. Apply the Base Coat:
Select a paint color that closely matches the desired stain finish. Using a quality paintbrush, apply a thin and even base coat of paint to the surface. Work in the direction of the wood grain to mimic the natural look of stained wood. Allow the paint to dry according to the manufacturer’s instructions. This base coat will act as the foundation for your stain-like finish.
Step 3. Mix the Glaze:
In a separate container, mix your water-based glaze with a small amount of the tinted polyurethane. The proportion of glaze to polyurethane can vary depending on how intense you want the color to be. A common ratio is 3 parts glaze to 1 part polyurethane. Mix thoroughly until you achieve a consistent color and texture.
Step 4. Apply the Glaze Mixture:
Dip a clean, dry brush into the glaze mixture and apply it over the painted surface. Use long, even strokes, following the direction of the wood grain. Work in small sections to prevent the glaze from drying before you have a chance to manipulate it. The glaze should be semi-transparent, allowing the base coat to show through slightly, thus mimicking the appearance of wood grain.
Step 5. Wipe Off Excess Glaze:
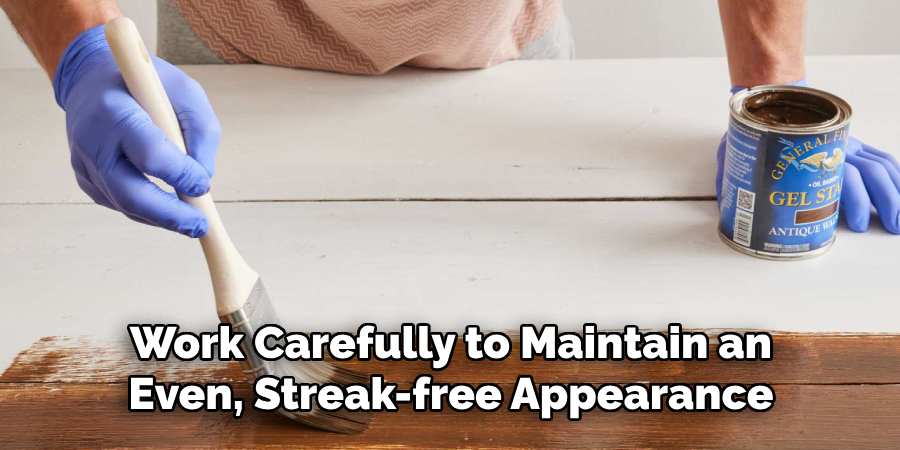
While the glaze is still wet, use a clean rag to gently wipe off any excess. The amount of glaze you remove can control the intensity of the finish. To achieve a more subtle look, wipe away more of the glaze, and to achieve a deeper, richer finish, leave more glaze on the surface. Work carefully to maintain an even, streak-free appearance.
Step 6. Allow to Dry:
After achieving your desired look with the glaze, allow the surface to dry thoroughly. This drying period is crucial for setting the glaze and ensuring a durable finish. Depending on the specific glaze and environmental conditions, drying times can vary, but it typically takes around 24 hours. Make sure to check the manufacturer’s instructions for exact drying times. During this period, avoid touching or disturbing the surface to prevent any smudging or uneven areas.
Step 7. Lightly Sand the Surface:
Once the glaze has dried completely, lightly sand the surface with fine-grit sandpaper. The goal here is not to remove the glaze but to smooth out any rough spots and ensure an even finish. Sand gently and in the direction of the grain to avoid creating scratches. After sanding, wipe the surface clean with a damp cloth to remove any dust.
Step 8. Apply the Tinted Polyurethane:
Next, apply a coat of the tinted polyurethane over the glazed surface. This step will add a protective layer and enhance the richness of the color. Use a high-quality brush or foam applicator to apply the polyurethane in long, even strokes, following the direction of the wood grain. Be careful to avoid pooling or dripping, as these can affect the final appearance. Allow the first coat to dry completely per the manufacturer’s instructions before proceeding.
Step 9. Sand and Reapply:
For a smooth and durable finish, it’s essential to apply multiple coats of polyurethane. After the first coat has dried, lightly sand the surface again with fine-grit sandpaper to smooth out any imperfections. Wipe away the dust with a damp cloth and apply a second coat of polyurethane in the same manner. Depending on your desired finish, you might need to apply a third coat, repeating the sanding and application process.
Step 10. Final Touches:
After the final coat of polyurethane has dried, inspect the surface for any missed spots or uneven areas. Touch up as necessary and give the entire piece one last wipe down to remove any dust or debris. Your project is now complete! The result should be a beautifully finished surface that resembles stained wood, achieved with the durability and versatility of paint.
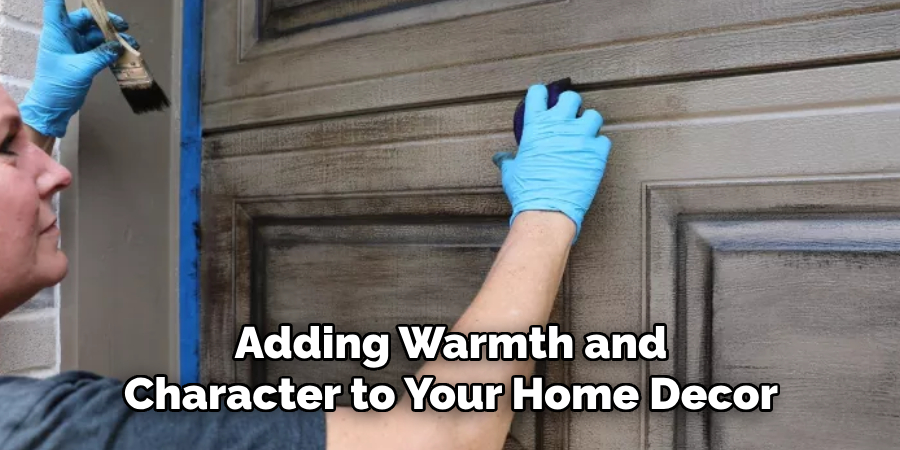
With these steps, you can transform plain painted surfaces into sophisticated, stain-like finishes, adding warmth and character to your home decor.
5 Additional Tips and Tricks
- Use a Gel Stain: Gel stains can be mixed with paints to give a richer, deeper color that closely mimics the look of traditional stains. Apply it with a brush and wipe off the excess for a more natural finish.
- Layering Colors: Start with a base coat of a lighter shade and then apply a darker shade over it using a dry brush technique. This helps to create the depth and variations you would see in stained wood.
- Sanding Between Coats: Lightly sand the surface between each coat of paint. This method can help create a smoother finish and also allows the underlying colors to subtly blend, mimicking the grain of the wood.
- Use a Glaze: After painting, apply a clear or tinted glaze to add a translucent layer that enhances the depth and gives the appearance of the stain. Make sure to wipe off the glaze gently to leave more in the wood grain’s grooves.
- Mixing Techniques: Combine different painting techniques such as rag rolling, dry brushing, or using a faux finish roller. These methods can help simulate the irregularities and texture of stained wood, giving a more authentic look.
With these additional tips and tricks, you can take your faux wood painting skills to the next level and achieve a more realistic finish.
5 Things You Should Avoid
- Skipping Primer: Always prime your surface before applying paint. Primer ensures better adhesion of paint, hiding underlying colours and preventing the final finish from appearing patchy.
- Using Low-Quality Paints: Invest in high-quality paints for a durable finish. Low-quality paints can lead to uneven application, peeling, and a less convincing wood stain appearance.
- Rushing the Drying Process: Allow each coat of paint and glaze to dry thoroughly. Rushing this process can result in smudging, uneven layers, and a less realistic stained look.
- Neglecting Surface Preparation: Failing to adequately clean and sand your surface prior to painting can lead to poor adhesion and an unconvincing final appearance. Proper surface prep is key to a professional finish.
- Overloading Brushes or Rollers: Avoid applying too much paint at once. Thick layers can obscure the fine details and grain patterns that you’re trying to replicate, making the finish look more like paint than stain.
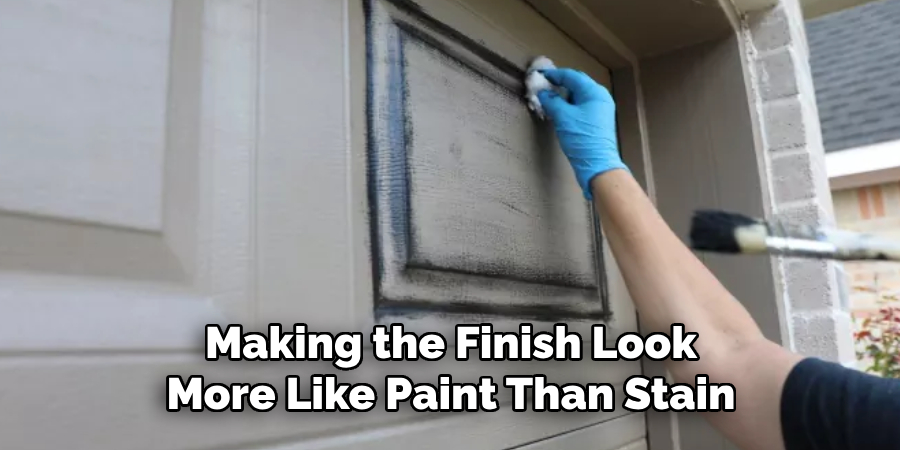
By avoiding these common mistakes, you can achieve a more convincing stain-like appearance with your paint projects.
Conclusion
Mastering the art of making paint look like stain opens up a world of creative possibilities for revamping furniture and home décor items. You can achieve remarkable depth and texture that closely resembles real wood stains by meticulously following proven techniques such as using gel stains, layering colors, and sanding between coats.
Additionally, incorporating the use of glazes and varied painting methods and avoiding common pitfalls will significantly enhance the authenticity of your faux wood finish. With patience and careful attention to detail, transforming painted surfaces into convincing wood-like masterpieces becomes entirely achievable, allowing for a customized and polished look that stands the test of time.
Hopefully, this guide on how to make paint look like stain has given you the inspiration and knowledge to confidently embark on your own faux wood painting projects. So why wait? Grab your paintbrushes and start creating stunning faux wood finishes today. Happy painting!
