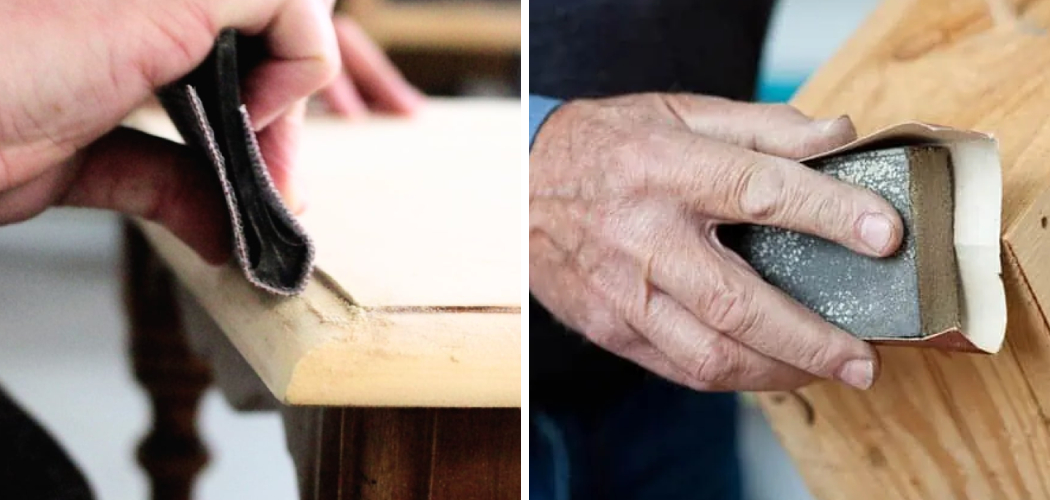
Are you looking for an efficient way to sand uneven surfaces on your next DIY project? Sanding is an essential step in any woodworking or home improvement project, but it can be challenging when dealing with uneven surfaces.
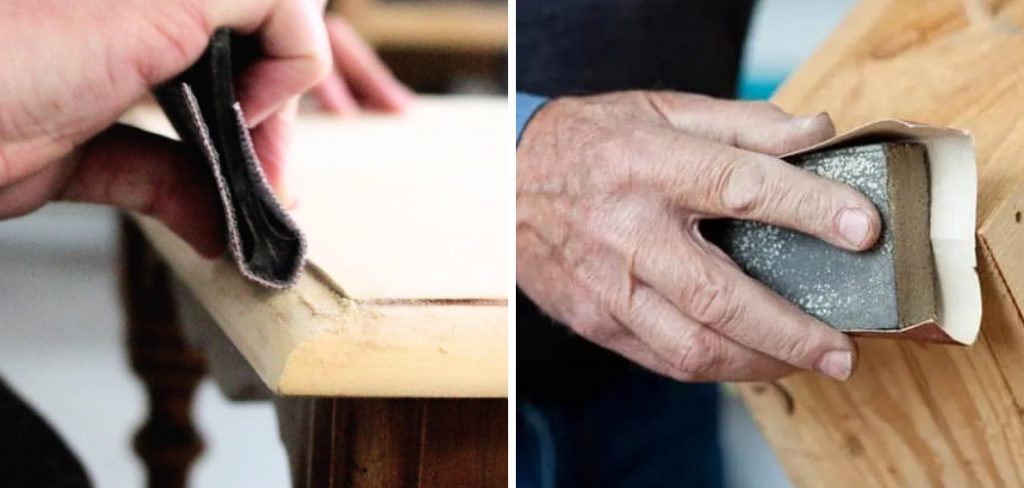
Sanding uneven surfaces can be daunting, whether you are working on a woodworking project, restoring furniture, or preparing walls for painting. Achieving a smooth, even finish is essential for both aesthetic and practical reasons, as it enhances the surface’s appearance and durability.
This guide will walk you through the necessary steps and provide valuable tips on how to sand uneven surfaces, ensuring professional-looking results regardless of your level of experience. With the right techniques and tools, you’ll be able to tackle any uneven surface confidently and efficiently.
What Will You Need?
Before beginning any sanding project, gathering all the necessary materials and tools is crucial. This will save you time and effort in the long run and ensure a smooth sanding process. Here are some essential items you’ll need when sanding uneven surfaces:
- Sandpaper: The grit of your sandpaper will depend on the type of surface you’re working on, but generally, a lower grit (40-60) is suitable for the initial sanding of uneven surfaces. Higher grits (80-120) are ideal for smoothing out the surface and achieving a finer finish.
- Sanding Block: While you can use your hands to hold the sandpaper, a sanding block provides better control and even pressure while sanding. You can purchase a sanding block from any hardware store or make your own using a scrap piece of wood.
- Power Sander: A power sander can save time and effort for larger projects. There are different types of power sanders available, such as belt sanders, random orbital sanders, and palm sanders. Choose the one that best suits your project.
- Safety Equipment: Sanding can create a lot of dust, so it’s essential to wear a mask and safety glasses to protect yourself from inhaling any particles. You may also want to wear gloves to avoid blisters on your hands.
Once you have all the necessary tools and equipment, it’s time to prepare your work area and start sanding.
10 Easy Steps on How to Sand Uneven Surfaces
Step 1: Prep the Surface
Before you start sanding, it’s important to properly prepare the surface to ensure the best results. Begin by cleaning the area thoroughly to remove any dust, dirt, or debris that could interfere with the sanding process. Use a damp cloth to wipe down the surface, and then let it dry completely.
If you’re working on a piece of furniture, consider removing any hardware, such as knobs, handles, or hinges, to avoid sanding over them or causing damage. Also, if the surface has any existing paint or varnish, you may need to use a paint stripper or scraper to remove the bulk of it before sanding. This will make the sanding process more manageable and effective.
Step 2: Choose the Right Sandpaper
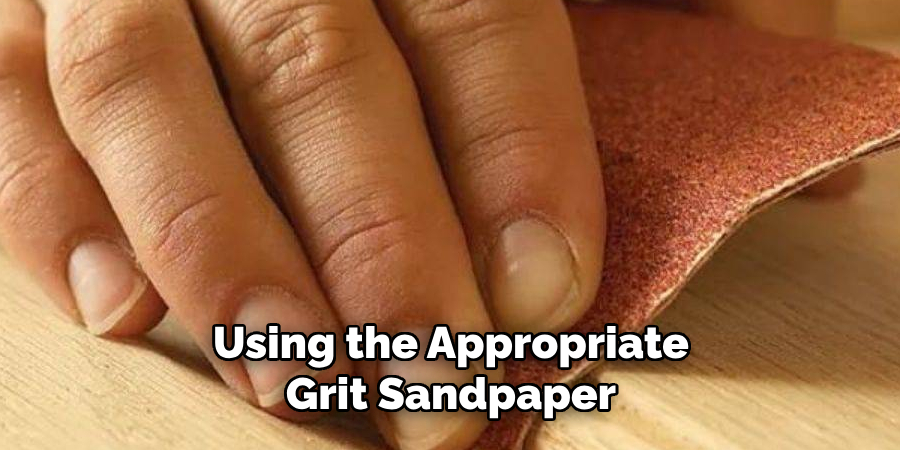
Selecting the right sandpaper is crucial for achieving a smooth finish on uneven surfaces. Begin with coarse-grit sandpaper, typically between 40 and 60 grit, to tackle the roughest areas and remove significant imperfections. This initial sanding will help level the surface and prepare it for finer sanding.
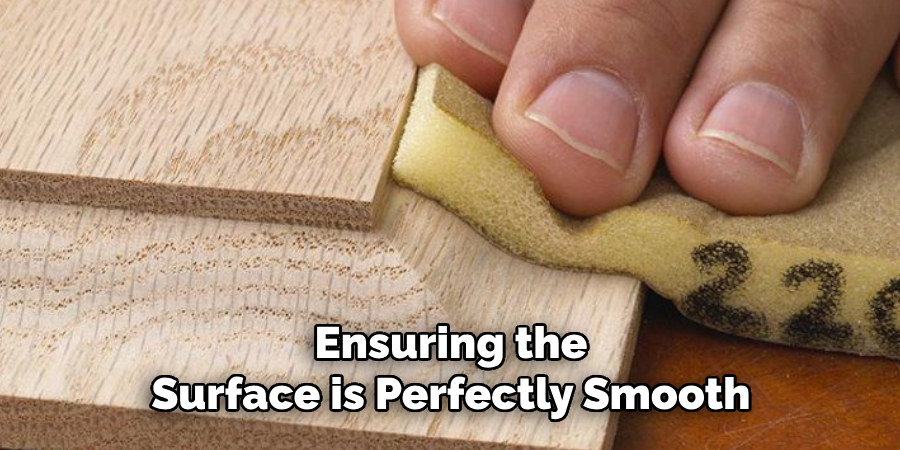
Once the uneven spots begin to level out, switch to medium-grit sandpaper (80-120 grit) to smooth the surface further. Finally, use fine-grit sandpaper (180-220 grit) for the finishing touches, ensuring the surface is perfectly smooth and ready for any further treatments, such as painting or staining.
Step 3: Sand the Surface with a Sanding Block
Start sanding the surface using the coarse-grit sandpaper on your sanding block. Apply even pressure and use long, even strokes, moving in the direction of the wood grain if you’re working with wood. This will help to prevent scratches and achieve a more uniform finish. If you’re working on a flat surface, try to keep the sanding block as flat as possible to avoid creating new uneven areas.
Continue sanding until the majority of the rough spots are smoothed out. Remember to periodically check your progress and adjust your sanding technique as needed. Be patient, as rushing through this step can lead to an uneven finish and potentially more work later on.
For curved or intricate areas, you may need to switch to hand sanding or use specialty sanding tools to maintain control and precision.
Step 4: Use a Power Sander for Larger Areas
Consider using a power sander to speed up the process and ensure an even finish for larger surfaces or extensive projects. Belt sanders, random orbital sanders, and palm sanders are all excellent options, depending on your project’s specific requirements. When using a power sander, always start with coarse-grit sandpaper to tackle the most uneven sections.
Begin by moving the sander in smooth, overlapping motions across the surface. Allow the tool to do the work—apply light pressure and let the sanding pad glide over the surface. Avoid pressing down too hard, as this can create new uneven spots or remove too much material. Periodically check your progress and adjust your technique or switch to a finer grit sandpaper as needed.
Step 5: Inspect and Clean the Surface
After sanding with the power sander, inspect the surface to identify any remaining rough or uneven spots. If necessary, hand sand these areas using the appropriate grit sandpaper. Ensure the surface is smooth and even before proceeding to the next step.
Step 6: Final Sanding and Cleanup
Use fine-grit sandpaper (180-220 grit) for the final sanding to achieve a perfectly smooth finish. Once satisfied with the surface, clean up any dust or debris using a vacuum or a damp cloth. This preparation will ensure the surface is ready for painting, staining, or other treatments.
Step 7: Wipe Down the Surface
After completing the final sanding, it’s essential to thoroughly clean the surface before proceeding with any finishing steps such as painting or staining. Use a clean, damp cloth to carefully wipe down the entire area, removing any fine dust or residual particles that the vacuum may have missed. It’s important to ensure the cloth is only damp, not soaked, to avoid introducing excess moisture, which could affect the surface preparation.
For intricate or detailed areas, consider using a small brush to reach crevices and corners where dust may accumulate. After wiping down, allow the surface to dry fully, as even a small amount of moisture can interfere with the adhesion of paint or stain.
Step 8: Apply Wood Conditioner
Before applying any paint or stain, consider using a wood conditioner, especially on softwoods. This will help the wood absorb the finish more evenly and prevent blotchiness. Follow the manufacturer’s instructions for application and drying times.
Step 9: Apply Your Finish
Once the surface is thoroughly prepped and conditioned, it’s time to apply your chosen finish, whether it be paint, stain, or varnish. The type of finish you select will depend on your project’s desired appearance and durability.
If you’re using paint, start by applying a primer to ensure better adhesion and a longer-lasting finish. Use a high-quality brush or roller to apply the primer evenly, following the grain of the wood. Once the primer is dry, lightly sand the surface with fine-grit sandpaper (220 grit) to smooth out any imperfections.
Next, apply the first coat of paint using long, even strokes. Allow this coat to dry completely before lightly sanding again to ensure a smooth finish. Apply additional coats as needed, sanding lightly between each coat until you achieve the desired coverage and smoothness.
For stain, carefully apply it with a brush or clean cloth, following the wood grain. Wipe away any excess with a clean cloth to avoid blotchiness and allow it to dry completely.
After staining, you may want to apply a clear protective coat, such as polyurethane or varnish, for added durability and sheen.
Step 10: Allow the Finish to Cure
After applying the final coat of your chosen finish, it’s crucial to allow the surface to cure fully. Curing times can vary greatly depending on the type of finish used and the environmental conditions. Follow the manufacturer’s instructions regarding drying and curing times to ensure the finish reaches maximum hardness and durability.
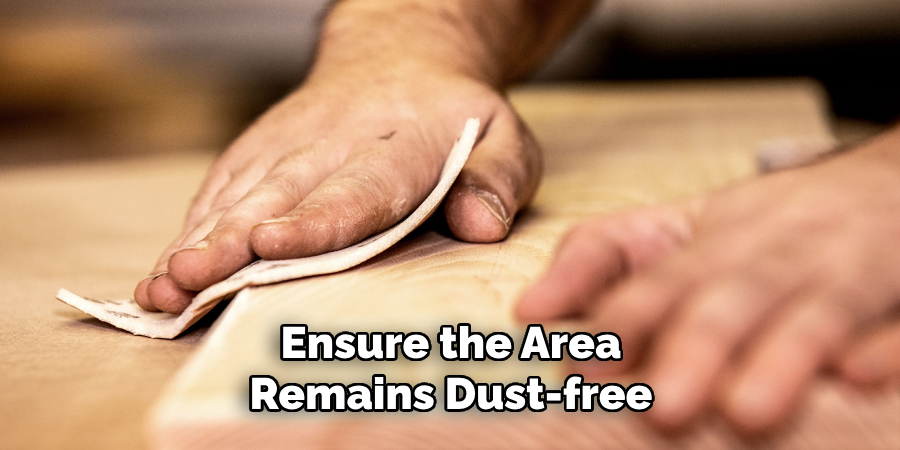
During this period, avoid placing any objects on the newly finished surface, as this can lead to indentations or damage. Ensure the area remains dust-free and is well-ventilated to promote proper curing.
Once the finish has fully cured, your project is complete and ready for use. Properly cared for, the surface should remain beautiful and durable for years to come.
By following these steps and taking your time, you can achieve a professional-looking finish on any wood project.
Conclusion
How to sand uneven surfaces requires patience, attention to detail, and the right combination of tools and techniques.
Each step plays a crucial role in achieving a smooth, even finish, from selecting the appropriate grit of sandpaper to using both hand and power sanding methods. The preparation process cannot be rushed—ensuring that you’ve thoroughly sanded, cleaned, conditioned, and adequately applied your finish is vital for the best result.
By following these outlined steps diligently, you can create a flawless surface ready to showcase with pride, improving both the functionality and appearance of your woodworking projects.
Remember that consistent practice and refining your technique will make each subsequent project smoother and more efficient.
