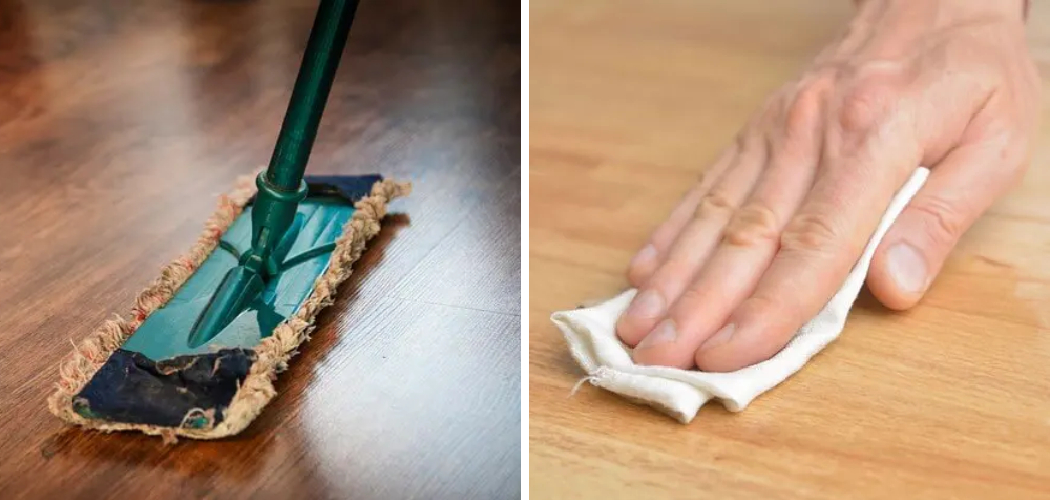
Are you tired of dealing with dust and grit after sanding wood? Look no further, because we have some tips on how to clean sanded wood efficiently and effectively.
Cleaning sanded wood is an essential step to ensure that your woodwork maintains its quality and appearance. Whether you’re preparing for a fresh coat of finish or simply maintaining the natural beauty of the wood, proper cleaning techniques can make a significant difference. This process involves removing all dust particles and any grease or grime that can accumulate, thereby ensuring a smooth and clean surface.
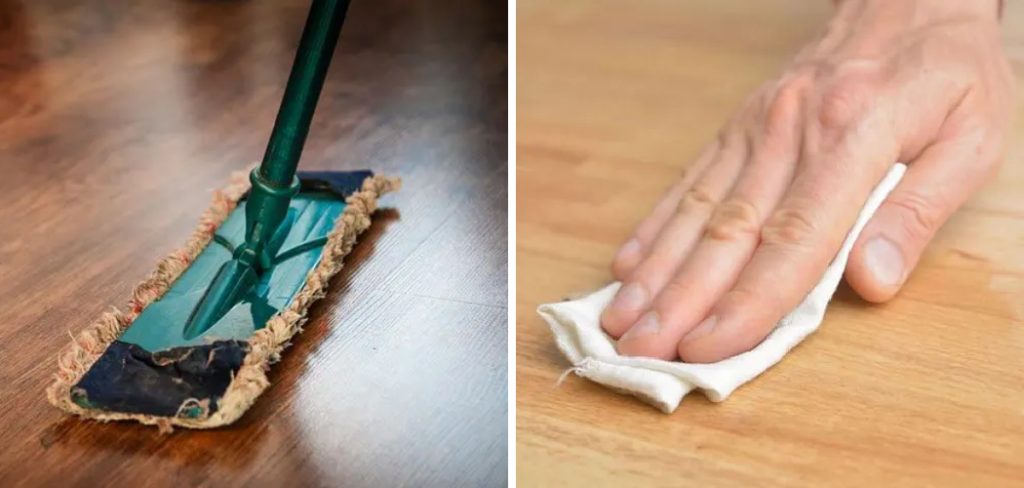
By following a series of straightforward steps, you can effectively clean sanded wood and prepare it for any subsequent treatments or finishes. Here, we will walk you through the essential methods and tips to achieve perfectly clean sanded wood.
What Will You Need?
Before you start cleaning your sanded wood, gather all the necessary supplies to make the process easier and more efficient. Here are some of the items you will need:
- Soft-bristled brush or vacuum cleaner
- Microfiber cloth or tack cloth
- Water and mild soap solution
- Mineral spirits or denatured alcohol (if dealing with tough stains)
Once you have all your supplies, you can begin the process of cleaning sanded wood.
10 Easy Steps on How to Clean Sanded Wood
Step 1: Remove Loose Dust
The first step in cleaning sanded wood is to remove any loose dust. For this purpose, you can use a soft-bristled brush or a vacuum cleaner with a brush attachment. Gently sweep or vacuum the entire surface of the wood to eliminate any particles that could interfere with your finish or further treatments. It is crucial to be thorough but gentle to avoid scratching the wood. Ensure you reach all corners and crevices, as dust can accumulate in these areas and affect the overall smoothness and quality of the finish.
Step 2: Wipe Down with a Tack Cloth
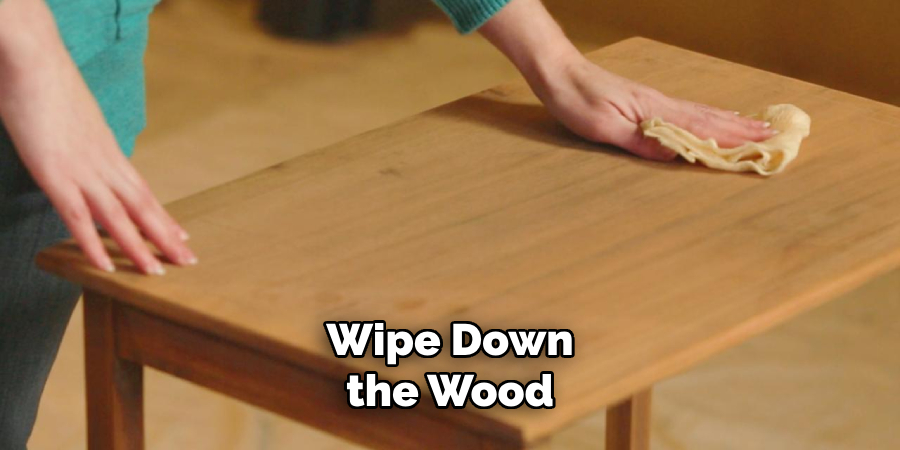
After removing the loose dust, the next step is to wipe down the wood using a tack cloth. A tack cloth is a sticky piece of fabric that can efficiently pick up fine dust particles that the brush or vacuum may have missed. Gently run the tack cloth over the entire surface, ensuring that you cover all areas. This step is essential for creating a dust-free surface, which is crucial for achieving a flawless finish. If you do not have a tack cloth, a slightly damp microfiber cloth can also be used, but ensure that you avoid soaking the wood with excess moisture.
Step 3: Clean with a Mild Soap Solution
You can wash the wood with a mild soap solution for added cleanliness. Mix a small amount of mild soap with water to create a gentle cleaning solution. Dampen a microfiber cloth with the solution and wring out any excess water. Wipe down the wood surface carefully, making sure to clean away any remaining dust or grime. Be cautious not to saturate the wood, as too much water can raise the grain or cause damage. Once done, dry the surface immediately with a clean, dry cloth to ensure no moisture is left behind.
Step 4: Use Mineral Spirits for Tough Stains
If you encounter any tough stains or spots that the mild soap solution didn’t remove, you can use mineral spirits or denatured alcohol. Apply a small amount of the chosen solvent to a clean cloth and gently rub it over the stained area. Be sure to work in a well-ventilated area and follow the safety instructions on the product label.
After treating the stain, wipe the area with a damp cloth to remove any residue and then dry it with a clean, dry cloth. This step ensures that the wood is free of stubborn grime and is ready for further finishing treatments.
Step 5: Sand Again if Necessary
Sometimes, after cleaning, you may notice rough spots or fibers raised due to the moisture. In such cases, lightly sand the wood again using fine-grit sandpaper (220-grit or higher). This additional sanding will smooth out any imperfections and prepare the wood for finishing.
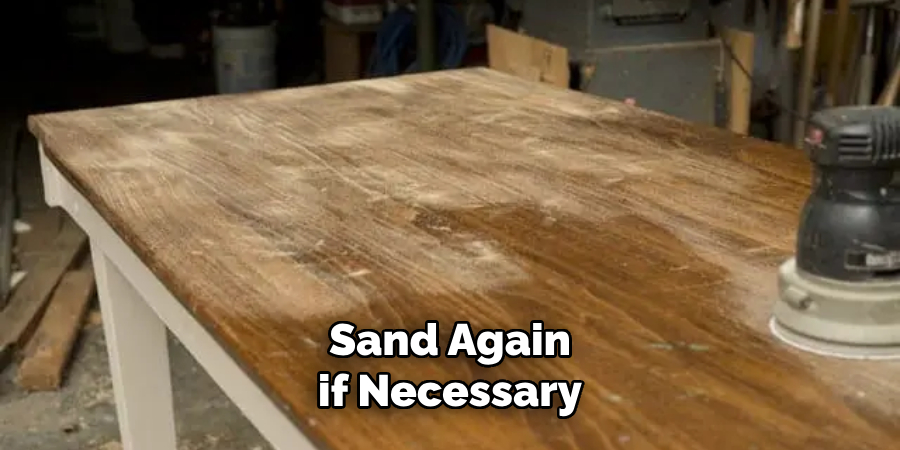
Be gentle in this step to avoid removing too much material or damaging the wood surface. Once you have sanded the areas that needed attention, repeat Steps 1 and 2 to ensure the wood is free of any sanding dust. This ensures the surface is perfectly smooth and clean, ready for the final finish.
Step 6: Inspect the Surface for Cleanliness
After sanding, thoroughly inspect the surface of the wood. Look for any remaining dust, stains, or rough spots that might need additional attention. Use both visual inspection and your sense of touch to ensure the wood is perfectly clean and smooth. This step is crucial to achieving a high-quality finish, as any leftover imperfections can become more pronounced once the final finish is applied. If you find any areas that need further cleaning or sanding, address them now before moving on to the next steps.
Step 7: Allow the Wood to Dry Completely
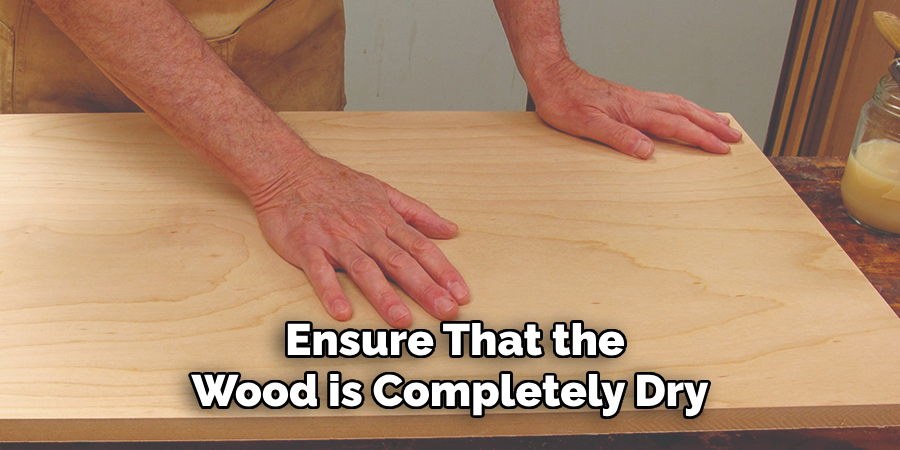
Before applying any finish, ensure that the wood is completely dry. Any moisture left in the wood can affect the adhesion and appearance of the finish. Drying times may vary depending on the climate and the type of wood. It is advisable to let the wood air dry in a well-ventilated area for at least 24 hours. This step is crucial in preventing any issues with the finish and ensuring a long-lasting, beautiful result.
Taking these extra precautions will help guarantee that your final finish will be smooth, even, and durable, showcasing the wood’s natural beauty.
Step 8: Apply a Pre-Stain Conditioner (Optional)
After ensuring the wood is completely dry, you may choose to apply a pre-stain conditioner, especially if you are working with softwoods like pine, cherry, or birch. The conditioner helps to ensure an even absorption of stains, preventing blotchiness and enhancing the overall appearance of the finish.
Follow the manufacturer’s instructions on the conditioner’s label for the best results. Apply it using a clean cloth or brush, evenly covering the entire surface. Allow it to penetrate the wood for the recommended time, and wipe off any excess before moving on to the staining process. This optional step can make a significant difference in achieving a professional-looking finish.
Step 9: Apply the Stain
Once the wood is prepared and, if desired, pre-treated with a conditioner, it’s time to apply the stain. Choose a high-quality wood stain that matches your project’s desired color and finish. Stir the stain thoroughly before application to ensure an even color distribution. Using a brush, clean cloth, or foam applicator, apply the stain in the direction of the wood grain.
Work in small sections to maintain control and ensure an even coat. After applying the stain, let it sit for a few minutes, allowing the wood to absorb the color. The duration can vary based on the brand and type of stain, so refer to the manufacturer’s recommendations. Wipe off any excess stain with a clean cloth to avoid uneven coloring or blotches. If a darker color is desired, you can apply additional coats, allowing appropriate drying time between each application. Make sure to work in a well-ventilated area and use protective gloves to keep your hands stain-free.
Step 10: Apply the Final Finish
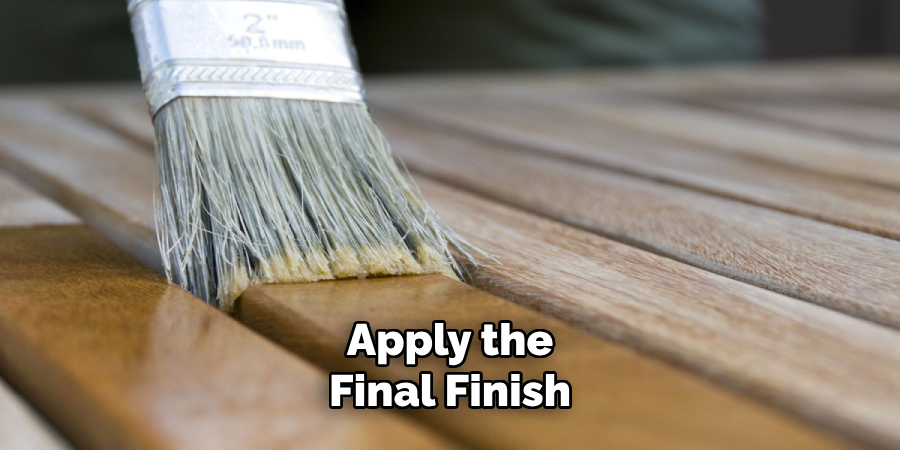
After staining the wood to your desired color and allowing it to dry completely, it’s time to apply the final finish to protect and enhance the wood’s appearance. Choose a finish that suits your project, such as polyurethane, varnish, lacquer, or shellac. Stir the finish well before application to ensure an even consistency. Using a high-quality brush or foam applicator, apply the finish in smooth, even strokes, following the direction of the wood grain.
Work in thin, even layers to avoid drips and build-up, and allow each coat to dry thoroughly as per the manufacturer’s instructions. For a smoother finish, lightly sand between coats with fine-grit sandpaper (320-grit or higher) and remove any sanding dust with a tack cloth. Depending on the type of finish and desired durability, you may need to apply multiple coats.
By following these steps, you can achieve a professional-looking finish on any wooden project, enhancing its natural beauty and protecting it for years.
Conclusion:
In conclusion, how to clean sanded wood is a meticulous yet essential process that significantly influences the final appearance and durability of your woodworking project.
By following the detailed steps provided, you ensure that the wood is free of any dust, stains, or imperfections that could detract from the final finish. The process involves thorough cleaning, careful inspection, and preparing the wood surface for subsequent finishing steps. Whether you choose to apply a pre-stain conditioner or go straight to staining and finishing, prioritizing cleanliness and smoothness at every stage will yield professional-quality results.
Attention to these details will enhance the natural beauty of the wood, providing a smooth, even, and long-lasting finish that showcases your craftsmanship.
