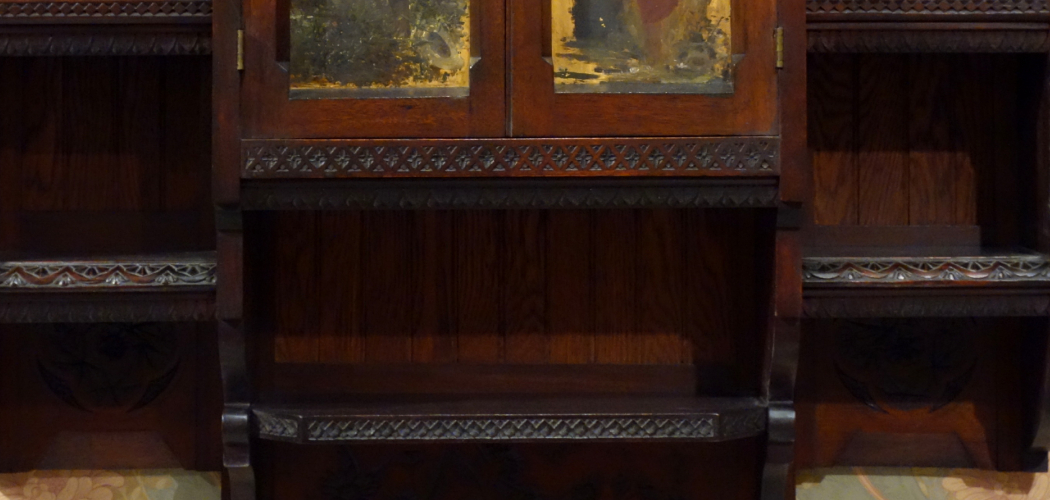
Are you tired of your china cabinet’s old and dull appearance? Repainting it can give it a whole new life and make it a standout piece in your home decor.
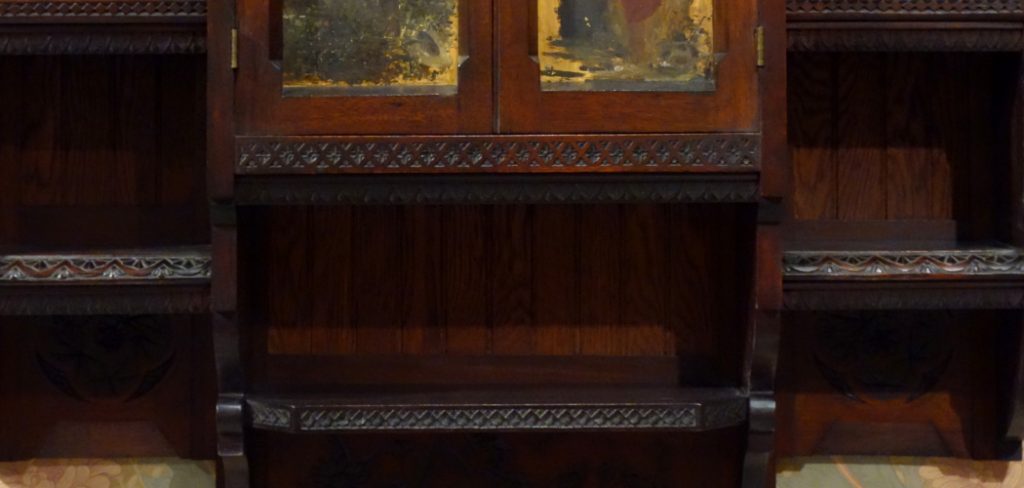
Repainting a china cabinet can breathe new life into an old piece of furniture, transforming it into a stunning focal point for any room. Whether you’re looking to refresh the cabinet to match a new decor style or simply want to restore its former glory, repainting is a cost-effective way to achieve remarkable results.
In this guide, we will walk you through the step-by-step process of how to repaint a china cabinet, from selecting the appropriate materials to applying the final coat of paint. With a bit of patience and creativity, you can turn your china cabinet into a beautifully repurposed treasure.
What Will You Need?
Before you start painting, make sure you have all the necessary materials on hand. Here’s a list of items that you’ll need to get started:
- Screwdriver or drill – for removing cabinet hardware
- Sandpaper (medium and fine grit) – for sanding down the cabinet surface
- Tack cloth – for wiping off dust after sanding
- Primer – for preparing the surface for paint
- Paintbrushes – for applying primer and paint
- Paint – choose a high-quality, durable paint suitable for wood surfaces
- Drop cloth or old sheets – for protecting your workspace from spills and drips
- Painter’s tape – for masking off any areas you don’t want to be painted
- Clean cloth and mild soap – for cleaning the cabinet surface
Once you have all your materials ready, it’s time to get started!
10 Easy Steps on How to Repaint a China Cabinet
Step 1: Prepare the Cabinet
Start by clearing out the cabinet, ensuring that no dishes or decorative items are left inside. It’s crucial to work on an empty cabinet to avoid damage to your belongings and to give you unobstructed access to the surfaces that need painting. Next, remove all the hardware, such as handles, knobs, and hinges, using a screwdriver or drill.
If your cabinet has glass doors, carefully remove the glass panes to prevent any breakage or paint splatters on the glass. Store all parts securely and label them if necessary to make reassembly easier.
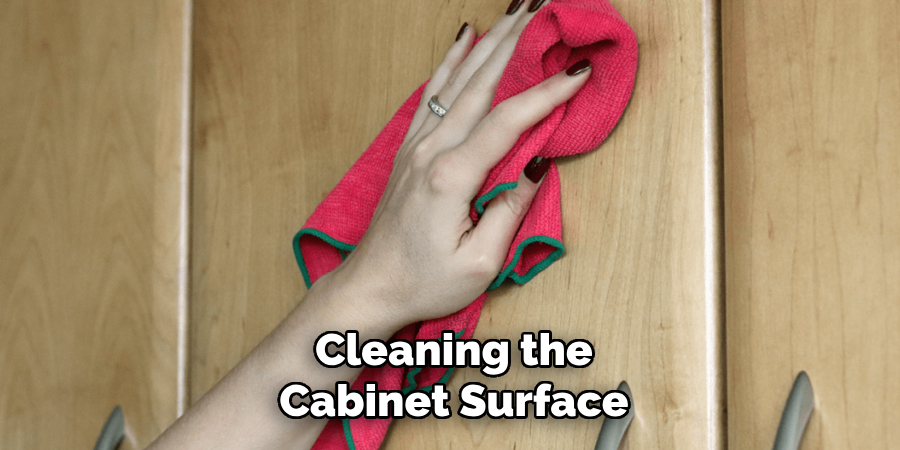
Once the cabinet is empty and hardware-free, clean the entire surface with a mild soap solution and a clean cloth. This step helps remove any grease, grime, or residue that could affect the paint’s adhesion. Allow the cabinet to dry completely before proceeding to the next step.
Step 2: Sand the Surface
Once the cabinet is clean and dry, the next step is to sand the entire surface using medium-grit sandpaper. This process helps to roughen up the existing finish, which allows the primer and paint to adhere better. Pay particular attention to any areas with old paint or varnish buildup. For detailed or intricate sections of the cabinet, you may need to use a smaller piece of sandpaper or a sanding sponge to ensure you reach all the nooks and crannies.
After you have sanded the surface, switch to fine-grit sandpaper to smooth out any rough spots and provide a polished look. Be thorough but gentle during this process to avoid scratching or damaging the wood. Finally, use a tack cloth to wipe away all the sanding dust. Ensuring the surface is free of dust is crucial as it will enable the primer to bond more effectively with the wood, setting the stage for a smooth and even paint finish.
Step 3: Apply Primer
With the cabinet surface properly sanded and cleaned, your next step is to apply a coat of primer. Primer is essential as it provides a solid base for your paint, helping it to adhere better and last longer. Choose a primer that is appropriate for wood surfaces and matches well with the type of paint you plan to use.
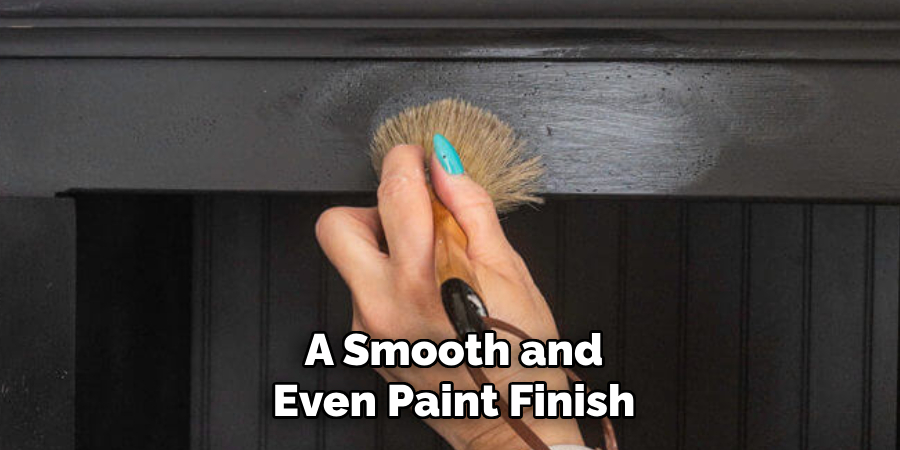
Begin by masking off any areas that you don’t want to be painted using painter’s tape. Lay down a drop cloth or old sheets to protect your floor from any accidental drips. Using a paintbrush, apply a thin, even coat of primer to the entire surface of the cabinet. Take your time to ensure that the primer covers all areas, including corners and detailed sections.
Step 4: Allow the Primer to Dry
After applying the primer, it’s crucial to allow it to dry fully before moving forward to painting. Follow the drying time indicated on the primer’s label, which typically ranges from 1 to 4 hours. Ensuring the primer is completely dry will provide a solid foundation for the paint and help achieve a smooth, professional finish. It might be tempting to rush this step, but patience is key to avoiding smudges or uneven paint application. During this waiting period, you can clean your brushes and prepare for the painting process.
Step 5: Paint the Cabinet
Once the primer is thoroughly dry, it’s time to start painting the cabinet. Using a high-quality paintbrush, apply an even coat of your chosen paint, starting with the inner sections and working your way outwards. It’s best to use long, smooth strokes to ensure an even application and avoid visible brush marks. If your paint is too thick, you can thin it slightly with a bit of water or a paint conditioner, but be careful not to overdo this as it may affect the coverage.
Apply the paint in thin layers, allowing each coat to dry completely before applying the next. Multiple thin coats will provide a more professional finish compared to one or two thick coats, which can lead to drips and an uneven surface. Be sure to follow the drying time recommended by the paint manufacturer, which usually ranges from 4 to 6 hours depending on the type of paint.
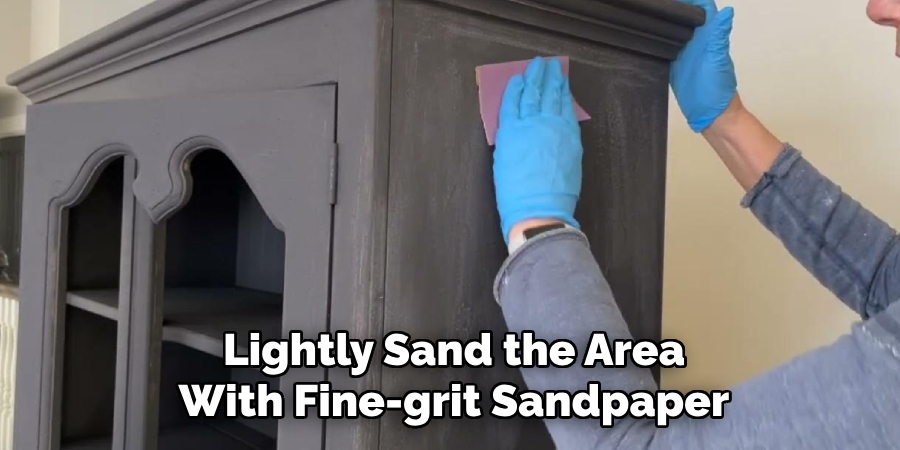
If you notice any imperfections or uneven spots after the first coat, lightly sand the area with fine-grit sandpaper before applying the next coat to ensure a smooth finish.
Step 6: Apply Additional Coats
After the first coat of paint is dry, inspect the cabinet for any areas that may need additional coverage. Often, one coat of paint is not enough to achieve a uniform appearance, particularly if you are using lighter colors or painting over a darker surface. Apply a second coat of paint, again using thin, even strokes and allowing each layer to dry completely before moving on to the next.
Depending on your desired finish and the type of paint, you may need to apply three or more coats to achieve the perfect look. Always allow ample drying time between coats to prevent smudges or imperfections.
Step 7: Reattach Hardware and Glass
Once you are satisfied with the paint finish and it is fully dry, it’s time to reattach the cabinet hardware and any glass panes you removed earlier. Carefully place the glass back into the doors and secure it to avoid any movement. Using your screwdriver or drill, reattach handles, knobs, and hinges to their original positions. Make sure all hardware is secured tightly, but be cautious not to over-tighten and damage the newly painted surface.
Step 8: Apply a Protective Finish
To ensure the longevity of your newly painted china cabinet, applying a protective topcoat’s a good idea. This step is crucial if the cabinet will be in a high-traffic area or used frequently. Choose a clear polyurethane or wax finish suitable for the type of paint you use. Apply it according to the product instructions, usually using a clean brush or cloth. Allow the topcoat to dry completely before placing any items inside or on top of the cabinet.
Step 9: Reassemble and Decorate
With the protective finish dry and all hardware securely reattached, your cabinet is ready to be reassembled. Carefully return any shelves or drawers to their positions and replace any decorative elements or dishes you removed prior to painting. Take this opportunity to arrange your items in a way that complements your new, beautifully painted cabinet.
Step 10: Enjoy Your New Piece
Congratulations! You’ve successfully transformed an old china cabinet into a stunning piece of furniture that adds color and charm to your space. Take a moment to admire your handiwork and enjoy the refreshed look of your room. Whether you use it to display treasured collectibles, fine china, or as extra storage, your repurposed cabinet will surely be a focal point and conversation starter for years to come.
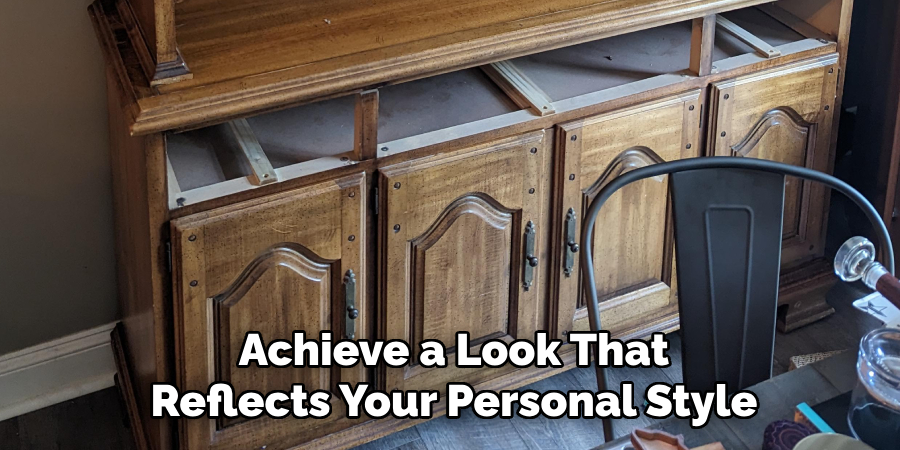
By following these simple steps, you can easily paint a china cabinet and give it new life. Don’t be afraid to experiment with different paint colors and techniques to achieve a look that reflects your personal style.
Conclusion
How to repaint a china cabinet is a rewarding project that can breathe new life into an old piece of furniture, transforming it into a beautiful and functional focal point in your home.
By carefully following the step-by-step process—from preparation and priming to painting and protecting—you can achieve a professional finish that reflects your personal style. Remember to take your time with each stage, ensuring proper drying and application techniques to avoid common pitfalls such as uneven coverage or smudging.
With the right materials, patience, and a bit of creativity, your repainted china cabinet will not only enhance your décor but also provide a sense of accomplishment and pride in your handiwork.
Whether you are giving a cherished heirloom a fresh look or updating a thrift-store find, the principles outlined in this guide will help you achieve stunning results that you can enjoy for years to come.
