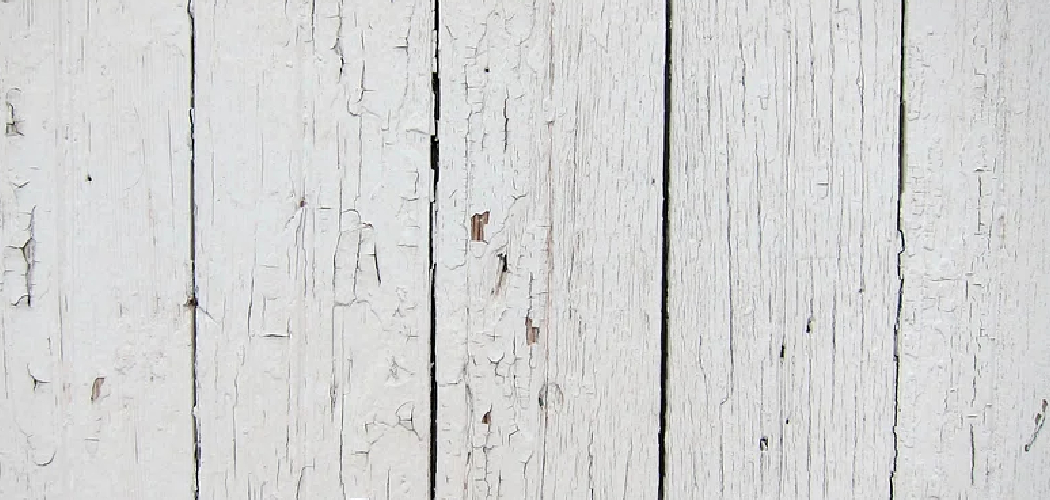
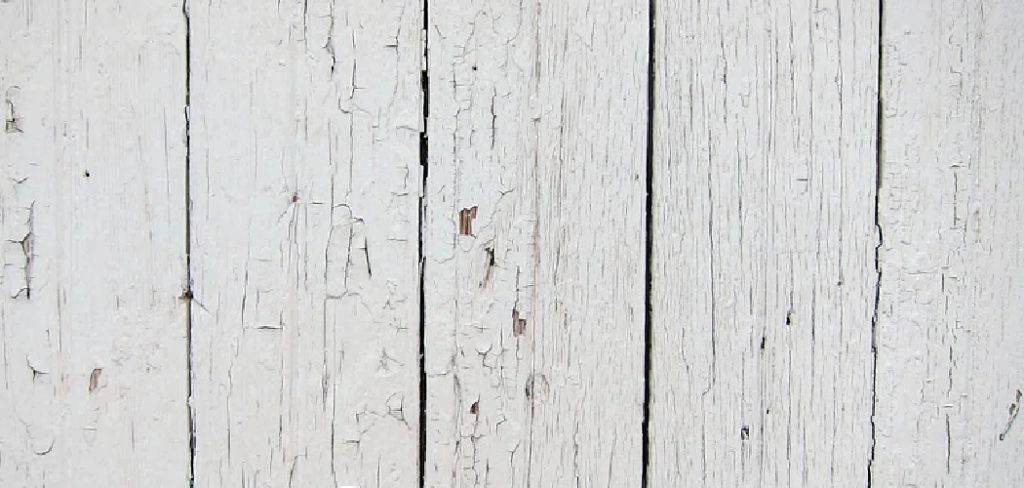
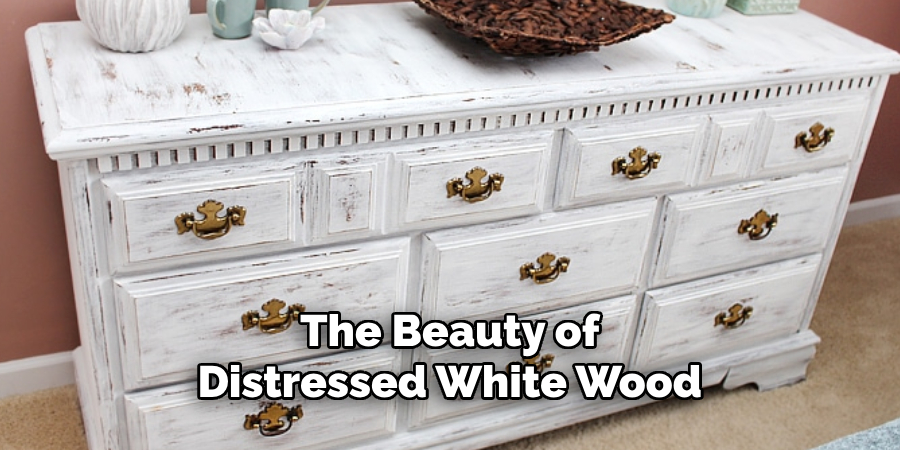
Distressed white wood offers a charming and vintage aesthetic, perfect for giving your furniture or décor a shabby chic look. This technique involves creating an aged effect on wooden surfaces, making new wood look old and weathered.
Not only does this add character and a unique touch to your pieces, but it also allows you to reuse and repurpose old or inexpensive furniture. In this guide on how to paint distressed white wood, we will take you through the steps of painting distressed white wood.
Gather Materials
Before getting started, gather all the necessary materials for this project. Here’s a list of what you’ll need:
1.Wooden Surface:
This could be anything from a piece of furniture, such as a table or chair, to smaller items like picture frames or wooden signs. Choose a surface with interesting details and texture for the best-distressed effect.
2.Sandpaper:
You’ll need various grits of sandpaper – coarse, medium, and fine – to achieve a distressed look. The higher the grit number, the finer the sandpaper is. Coarse sandpaper will remove more wood and create deeper grooves and scratches, while fine sandpaper will create smoother distressing.
3.Paintbrushes:
Make sure you have a few different sizes of paintbrushes for precise painting and blending.
4.White Paint:
Choose a white paint in your preferred finish – matte or satin are popular choices for a distressed look. You can also opt for chalk paint, which is known for its vintage and matte appearance.
5.Paint Stripper (Optional):
If you have an old piece of furniture with multiple layers of paint or varnish, using a paint stripper can make the sanding process easier and more effective.
10 Step-by-step Guidelines on How to Paint Distressed White Wood
Step 1: Prepare the Surface
Start by preparing your wooden surface – remove any previous layers of paint or varnish with a paint stripper if necessary.
Next, clean the surface thoroughly to remove any dust or dirt, as this will affect the final result. It’s best to use a damp cloth or tack cloth for this.
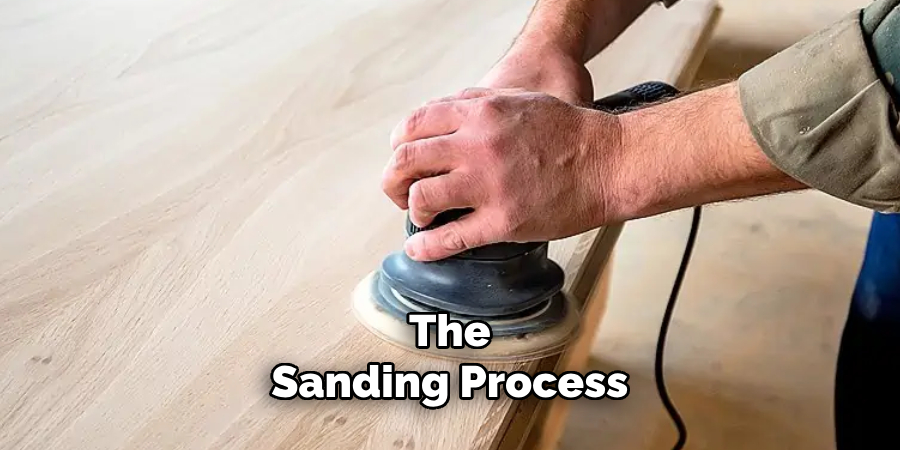
Step 2: Sand the Surface
Once the surface is clean and dry, begin sanding it with coarse sandpaper. This initial sanding will help to create a rough base, making it easier for the paint to adhere. Use even pressure and sand in the direction of the wood grain to prevent any unwanted scratches. After sanding with the coarse grit, switch to medium-grit sandpaper to smooth out any rough patches.
Finally, use fine grit sandpaper for an even smoother finish. Make sure to wipe down the surface with a tack cloth or damp cloth between each sanding to remove any dust particles, ensuring a clean surface for the next steps.
Step 3: Apply the Base Coat
Now, it’s time to apply the base coat of paint to your prepared wooden surface. Choose a darker color that will show through the white topcoat and give the piece an authentic distressed look. Use a medium-sized paintbrush to apply an even layer of paint over the entire surface, making sure to cover all areas thoroughly.
Allow the base coat to dry completely according to the manufacturer’s instructions before moving on to the next step. If necessary, apply a second coat for optimal coverage and let it dry fully.
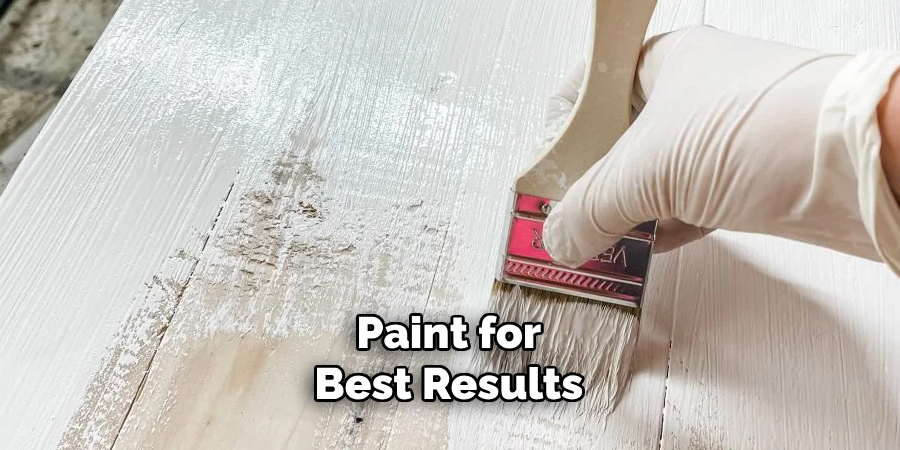
Step 4: Cover the Surface with White Paint
Once the base coat is completely dry, it’s time to apply the topcoat of white paint. Using a clean and dry brush, apply an even layer of white paint over the entire surface. You can use different techniques such as stippling, dry brushing, or using a rag to achieve a unique distressed effect.
You can also experiment with different shades of white for a more varied and interesting distressed look. Allow the paint to dry completely before moving on to the next step.
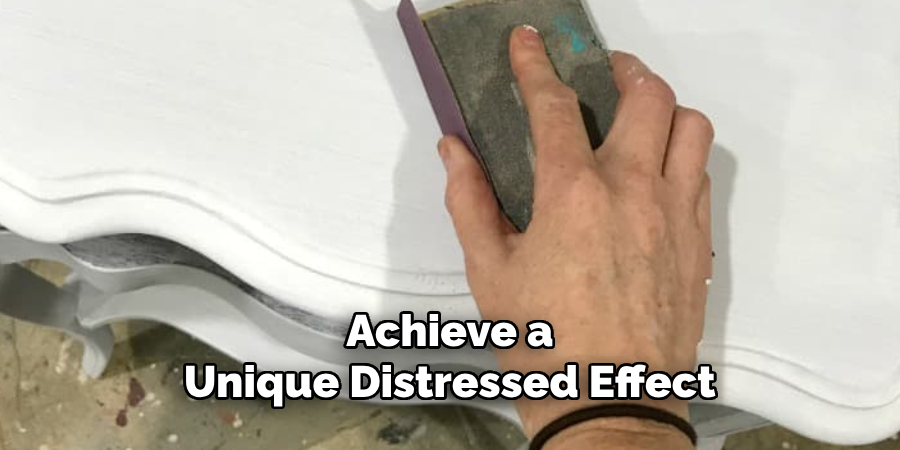
Step 5: Sand the Edges and Details
Using a medium or fine grit sandpaper, begin sanding along the edges and details of your wooden surface. Focus on areas that would naturally show wear and tear, such as corners, edges, and raised surfaces.
Use light pressure to gradually reveal the darker base coat underneath. Be sure to sand in the direction of the wood grain for a realistic distressed effect.
Step 6: Create Additional Distressing (Optional)
If you want a more heavily distressed look, you can create additional distressing by using other tools such as screwdrivers, hammers, or chains, to create dents and scratches on the surface. This step is entirely optional and can be skipped if you prefer a more subtle distressed look.
You can also experiment with different techniques, such as using a wire brush or steel wool, to create varying levels of distressing.
Step 7: Add a Wash (Optional)
For a more rustic and aged look, you can add a wash over the surface using watered-down paint. This step involves lightly brushing on a thin layer of diluted paint and then wiping it off with a cloth or paper towel before it dries completely.
Repeat this process until you achieve the desired level of aging and distress.
Step 8: Seal the Surface
Once you’re satisfied with the level of distressing, it’s time to seal the surface. Using either clear wax or polyurethane, apply an even coat over the entire surface using a clean cloth or brush. This will protect the paint and distressing from chipping or fading over time.
It’s recommended to apply at least two coats for durability, allowing the first coat to dry completely before applying the second.
Step 9: Add Finishing Touches (Optional)
You can add some finishing touches to your distressed white wood project, such as adding a glaze or antique wax for an even more aged look. You can also distress specific areas further with sandpaper or add decorative elements like stencils or transfers.
Get creative and make your distressed white wood piece truly unique!
Step 10: Display and Enjoy Your Distressed White Wood Project
After all the hard work, it’s time to display and enjoy your new distressed white wood creation! Whether it’s a statement furniture piece in your home or a charming decoration for a special event, your distressed white wood project is sure to add character and charm to any space.
Remember, with practice and experimentation, you can achieve different levels of distressing and create various effects with this versatile technique. Have fun and let your creativity run wild! After all, the beauty of distressed white wood lies in its imperfections. So embrace the unique character and charm it brings to your home or decor. Happy crafting!
Additional Tips
- Before distressing, it’s helpful to have a reference photo of a similar distressed white wood piece for inspiration.
- Experiment with different techniques and tools to create your desired level of distressing. Don’t be afraid to try new things!
- It’s best to work in layers when distressing, as you can always add more but cannot take away once the paint is dry.
- For added protection, consider using a clear topcoat or wax over the entire surface after sealing. This will keep the distressing intact and prevent any further chipping or fading. Keep in mind that adding a topcoat may alter the final look of your piece slightly.
- When applying multiple coats of paint, be sure to let each coat dry completely before moving on to the next step. This will prevent any smudging or blending of colors.
- Have fun and get creative! Distressing white wood is a versatile technique that allows for endless possibilities and unique results.
With these tips and steps on how to paint distressed white wood, you can confidently distress wood in a white finish and create beautiful, one-of-a-kind pieces for your home or decor. Happy crafting!
Frequently Asked Questions
Q: Can I Use Any Type of Wood for This Technique?
A: Yes, you can use any type of wood, but keep in mind that different types of wood may have different levels of porosity and grain patterns, which will affect the overall look of your distressed white wood project. Pine, oak, and cedar are popular choices for a more rustic or farmhouse style, while smoother woods like maple or cherry can achieve a more refined distressed look.
Q: Do I Have to Use White Paint for the Topcoat?
A: No, you can experiment with different shades of white or even use other colors for the topcoat. Keep in mind that darker base coats will show through lighter topcoats, so choose complementary colors for your desired result.
Q: How Long Does This Technique Take to Complete?
A: The time required to complete this technique will depend on various factors such as the size of your project and the number of coats and layers you apply. Typically, it can take anywhere from 1-2 days to complete, including drying time between each step.
Q: Can I Distress Already Painted Wood?
A: Yes, you can distress already painted wood using the same technique, but keep in mind that the base coat color will show through your distressed areas. So, choose a base coat color that complements or contrasts with the existing paint for best results.
Conclusion
Distressed white wood is a popular trend that adds a vintage and rustic touch to any space. With just a few tools and materials, you can easily transform an old piece of furniture or create a new distressed white wood project from scratch.
By following these step-by-step guidelines on how to paint distressed white wood, you’ll be able to achieve a beautiful and authentic distressed look that will add character and charm to any space. Remember to experiment with different techniques and have fun with the process!