Updating cabinet hardware with spray paint is a cost-effective and simple way to refresh the look of your cabinets without the expense of replacing them. Learning how to spray paint cabinet hardware can transform outdated or tired hardware into eye-catching accents that enhance the overall aesthetic of your kitchen, bathroom, or any cabinetry in your home. The process involves several straightforward steps: gathering the necessary materials, removing and cleaning the hardware, preparing it for paint, applying primer, spray painting, and finally applying a protective topcoat and reinstalling the hardware.

Preparation and technique play crucial roles in achieving a professional finish; thorough cleaning, careful sanding, and precise painting are essential for durable and visually pleasing results. In the following sections, we will guide you through each step of the process, ensuring you achieve a high-quality finish that breathes new life into your cabinetry.
Gathering Materials and Tools
Before starting your spray painting project, gathering all necessary materials and tools is important to ensure a smooth and efficient process. Here is a comprehensive list of what you will need:
- Screwdriver: Essential for detaching knobs, handles, and other hardware from the cabinets.
- Dish Soap or Degreaser: To thoroughly clean the hardware to remove oils, dirt, and grime.
- Sandpaper (Fine-grit, 220-grit Recommended): To lightly sand the hardware, creating a rough texture for better paint adhesion.
- Painter’s Tape: Useful for securing hardware pieces in place and protecting areas you don’t want to paint.
- Drop Cloths or Newspaper: To protect your work surface from paint overspray and drips.
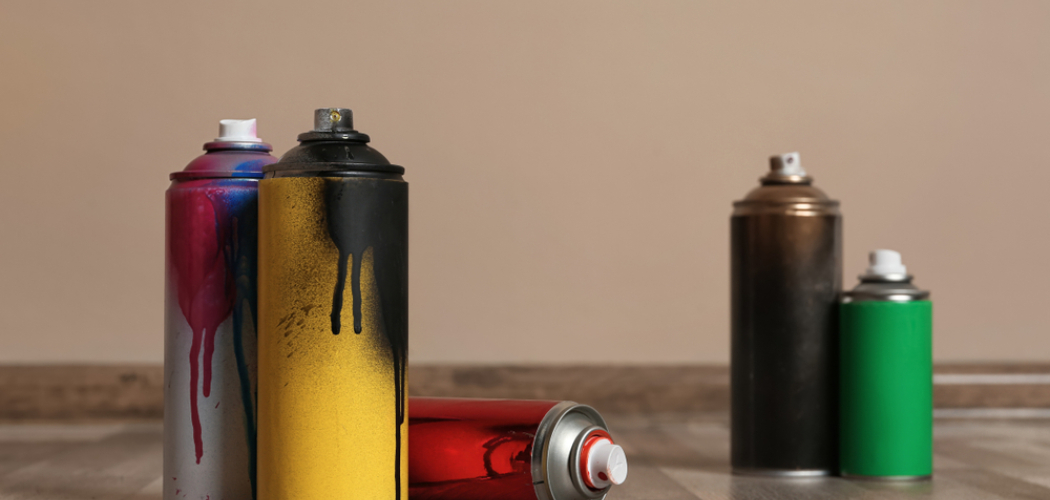
- Spray Primer Suitable for Metal: Ensures the paint adheres properly and provides a smooth base for the paint.
- Spray Paint Suitable for Metal: Choose a paint designed specifically for metal surfaces in your desired finish (matte, satin, gloss, or metallic).
- Clear Protective Topcoat Spray: Adds durability to the painted surface and helps protect against wear and tear.
- Safety Equipment: Gloves, Mask, and Goggles Essential for protecting yourself from fumes, dust, and paint overspray.
Using the right materials is crucial for achieving a durable and smooth finish. High-quality primers, paints, and topcoats designed for metal surfaces will ensure that your finished hardware stands up to daily use and maintains its appearance over time. Proper safety equipment is also vital to protect your health during painting.
Removing and Cleaning the Hardware
Proper removal and cleaning of your cabinet hardware are critical steps in ensuring a flawless paint job. Follow these instructions to prepare your hardware for a professional-looking finish:
Step-by-Step Instructions for Removing Cabinet Hardware:
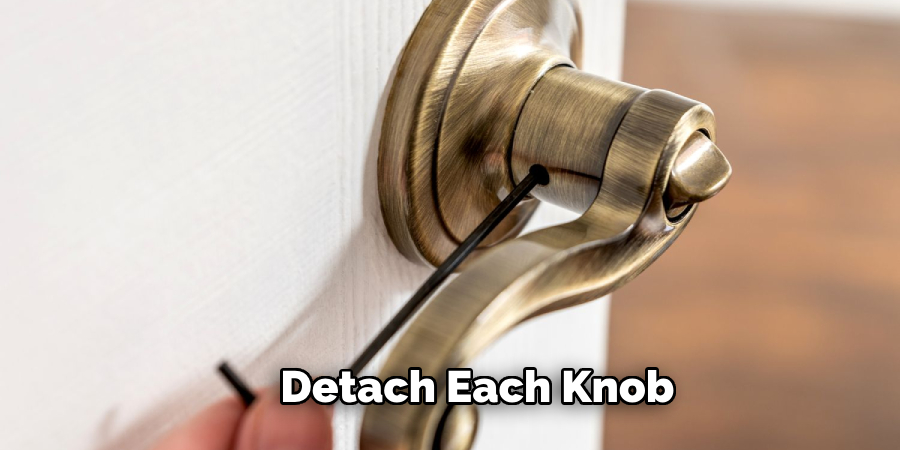
- Using a Screwdriver to Detach Knobs, Handles, and Other Hardware from the Cabinets:
- Start by opening your cabinets to gain access to the screws on the inside.
- Use an appropriate screwdriver to unscrew each piece of hardware carefully.
- As you detach each knob or handle, hold onto the hardware to prevent it from falling and causing damage.
- Keeping Screws and Other Small Parts Organized to Make Reinstallation Easier:
- Collect all screws, washers, and other small parts in a container or plastic bag.
- Consider labeling each piece of hardware and its corresponding screws to ensure a smooth reinstallation process later.
Cleaning the Hardware:
- Washing Hardware with Dish Soap or a Degreaser to Remove Oils, Dirt, and Grime:
- Fill a basin or sink with warm water and add a few drops of dish soap or a small amount of degreaser.
- Submerge the hardware in the soapy water, and use a soft brush or sponge to scrub away any grease, dirt, or grime.
- Pay special attention to crevices and detailed areas where buildup is more likely to occur.
- Rinsing Thoroughly and Allowing the Hardware to Dry Completely:
- Rinse the cleaned hardware under running water to remove all soap or degreaser residues.
- Place the hardware on a clean, dry towel or cloth and allow it to air dry completely before proceeding to the next step.
Tips for Ensuring All Residues Are Removed to Promote Paint Adhesion:
- Inspect each piece of hardware after cleaning to ensure no residues or moisture remains.
- Consider wiping down each piece with a soft, lint-free cloth soaked in rubbing alcohol to remove any lingering oils or soap residues.
- After cleaning with alcohol, allow the hardware to air dry once more before proceeding to the next step in the painting process.
Following these steps meticulously will ensure your hardware is well-prepared for priming and painting, leading to a durable and visually appealing finish.
Preparing the Hardware for Painting
Proper hardware preparation is vital for ensuring a lasting and aesthetically pleasing finish. This section outlines the importance of sanding and setting up your painting area to achieve professional results.
Importance of Sanding the Hardware:
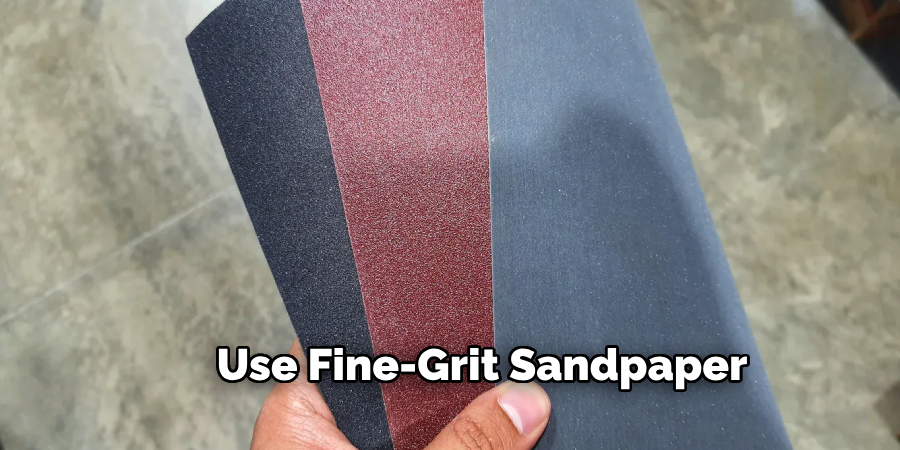
- Using Fine-Grit Sandpaper to Lightly Sand the Surface of the Hardware:
- Select fine-grit sandpaper, ideally 220-grit, to avoid scratching the hardware while still creating an ideal surface for paint adhesion.
- Gently sand each piece of hardware, ensuring even coverage without missing any spots.
- Creating a Rough Texture to Help the Primer and Paint Adhere Better:
- Light sanding helps to roughen the smooth surface of the hardware, allowing the primer and paint to bond more effectively.
- Pay special attention to corners, edges, and intricately detailed areas.
- Wiping Down the Hardware with a Tack Cloth or Damp Cloth to Remove Sanding Dust:
- After sanding, use a tack cloth or a damp cloth to wipe away all sanding dust.
- Make sure to remove all particles and residues to ensure a clean surface for painting.
Setting Up the Painting Area:
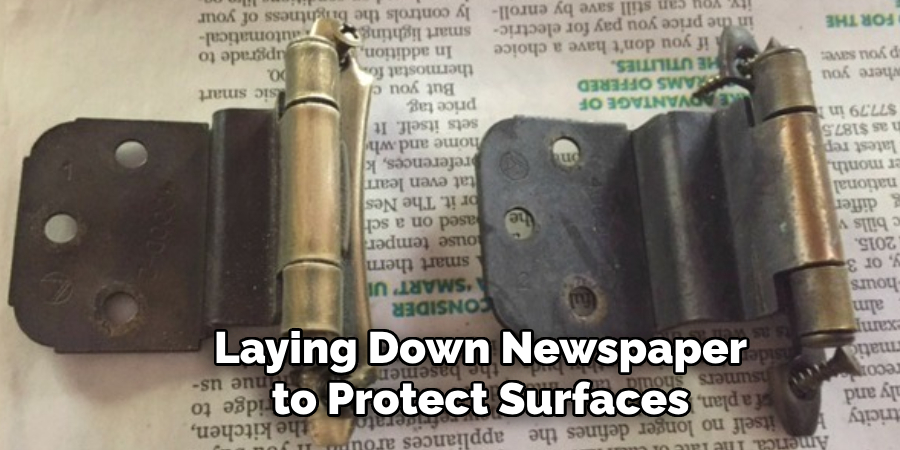
- Laying Down Drop Cloths or Newspaper to Protect Surfaces:
- Cover the area where you will be painting with drop cloths, newspaper, or other protective materials to catch any overspray or drips.
- Ensure the floor and any nearby surfaces are shielded from paint.
- Using Painter’s Tape to Secure Hardware Pieces if Necessary to Keep Them from Moving During Painting:
- Arrange the hardware pieces on the protected surface.
- Use painter’s tape to secure them in place if needed, preventing movement while you paint.
- Ensuring the Area Is Well-Ventilated:
- To avoid inhaling fumes, choose a well-ventilated space for painting, such as a garage with open doors or an outdoor area.
- Consider using a fan to enhance air circulation and reduce the concentration of paint fumes.
By thoroughly sanding the hardware and carefully setting up the painting area, you lay the foundation for a successful spray painting project, resulting in professional-grade, aesthetically pleasing hardware.
How to Spray Paint Cabinet Hardware: Applying Primer
Choosing the right primer for your metal surfaces is crucial to achieving a durable and long-lasting finish. Primers specifically designed for metal will enhance paint adhesion and provide an extra layer of protection against rust and corrosion. Opting for a high-quality, rust-inhibiting primer will ensure your painted hardware withstands daily wear and tear.
Step-by-Step Instructions for Applying Primer:
1.Shaking the Primer Can Thoroughly Before Use:
- Hold the primer can and shake it vigorously for about one to two minutes to ensure the contents are uniformly mixed.
- This step is essential to achieve a smooth and even primer application.
2.Holding the Can About 10-12 Inches Away from the Hardware:
- Position the primer can approximately 10 to 12 inches away from the surface of the hardware.
- This distance helps achieve a fine, even mist without excessive buildup.
3.Spraying Light, Even Coats to Avoid Drips and Runs:
- Apply the primer in light, even coats, sweeping the can horizontally and vertically to cover all areas.
- Avoid thick or heavy coats, as they can cause drips and uneven coverage.
- It is better to apply multiple light coats than one heavy coat.
4.Allowing the Primer to Dry According to the Manufacturer’s Instructions:
- Refer to the primer’s instructions for the recommended drying time, typically around 30 minutes to an hour.
- Ensure the primer is fully dry before moving on to the painting stage to prevent imperfections and ensure optimal adhesion.
Tips for Achieving an Even Primer Coat and Ensuring Full Coverage:
- Hold the Can Steady: Keep a consistent distance and angle while spraying to avoid uneven application.
- Overlap Slightly: Slightly overlap each pass to ensure full coverage without missing any spots.
- Rotate the Hardware: If possible, rotate the hardware pieces during the spraying process to cover all exposed surfaces evenly.
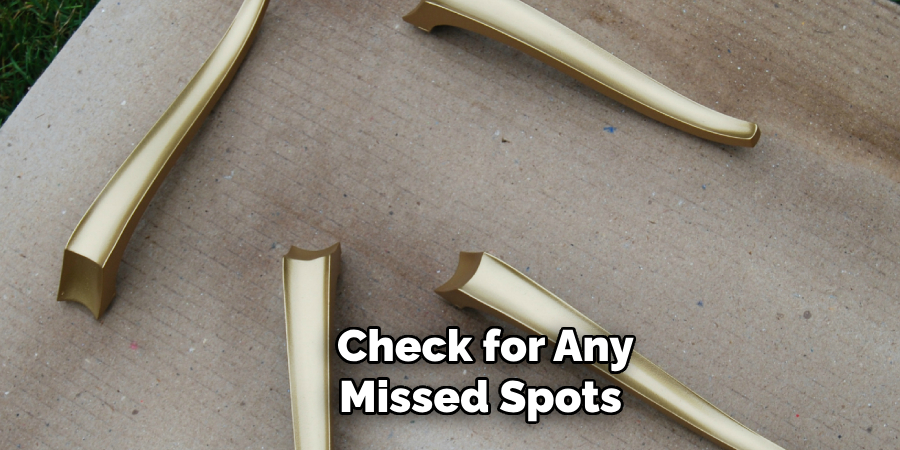
- Inspect for Missed Areas: After the primer has dried, inspect the hardware carefully for any missed spots or thin areas, and apply additional primer if necessary.
Following these steps will provide a solid foundation for your paint, helping to ensure a smooth, professional finish on your metal hardware.
How to Spray Paint Cabinet Hardware: Spray Painting the Hardware
Choosing the Right Spray Paint for Metal:
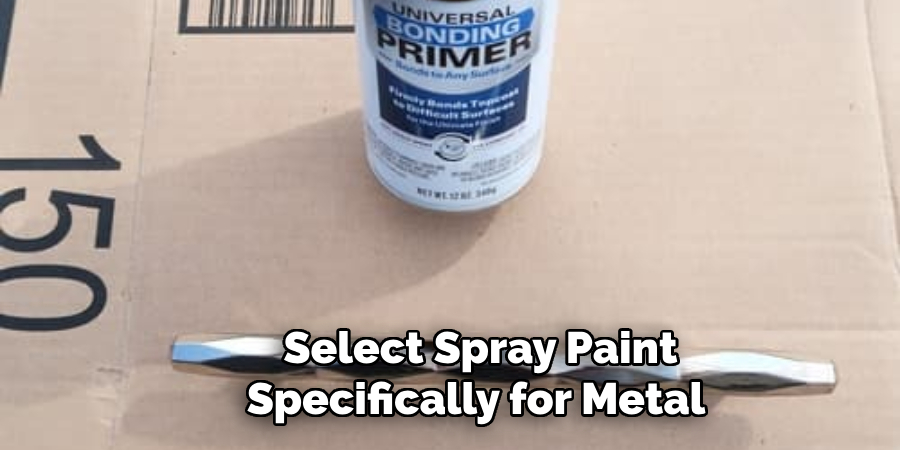
1.Selecting a Spray Paint Specifically Formulated for Metal Surfaces:
- When choosing spray paint for your metal hardware, selecting one specifically designed for metal is critical. Regular spray paints may not adhere as well and could result in a less durable finish that is prone to chipping.
2.Considering the Desired Finish: Matte, Satin, Gloss, or Metallic:
- Consider the look you want to achieve. Spray paints come in various finishes, including matte, satin, gloss, and metallic. The matte finish gives a non-reflective look, satin offers a slight sheen, gloss provides a shiny appearance, and metallic adds a shimmering effect. Choose a finish that complements your overall design aesthetic.
Step-by-Step Instructions for Spray Painting:
1.Shaking the Paint Can Thoroughly Before Use:
- Hold the spray paint can and shake it vigorously for at least one to two minutes. This ensures that the paint is well-mixed, providing a smooth and even coat.
2.Holding the Can About 10-12 Inches Away from the Hardware:
- Position the can approximately 10 to 12 inches from the surface of the hardware. This distance helps achieve a fine mist, which will lay down an even layer of paint.
3.Applying the Paint in Light, Even Coats, Moving the Can Back and Forth to Prevent Drips:
- Begin spraying in a light, even motion, sweeping the can back and forth across the surface. Avoid staying too long in one spot to prevent drips and runs. To ensure even coverage, it is better to apply several light coats rather than one heavy coat.
4.Allowing Each Coat to Dry According to the Manufacturer’s Instructions Before Applying the Next Coat:
- Refer to the spray paint’s instructions for drying times, which usually range from 15 minutes to an hour. Allow each coat to dry completely before applying the next to avoid a tacky finish and ensure proper adhesion.
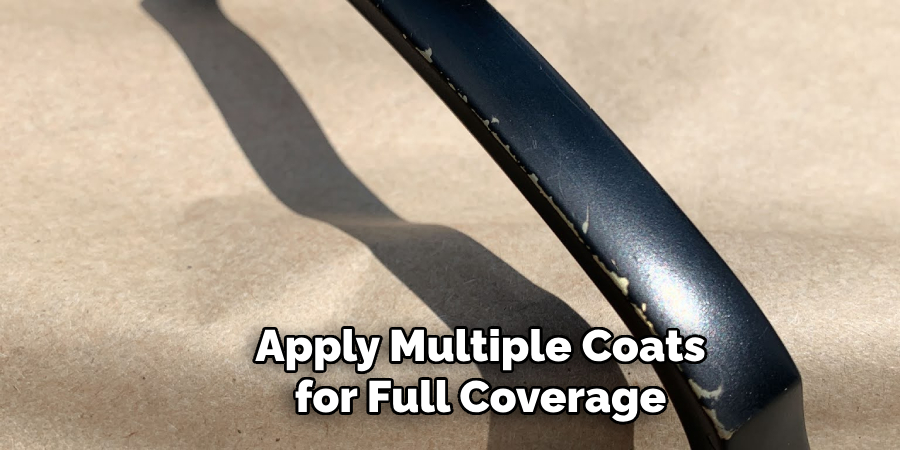
5.Applying Multiple Coats If Necessary for Full Coverage and a Smooth Finish:
- Multiple light coats may be needed to achieve full coverage and a smooth finish. Inspect the hardware after each coat to ensure there are no missed spots or inconsistencies. Continue applying coats until you are satisfied with the coverage.
Tips for Avoiding Common Mistakes:
- Avoiding Overspraying: Keep a consistent distance and move the can evenly to prevent excess paint buildup, which can cause drips and an uneven surface.
- Preventing Drips: Apply paint in thin, even coats. Do not rush the process by applying a heavy coat, as this can lead to drips and runs.
- Ensuring Even Coverage: Overlap each spray pass slightly to ensure that you cover all areas. If possible, rotate the hardware pieces to reach all surfaces.
By selecting the appropriate spray paint and following these step-by-step instructions, you can achieve a professional, durable finish on your metal hardware.
Applying a Protective Topcoat
Importance of a Clear Topcoat for Protecting the Paint and Enhancing Durability:
Applying a clear topcoat is crucial in preserving the paint job on your metal hardware. It adds an extra layer of protection against scratches, moisture, and UV damage. This final layer not only enhances durability but also gives your project a polished look.
Step-by-Step Instructions for Applying the Topcoat:
1.Choosing a Clear Spray Topcoat Suitable for Metal:
- Opt for a topcoat that is specifically formulated for metal surfaces to ensure optimal adhesion and protection.
2.Shaking the Topcoat Can Thoroughly Before Use:
- Vigorously shake the topcoat can for one to two minutes to ensure the contents are well-mixed, which is essential for a smooth application.
3.Holding the Can About 10-12 Inches Away from the Hardware:
- Maintain a distance of approximately 10 to 12 inches from the surface to produce a fine mist and avoid oversaturation.
4.Applying Light, Even Coats to Avoid Drips:
- Spray the topcoat in light, even strokes, moving the can back and forth across the hardware. Applying multiple light coats rather than one heavy coat helps prevent drips and runs.
5.Allowing the Topcoat to Dry According to the Manufacturer’s Instructions:
- Refer to the drying times indicated on the topcoat can, usually between 15 minutes and an hour. Ensure each coat is fully dry before applying another.
Tips for Achieving a Smooth and Durable Finish:
- Consistent Distance and Motion: Keep a steady hand and maintain a consistent distance while spraying.
- Multiple Light Coats: Build up the topcoat with several thin layers for a durable and flawless finish.
- Inspect Between Coats: Check for any missed spots or imperfections between layers and touch up as needed.
Conclusion
In conclusion, knowing how to spray paint cabinet hardware can transform the look of your cabinets in an easy and budget-friendly way. Begin by gathering all necessary materials and thoroughly cleaning and preparing the hardware. Priming is essential to ensure the paint adheres properly. Follow up with careful spray painting, applying light and even coats to prevent drips and achieve uniform coverage.
Protect your work with a suitable topcoat to enhance durability and add a polished finish. Finally, ensure the hardware is completely dry and cured before reinstalling it back onto your cabinets. Following these steps—gathering materials, cleaning, preparing, priming, painting, applying a topcoat, and reinstalling—will help you achieve a professional and long-lasting result. Remember to handle the hardware gently and conduct regular maintenance to keep it looking new. Take on this project confidently and enjoy your updated cabinets’ refreshed look.