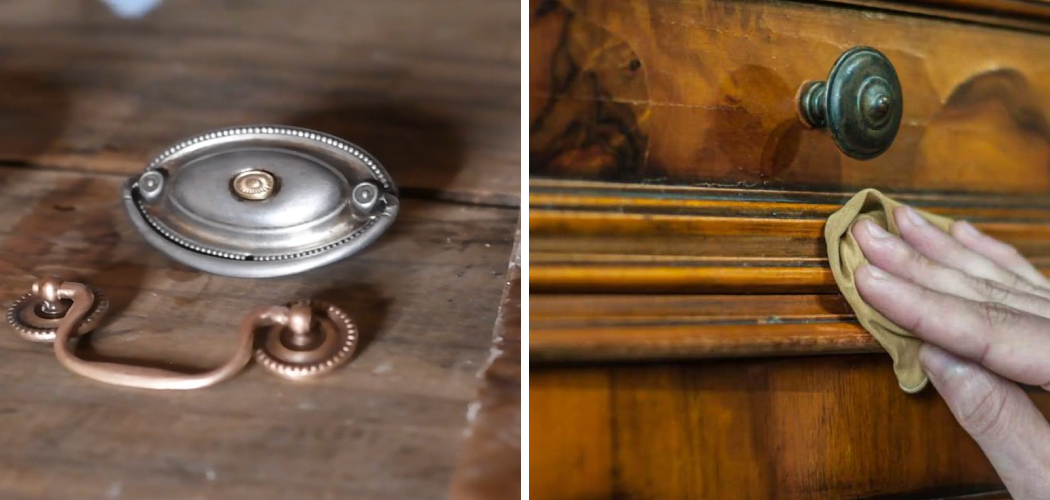
Cleaning hardware on old furniture is a crucial step in restoring its original beauty and enhancing its functionality. Over time, the hardware on furniture can become tarnished, corroded, or encrusted with grime, often obscuring the intricate details and craftsmanship that make vintage pieces so special.

Common types of hardware found on old furniture include brass, copper, and iron, each requiring specific cleaning approaches to avoid damage. The process of how to clean hardware on old furniture involves selecting the right methods and materials to effectively remove dirt and tarnish without compromising the integrity of the hardware. By paying careful attention to the type of metal and condition of the hardware, you can ensure a successful restoration that preserves the charm and value of your treasured pieces.
Assessing the Condition of the Hardware
Before embarking on the cleaning process, it is essential to thoroughly assess the condition of the hardware. Start by identifying the type of metal used in the hardware, as common materials include brass, copper, and iron, each requiring distinct cleaning techniques. To determine the type of metal, look for specific characteristics: brass often has a warm yellowish hue, copper typically has a reddish-brown tone, and iron usually appears dark grey to black. Use a magnet if needed, as it will stick to iron and steel but not to brass or copper.
Next, inspect the hardware for signs of corrosion, rust, or patina. Corrosion can appear as a greenish or bluish crust on metals like copper, while rust on iron manifests as a reddish-brown flaking. A patina, often found on brass, is a natural tarnish that develops over time, sometimes regarded as a desirable feature for its aesthetic appeal. Evaluate the overall condition of the hardware by checking if it is loose, tarnished, or heavily soiled.
Determining the type of metal and its condition is crucial for selecting the appropriate cleaning methods. Proper identification ensures that you use the most effective and gentle techniques, avoiding potential damage and preserving the hardware’s integrity.
Gathering Necessary Materials and Tools
Before beginning the cleaning process, it is important to gather all the necessary materials and tools to ensure a smooth and efficient restoration. The following is a list of essential items:
- Mild dish soap
- Soft cloths and brushes (e.g., toothbrush)
- White vinegar
- Baking soda
- Lemon juice and salt
- Commercial metal polish (if needed)
- Protective gloves
- Screwdriver (for removing hardware)
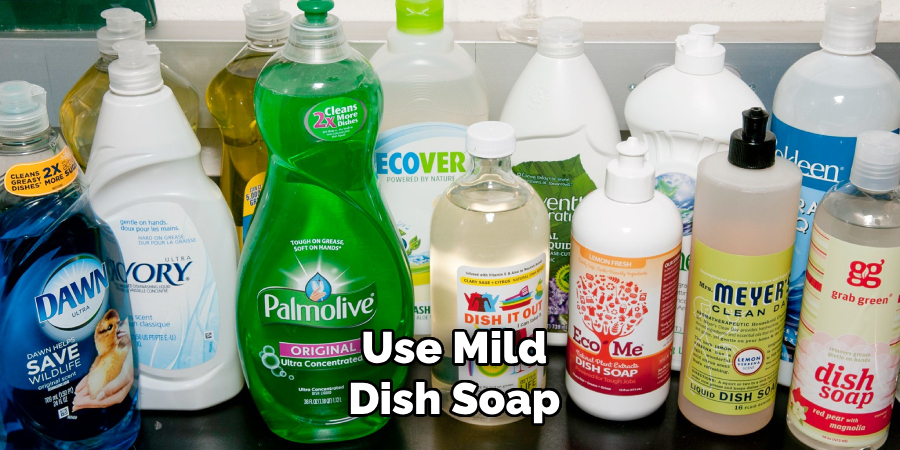
Using non-abrasive tools and materials is crucial to avoid scratching or damaging the hardware. Mild dish soap combined with soft cloths and brushes will help lift dirt and grime without being too harsh. White vinegar and baking soda are excellent for tackling rust and corrosion, while lemon juice paired with salt offers a natural solution for polishing brass and copper. In some cases, a commercial metal polish may be necessary for achieving a high shine finish.
Protective gloves are essential to guard your hands during the cleaning process, and a screwdriver will be necessary for removing any detachable hardware to ensure a thorough clean. You can effectively clean the hardware without compromising its integrity or appearance by carefully selecting and using these non-abrasive tools.
Removing the Hardware
Removing hardware from furniture is a delicate process that requires precision and care to avoid damaging both the hardware and the furniture itself. Follow these step-by-step instructions to safely detach handles, knobs, hinges, and other pieces:
- Using a Screwdriver: Carefully use a screwdriver to remove all screws securing the hardware to the furniture. Be sure to select the correct screwdriver type (flathead or Phillips) that matches the screw head to avoid stripping the screws.
- Keeping Screws and Small Parts Organized: As you remove each piece of hardware, place the screws and any small parts (such as washers or decorative caps) into clearly labeled containers or small bags. This organization is crucial for an efficient and hassle-free reassembly later on.
Tips for Taking Photographs or Labeling Hardware:
- Taking Photographs: Before removing any piece of hardware, take clear, detailed photographs of each item in its original position. These visual references will be invaluable when it’s time to reattach the hardware, ensuring correct placement and orientation.
- Labeling Hardware: Use numbered labels or post-it notes to match each hardware piece with its corresponding location on the furniture. This method helps identify the exact spot where each piece should be reinstalled, preventing any confusion during reassembly.
By following these steps and tips, you can ensure a smooth and safe removal process, setting the stage for thorough and effective cleaning.
How to Clean Hardware on Old Furniture: Cleaning Brass and Copper Hardware
Cleaning with Household Ingredients:
One of the most effective and gentle ways to clean brass and copper hardware is by using common household ingredients. Mix a paste of vinegar and baking soda in a small bowl. The mixture should have a consistency thick enough to adhere to the hardware. Once the paste is ready, apply it generously to the surface of the hardware, ensuring that all crevices and detailed areas are covered.
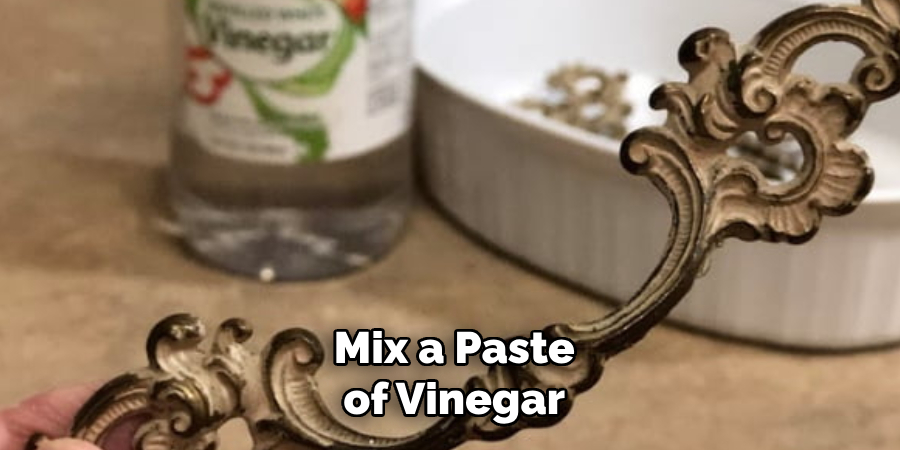
Allow the paste to sit for a few minutes, giving the acidic vinegar and abrasive baking soda time to break down the tarnish and grime. After the waiting period, gently scrub the hardware using a soft brush, such as an old toothbrush, to avoid scratching the metal. Rinse the hardware thoroughly with warm water to remove all residue, and then dry it completely with a soft cloth.
Using Lemon Juice and Salt:
Another natural method to clean brass and copper hardware involves the use of lemon juice and salt. Cut a lemon in half and sprinkle a generous amount of salt onto the exposed flesh. Rub the salted lemon half over the tarnished hardware, applying enough pressure to remove dirt and oxidation without damaging the surface. Let the lemon juice and salt mixture sit on the hardware for a few minutes to further dissolve any remaining tarnish. Rinse the hardware with warm water, ensuring that no acidic residue is left behind. Dry the hardware with a soft cloth to prevent water spots and restore its shine.
Polishing with A Commercial Metal Polish (optional):
For those seeking a high-shine finish, a commercial metal polish can be used after the initial cleaning process. Apply a small amount of metal polish to a soft cloth and gently rub it onto the brass or copper hardware. Buff in circular motions until the hardware achieves the desired level of shine. Be sure to follow the manufacturer’s instructions on the product packaging for the best results.
Tips for Avoiding Abrasive Materials:
It is crucial to avoid using abrasive materials such as steel wool or harsh scrubbing pads, which can scratch and damage the finish of brass and copper hardware. Always opt for soft cloths and brushes to ensure a gentle yet effective cleaning process.
How to Clean Hardware on Old Furniture: Cleaning Iron and Steel Hardware
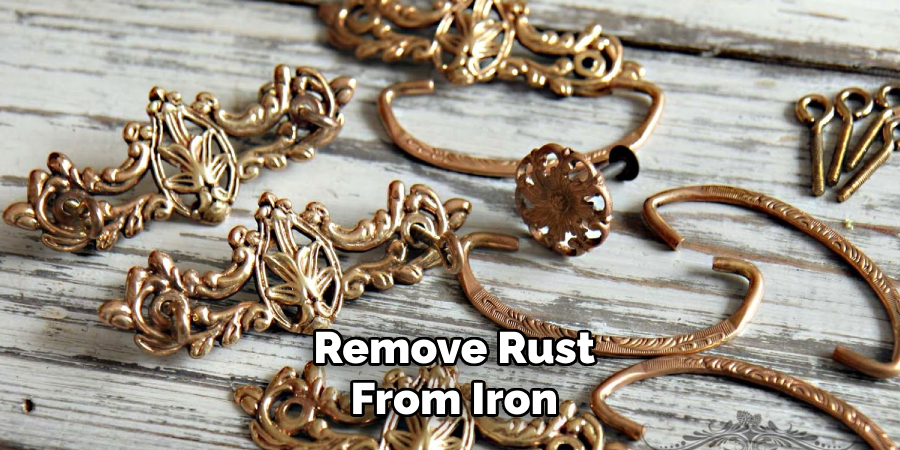
Removing Rust with Vinegar:
White vinegar is one of the most effective methods for removing rust from iron and steel hardware. Begin by soaking the rusted hardware in a container filled with white vinegar. Allow the hardware to soak for a few hours or, for more severe rust, leave it overnight to ensure that the vinegar has sufficient time to break down the rust. Once the soaking period is complete, use a brush to scrub the hardware, focusing on the rusted areas. The rust should come off with relative ease. After scrubbing, rinse the hardware thoroughly with water to remove the vinegar and any loosened rust particles. Dry the hardware completely with a soft cloth.
Using Baking Soda Paste:
Another effective method for cleaning rust off iron and steel hardware involves using baking soda. Mix baking soda with water to form a paste that is thick enough to adhere to the hardware. Apply the paste generously to the rusted areas, ensuring that all affected spots are covered. Allow the paste to sit for a while so it can penetrate the rust. After the waiting period, gently scrub the hardware with a brush to remove the rust. Rinse the hardware with water to wash away the paste and any rust residue. Dry the hardware thoroughly with a soft cloth to prevent any moisture from causing further rusting.
Protecting Cleaned Hardware:
Protecting the cleaned iron and steel hardware is important to prevent future rust buildup. Applying a light coat of mineral oil or clear lacquer can create a protective barrier against moisture and oxidation. Use a soft cloth to apply the mineral oil or lacquer evenly over the entire hardware surface. Allow it to dry completely before reassembling or using the hardware.
Tips for Regular Maintenance to Prevent Rust Buildup:
Regular maintenance is essential to keeping iron and steel hardware free from rust. Routinely wipe down the hardware with a soft, dry cloth to remove any moisture or dirt. If the hardware is exposed to outdoor elements, consider periodically applying a fresh coat of mineral oil or clear lacquer to maintain its protective barrier. Inspect the hardware regularly for any signs of rust and address small spots promptly using the methods described above to prevent extensive rust buildup.
Cleaning Painted or Lacquered Hardware
Gentle Cleaning Methods:
When cleaning painted or lacquered hardware, it’s crucial to use gentle methods to avoid damaging the finish. Start by wiping the hardware with a damp cloth and mild dish soap. This simple combination can effectively remove dirt and grime without harming the surface. Be sure to use a soft cloth to avoid any potential scratches.
Avoiding Abrasive Scrubbing:
Refrain from using abrasive scrubbing materials such as steel wool or harsh brushes, as they can scratch and damage the paint or lacquer. Instead, stick to soft cloths or gentle sponges for a safe and effective clean.
Testing for Compatibility:
Conduct a spot test in an inconspicuous area before applying any cleaning solution to the entire hardware piece. This will ensure that the cleaning method won’t damage the finish or alter its appearance. If the spot test is successful, you can clean the rest of the hardware.
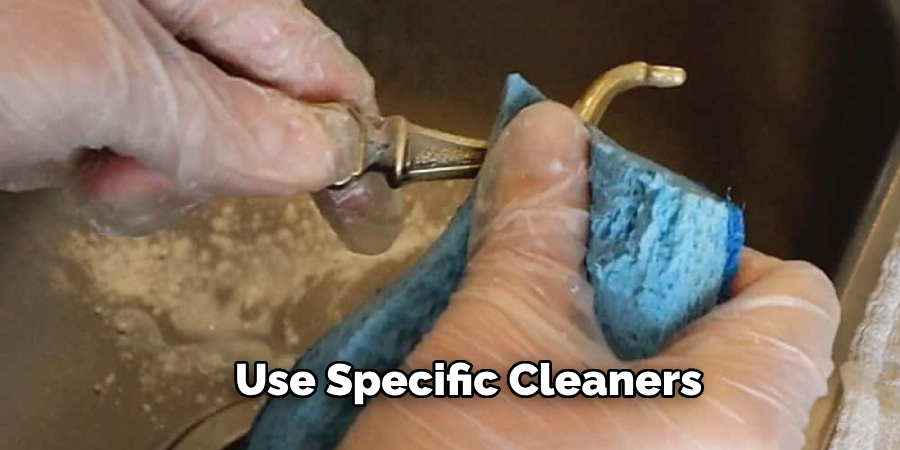
Using Specific Cleaners Designed for Painted or Lacquered Surfaces:
If the hardware requires more thorough cleaning, consider using specific cleaners designed for painted or lacquered surfaces. These products are formulated to be gentle on the finish while effectively removing dirt and grime. Follow the manufacturer’s instructions for the best results, and always test on a small area first to ensure compatibility.
Conclusion
In summary, learning how to clean hardware on old furniture involves several essential steps to restore and preserve the pieces effectively. Start by assessing the condition of the hardware to understand its needs and gather all necessary cleaning materials and tools. Carefully remove the hardware, taking note of its placement for easy reinstallation.
Proceed with cleaning the hardware using appropriate methods based on its material and finish—whether it’s brass, steel, or painted surfaces. Once cleaned, ensure the hardware is completely dry before reinstalling it securely, checking alignment and functionality. Regular maintenance, such as dusting, wiping, and using protective coatings, is crucial to keep the hardware looking its best and prevent future build-up of rust or grime. Taking on this project not only enhances the appearance and functionality of your old furniture but also helps preserve its charm and value for years to come.